Wire standoff and EAA Tech Counseling visit
Tech Counseling
Bob from EAA chapter 338 came over and spent an hour or so in my garage this afternoon. He looked at my work and answered many questions. I learned a LOT just by talking to him. It was a very rewarding experience.
Dust
We started with the rudder assembly. It’s already fully riveted and finished. When we picked it up, some dust came out. The dust was from the composite material when I was installing the tail-light.
So the first lesson Bob showed me was that it’s important to get the dust cleaned out as much as possible. It’s the same reason as not wanting to have FOB on runways. When we paint, dust can get in the way. Or worst, dust if stuck between metal layers it may create tiny gap which leads to uneven stress or rivet smoke in the future.
Rudder, horizontal and elevator quality
We did some visual inspection on the rudder. It looked straight and no obvious problems. This gave me huge boost of confidence, because my biggest issue up to this points was that I didn’t know what is “acceptable”. And this inspection gave me some guidance to what a reasonable part looks like.
We also looked at the parts, tested a few dimpled rivets and they looked good. We also examined the straightness of the horizontal stabilizer which looked good. Theoretically I am good to start riveting, but I still need to ream every hole as Bob recommended. After reaming I will take the skin off to clean up the dust (see first section) then put it back. So I will do these first before riveting.
We also talked about a slight twist on elevator main spar. The spar is very soft and can be twisted by hand. So we are not too worried. Once the skin is on the twist should go away.
Wiring and water proofing
I asked if water proofing inner parts is necessary, and how to water proof wires. The advise I got was to use high quality wire connectors like deutsch connector when connecting wires between Rudders and vertical stabilizer etc.
Dimple and countersink
I got some clarification from Bob on the depth of dimple and countersink. When watching youtube videos I learned to use a piece of paper to slide across the skin and flush rivet as a way of measurement.
Bob showed me another way: put a straight piece across the skin and flush rivet and shine a light from one side.
- If the stright piece wobbles, it’s not deep enough.
- If light shines through, it’s lower than the skin. This is expected and acceptable. It just doesn’t need to be too deep.
Elongated rivets
I showed Bob one hole on the elevator that I messed up with. I accidentally drilled too wide when removing a rivet, and caused an elongated hole. We discussed technics to fix these, which usually involves upsizing the rivet while staying within the limit of edge distance, which led to AC-43.13.
AC-43-13-1B
When we discussed fixes, Bob recommended AC-43-13-1B, which talks about Acceptable Methods, Techniques, and Practices - Aircraft Inspection and Repair. This sounds exactly like what I need right now to learn the building technics. So I grabbed one to my Kindle right away.
I asked where to get scrap material to experiment with, and he recommended Industrial Metal Supply in San Jose. I think I will check it out at some point.
Deburring
- My question: how to debur hard to reach holes
- Answer: There are specialty tools like back side deburring tool about $50. Or you can just use lockpick - Sharpen the sides with a grinder then you are good to go.
Priming or no?
The more likely to meet water, the more “yes prime”. In california hangers, not so much.
Wire standoff
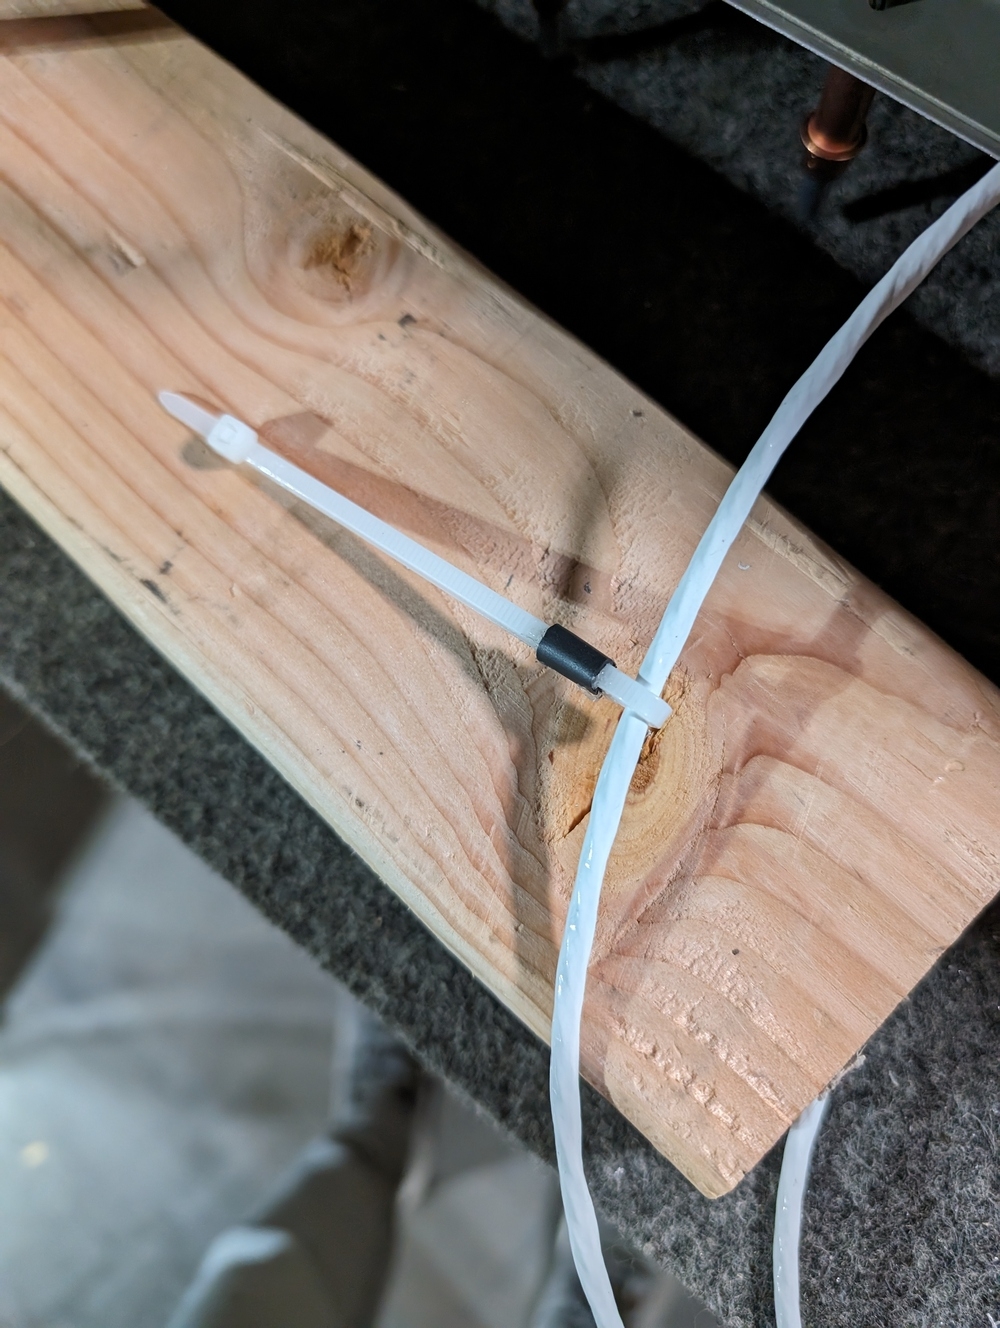
One small project I did on the empennage was a wire standoff to put some distance between the wire going through horizontal stabilizer and the spar.
Here is the final product.
Material is very simple: a zip tie and a small piece of heat shrink.
Fold the zip tie and put the heat shrink on one end.
Then hot glue gun blow for a few seconds
Put the wire through and secure the zip tie on the spar.
Problem
The zip tie I used is made from cheap plastic material, I didn’t even think about this before starting the work but as soon as I blew hot air to the zip tie, it started to melt almost at the same time as heatshrink.
I was thinking about purchasing some better quality zip tie, but I decided to do something else next time. Instead of heat shrink, I think I will just use another zip tie as the wire choke next time. Then I don’t need to blow hot air at all.


