Elevator spar part 1
while waiting for EAA technical counselor visit, I decided to start on Elevator. Today and yesterday I tackled ‘EL-ASS-001-C-F-0’ sheet 8 and 10.
Elevator spar center rib
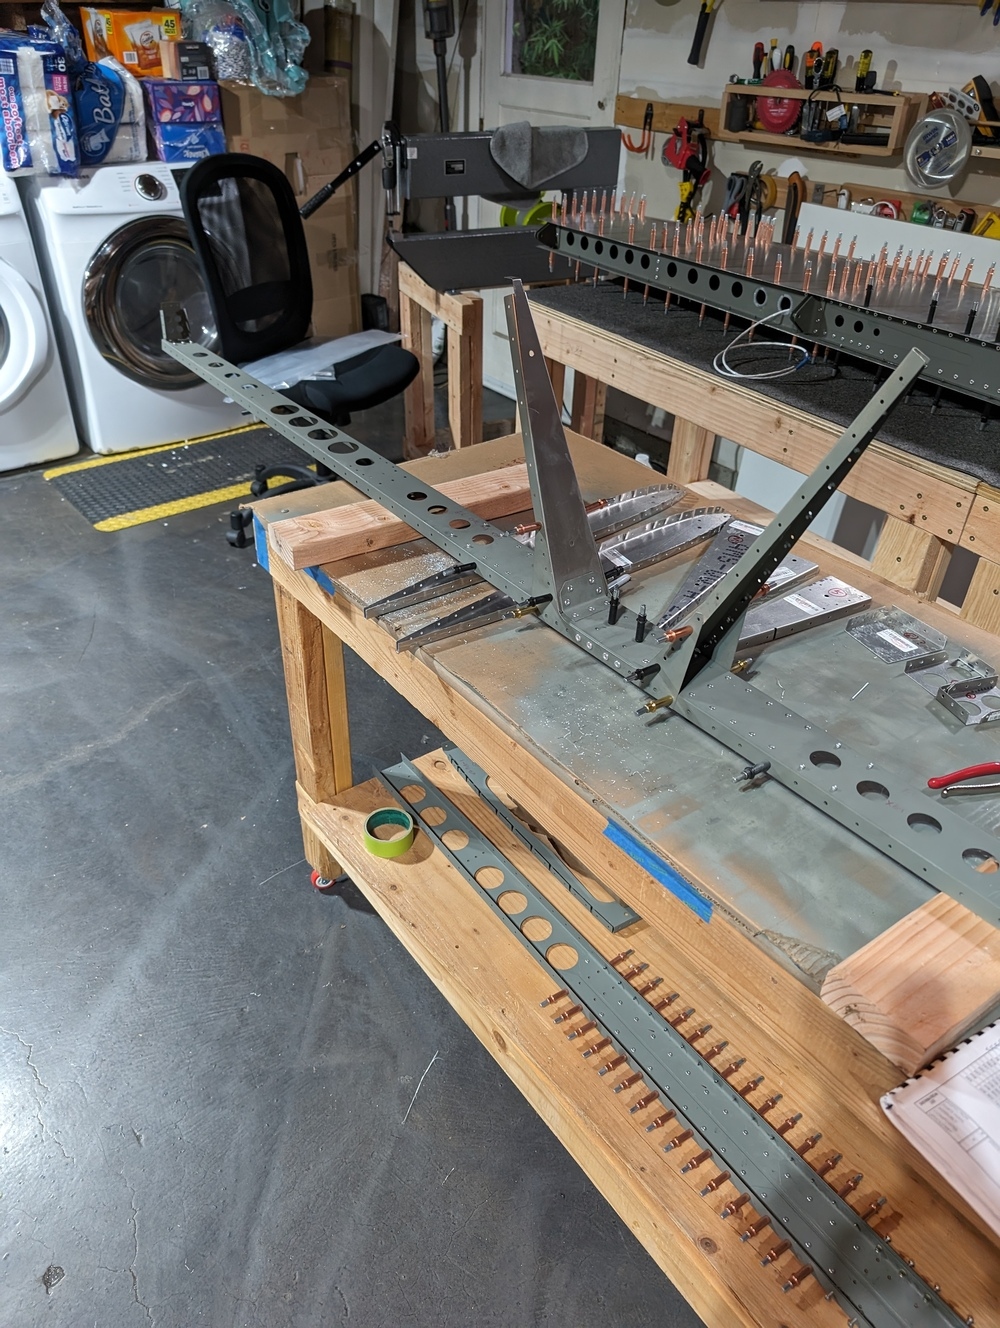
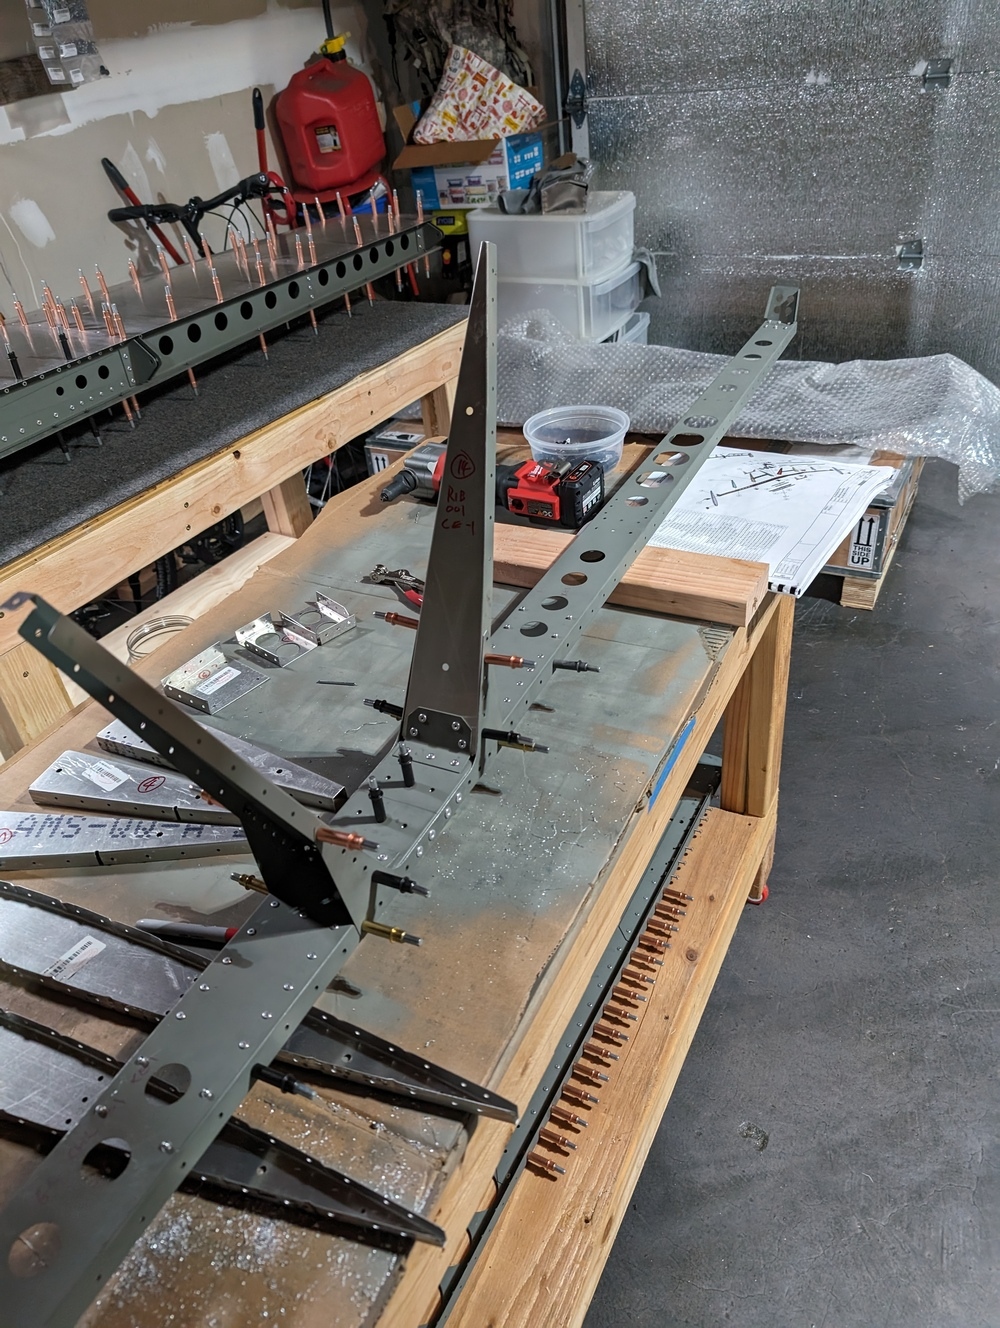
The main spar was actually riveted a few weeks ago as one of the first pieces. I continued the work and clecoed/riveted the center rib and the stiffeners, angles and brackets. The layering was a little tricky due to the many layers. once I riveted these pieces together, I noticed there was a visible twist between the two ends of the main spar. It takes very little force to manually twist the spar back and align, but I don’t remember seeing this when building the horizontal stabilizer or the rudder. Hmm slightly concerned. I guess I will put a question mark here and see if it improves when I cleco the skin.
Here is the main elevator spar with center ribs and stiffeners riveted.
If you pay close attention to the picture here, you will notice I riveted the doubler on the center spar and rib. This is incorrectly done. The counterweight has to go under the doubler. So I needed to drill it out.
Unfortunately when drilling out the rivets, one of the holes got elongated. I measured the hole size and it’s probably fine to upsize the hole from 4mm to 4.8mm. But since I’m still early in the build, I decided to put in a replacement order for the right rib and learn the lesson. I immediately ordered a more compact drill after this mistake.
More part preps
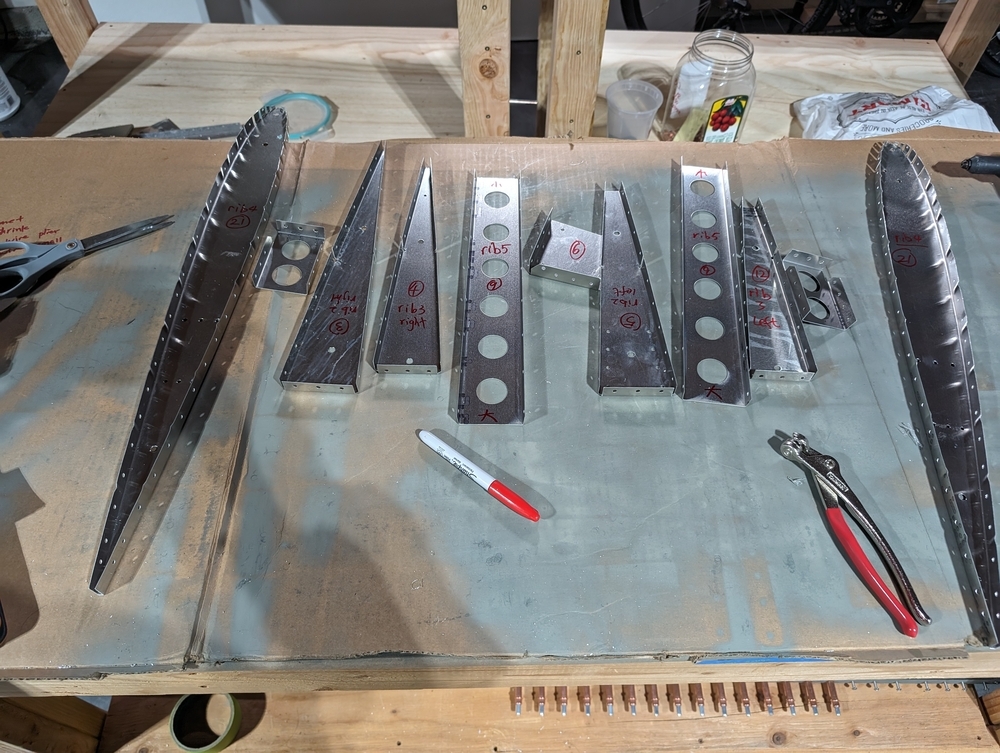
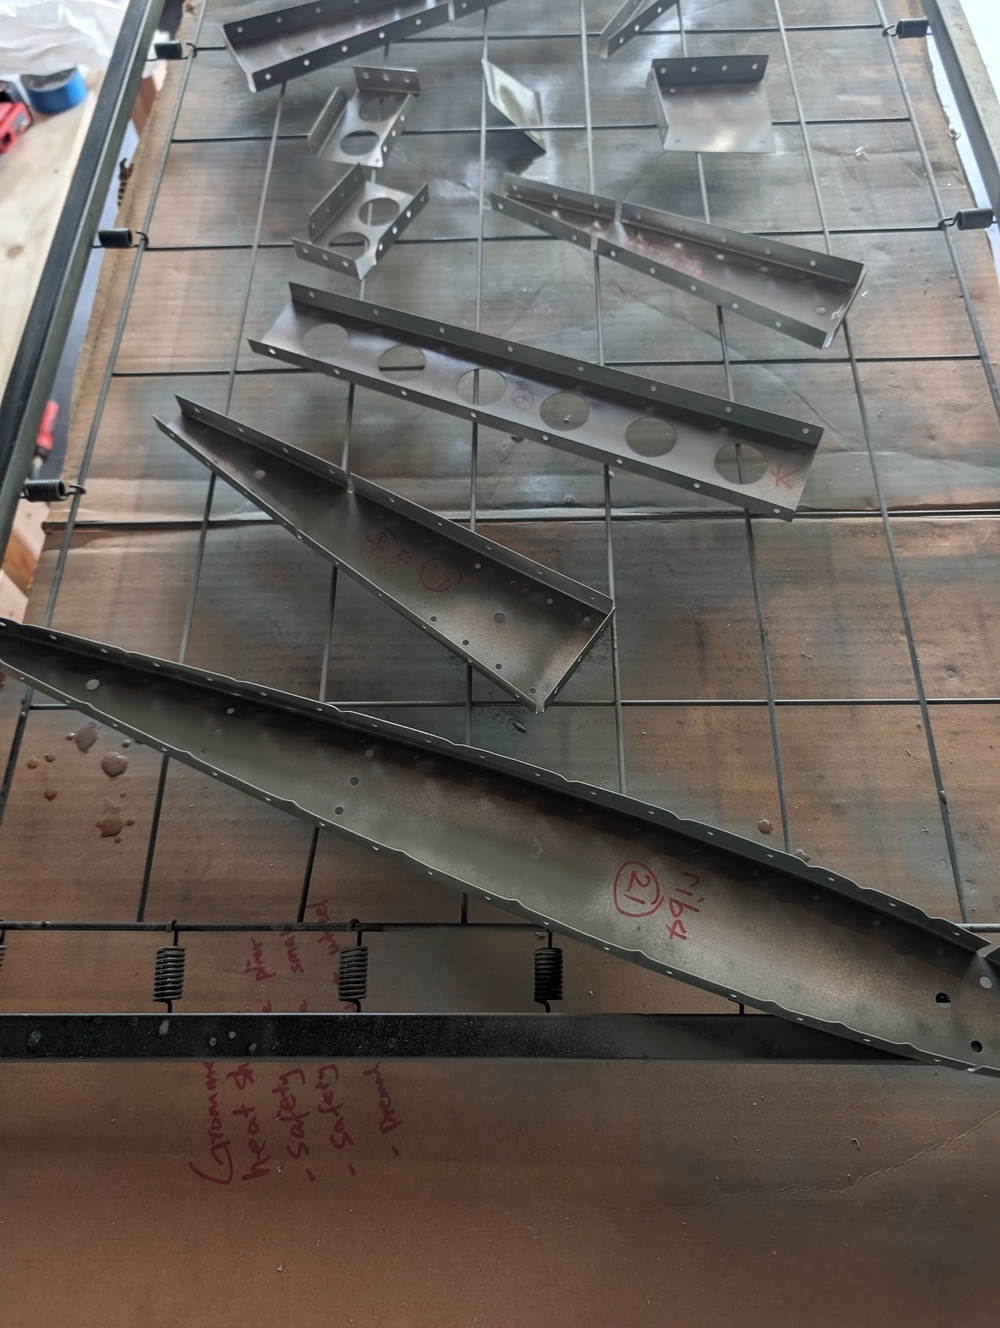
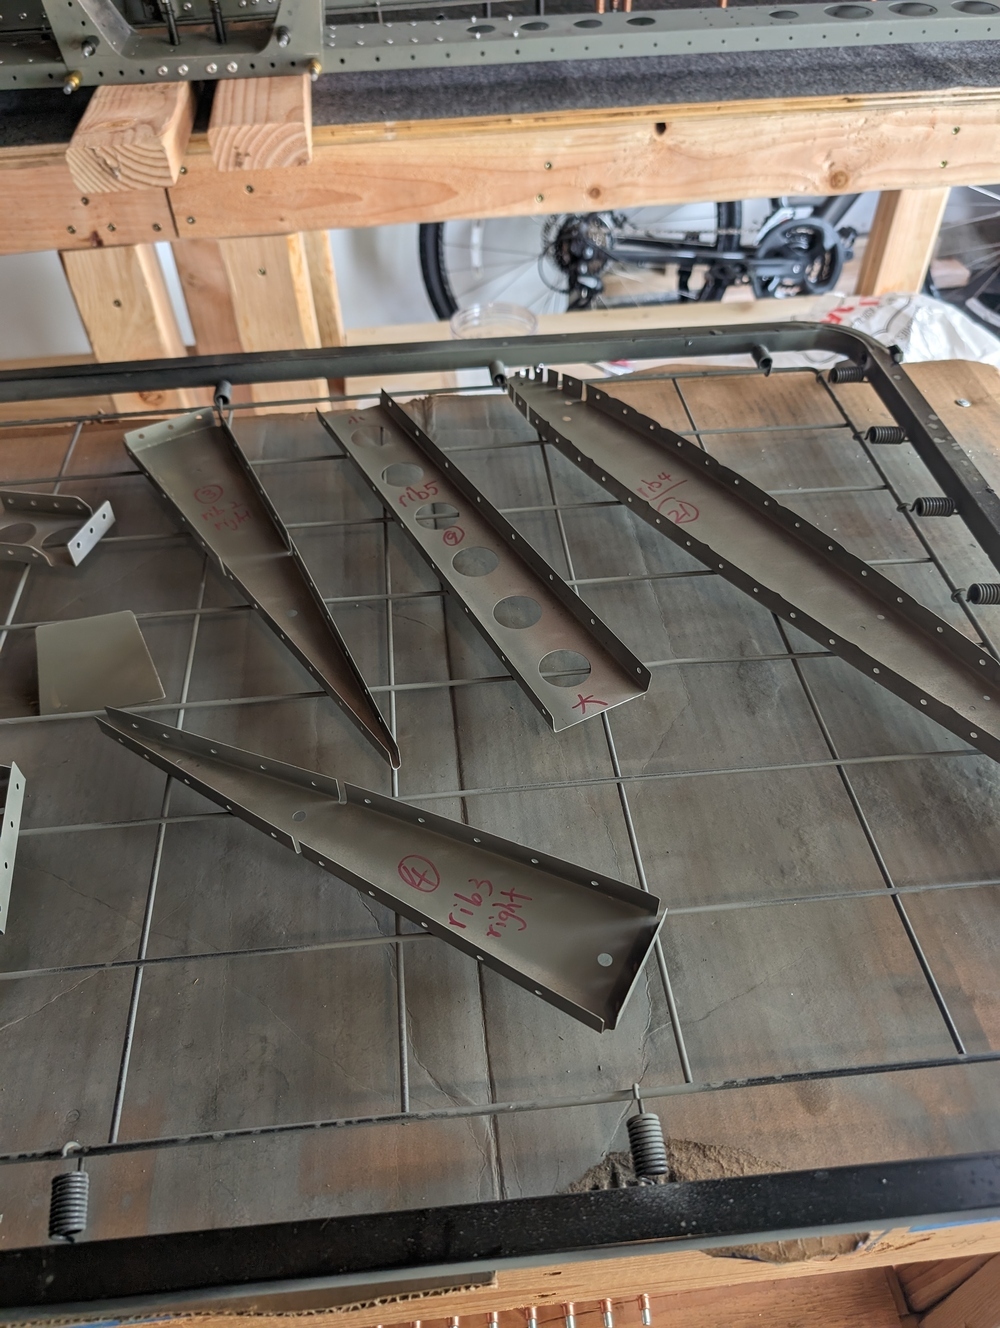
After that is done, I dove into my parts pile and picked out the pieces needed on sheet 10 for clean/debur/prime.
For now, I haven’t riveted the other pieces yet since the primer isn’t quiet dry yet. I will resume the work in a few days when the primer is fully dried.
More pics
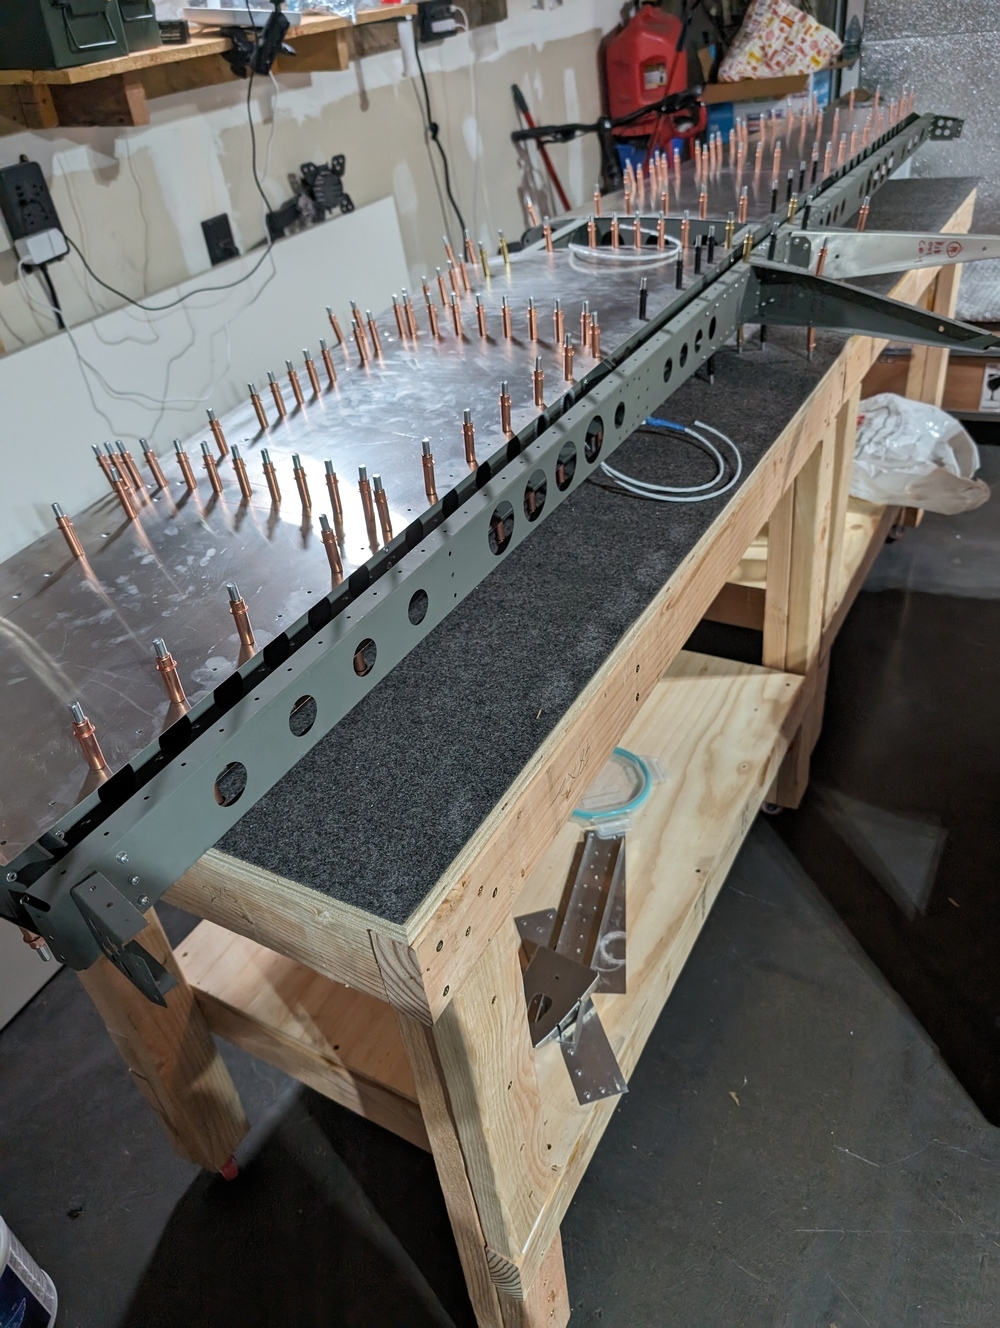
Just for fun, I put the elevator spar next to the horizontal stabilizer to check if the AN4 bolt can line up. They seem to be align. I ordered a few AN4 bolts on ebay. When they arrive I will try to put them on and test for binding.
