Elevator bottom skin, and trim motor hardware
TLDR
- Elevator bottom skin 95% complete
- built a laser level jig and verified elevator straitness
- Trim motor nutplate installed
Elevator bottom
Yesterday I used a rivet to test each hole on the bottom side of the skin. Only a few holes needed to ream. I did that and removed all clecos on the bottom side to vacuum the dust.
Then I put the clecos back and pushed each quadrant of the skin to check ripple. There was no oil canning at all. Super!
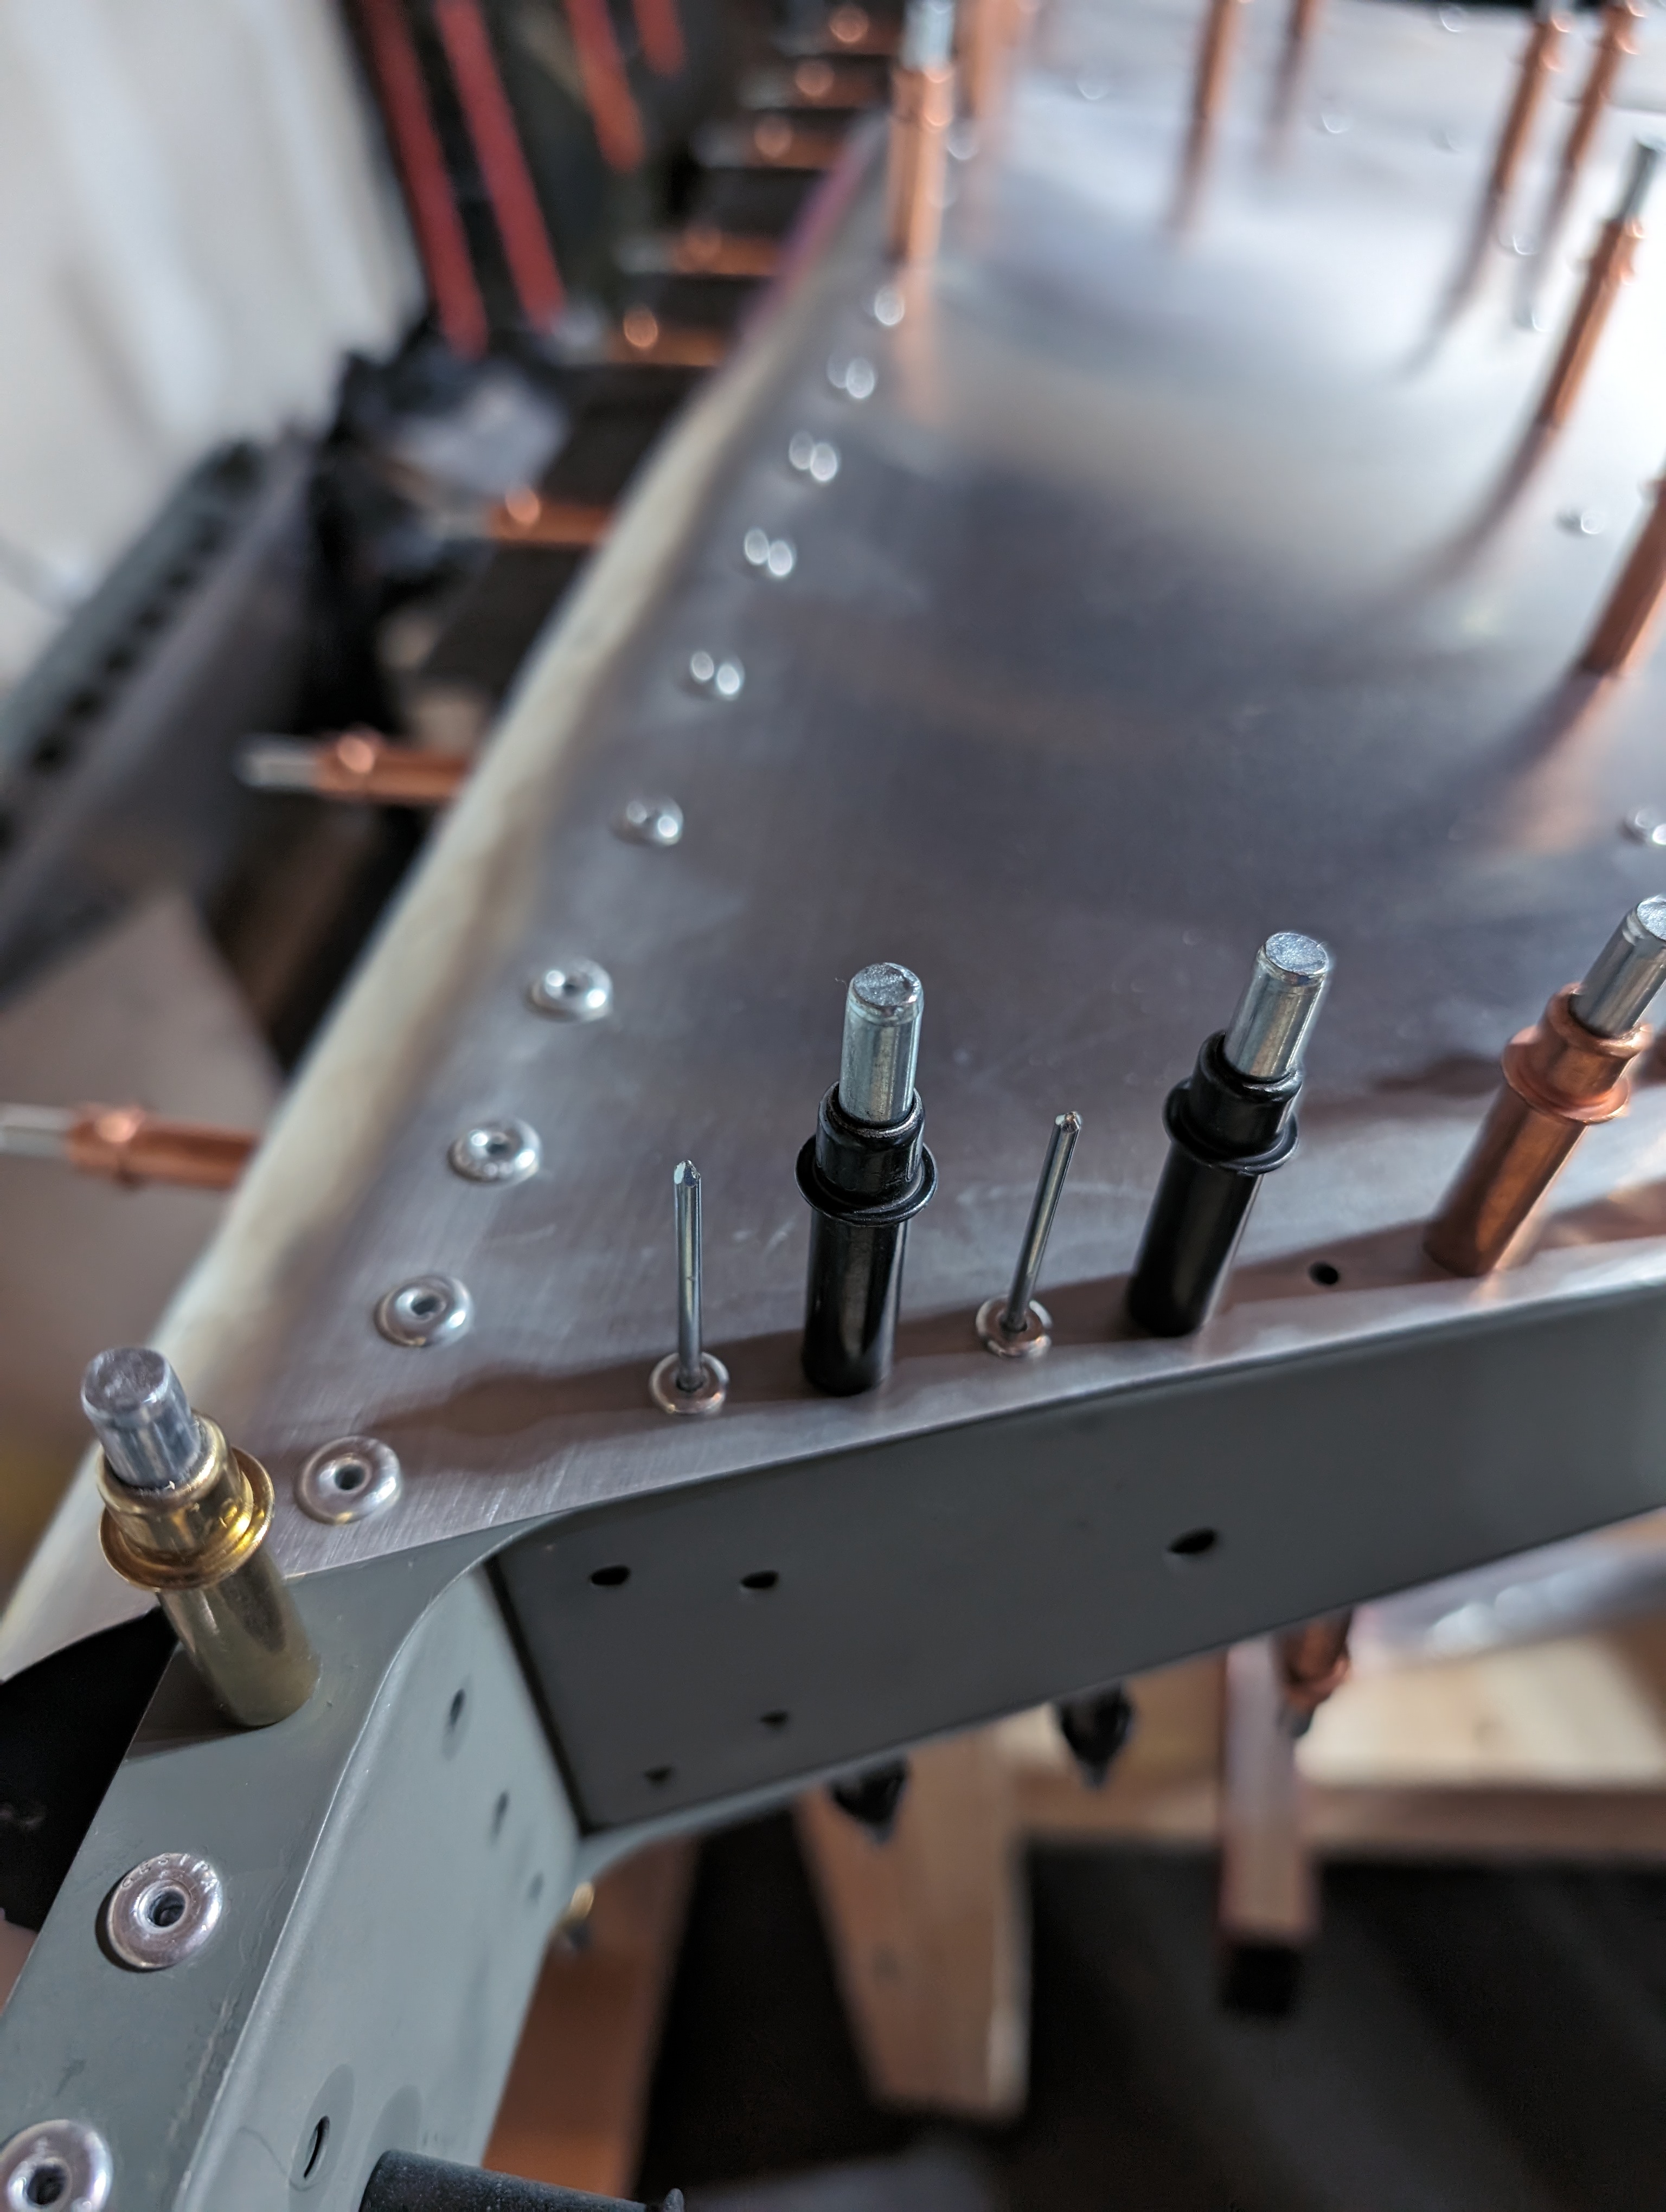
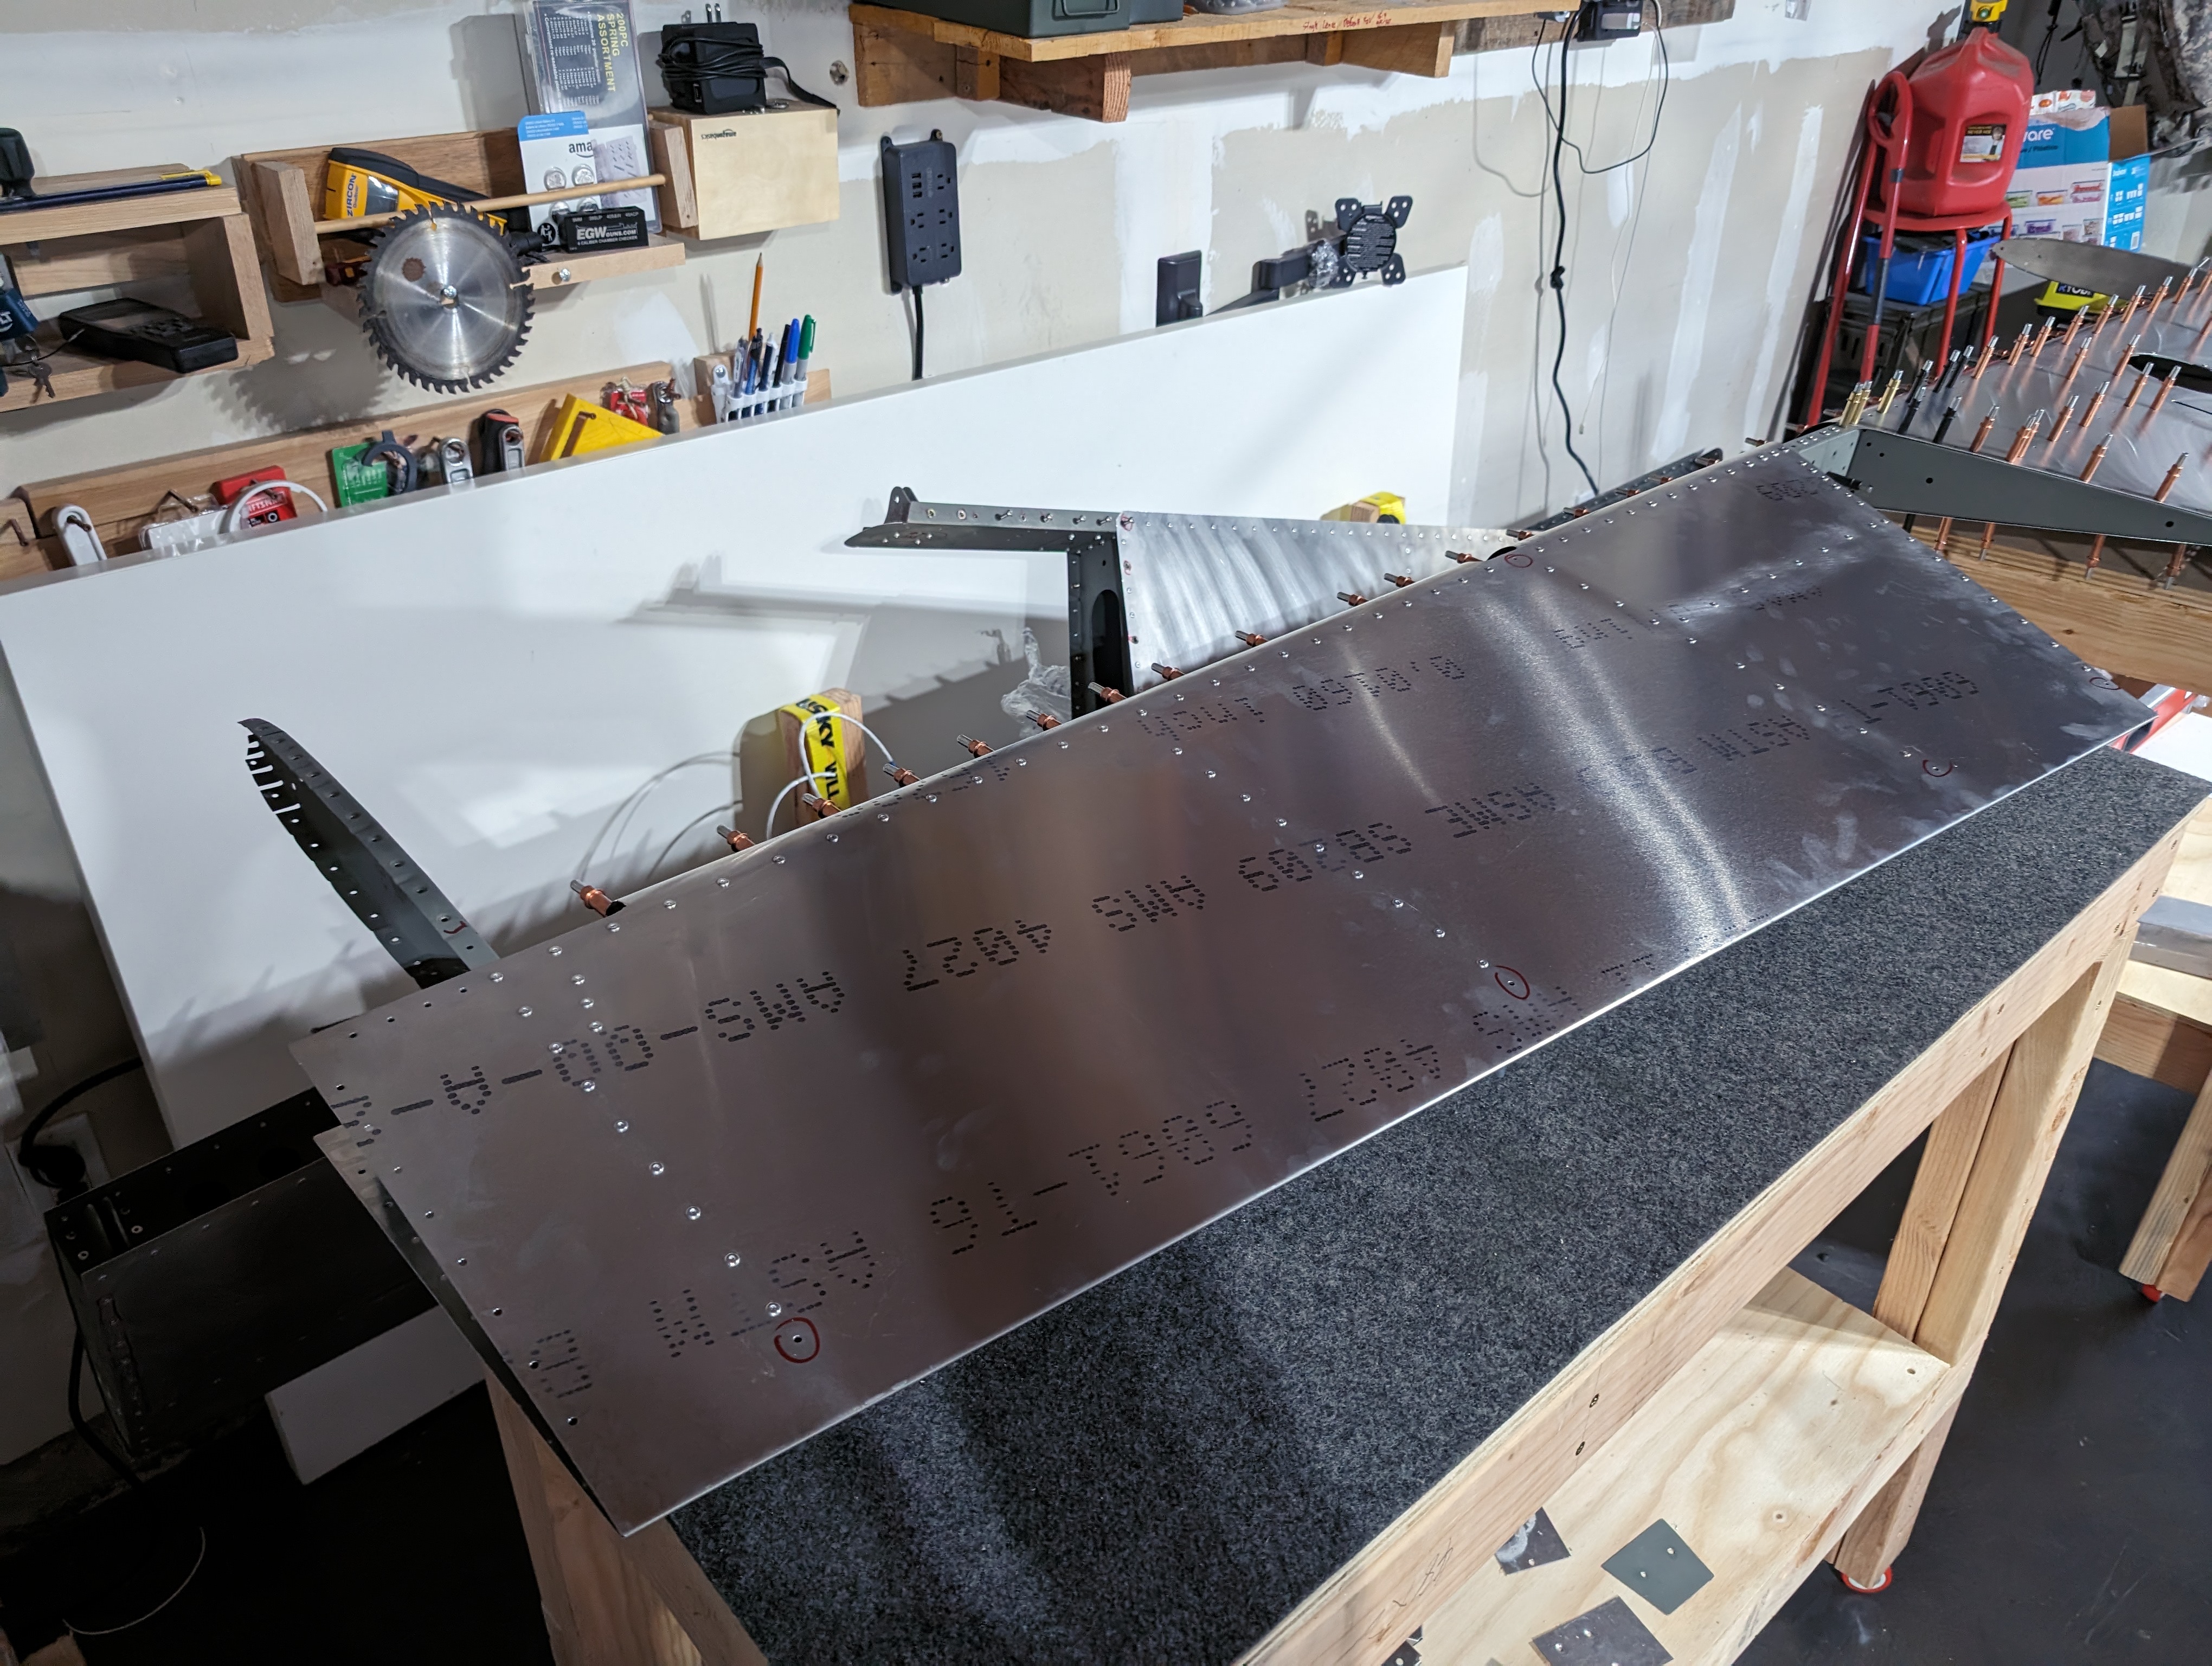
I then started to rivet on the bottom skin on both left/right sides. I followed the same sequence as when I did the clecoing - main spar first, then trailing edge, then in the middle. It was a tedious process, but went smoothly.
On the right side, a few rivet could not be installed yet because the surface is so thin that the rivets were too long. I marked them on the skin using a marker, and will need to shorten a few rivets to fully finish the bottom side.
Measuring straightness
Even though 99% of the holes lined up during riveting, I still want to measure the straightness just to verify.
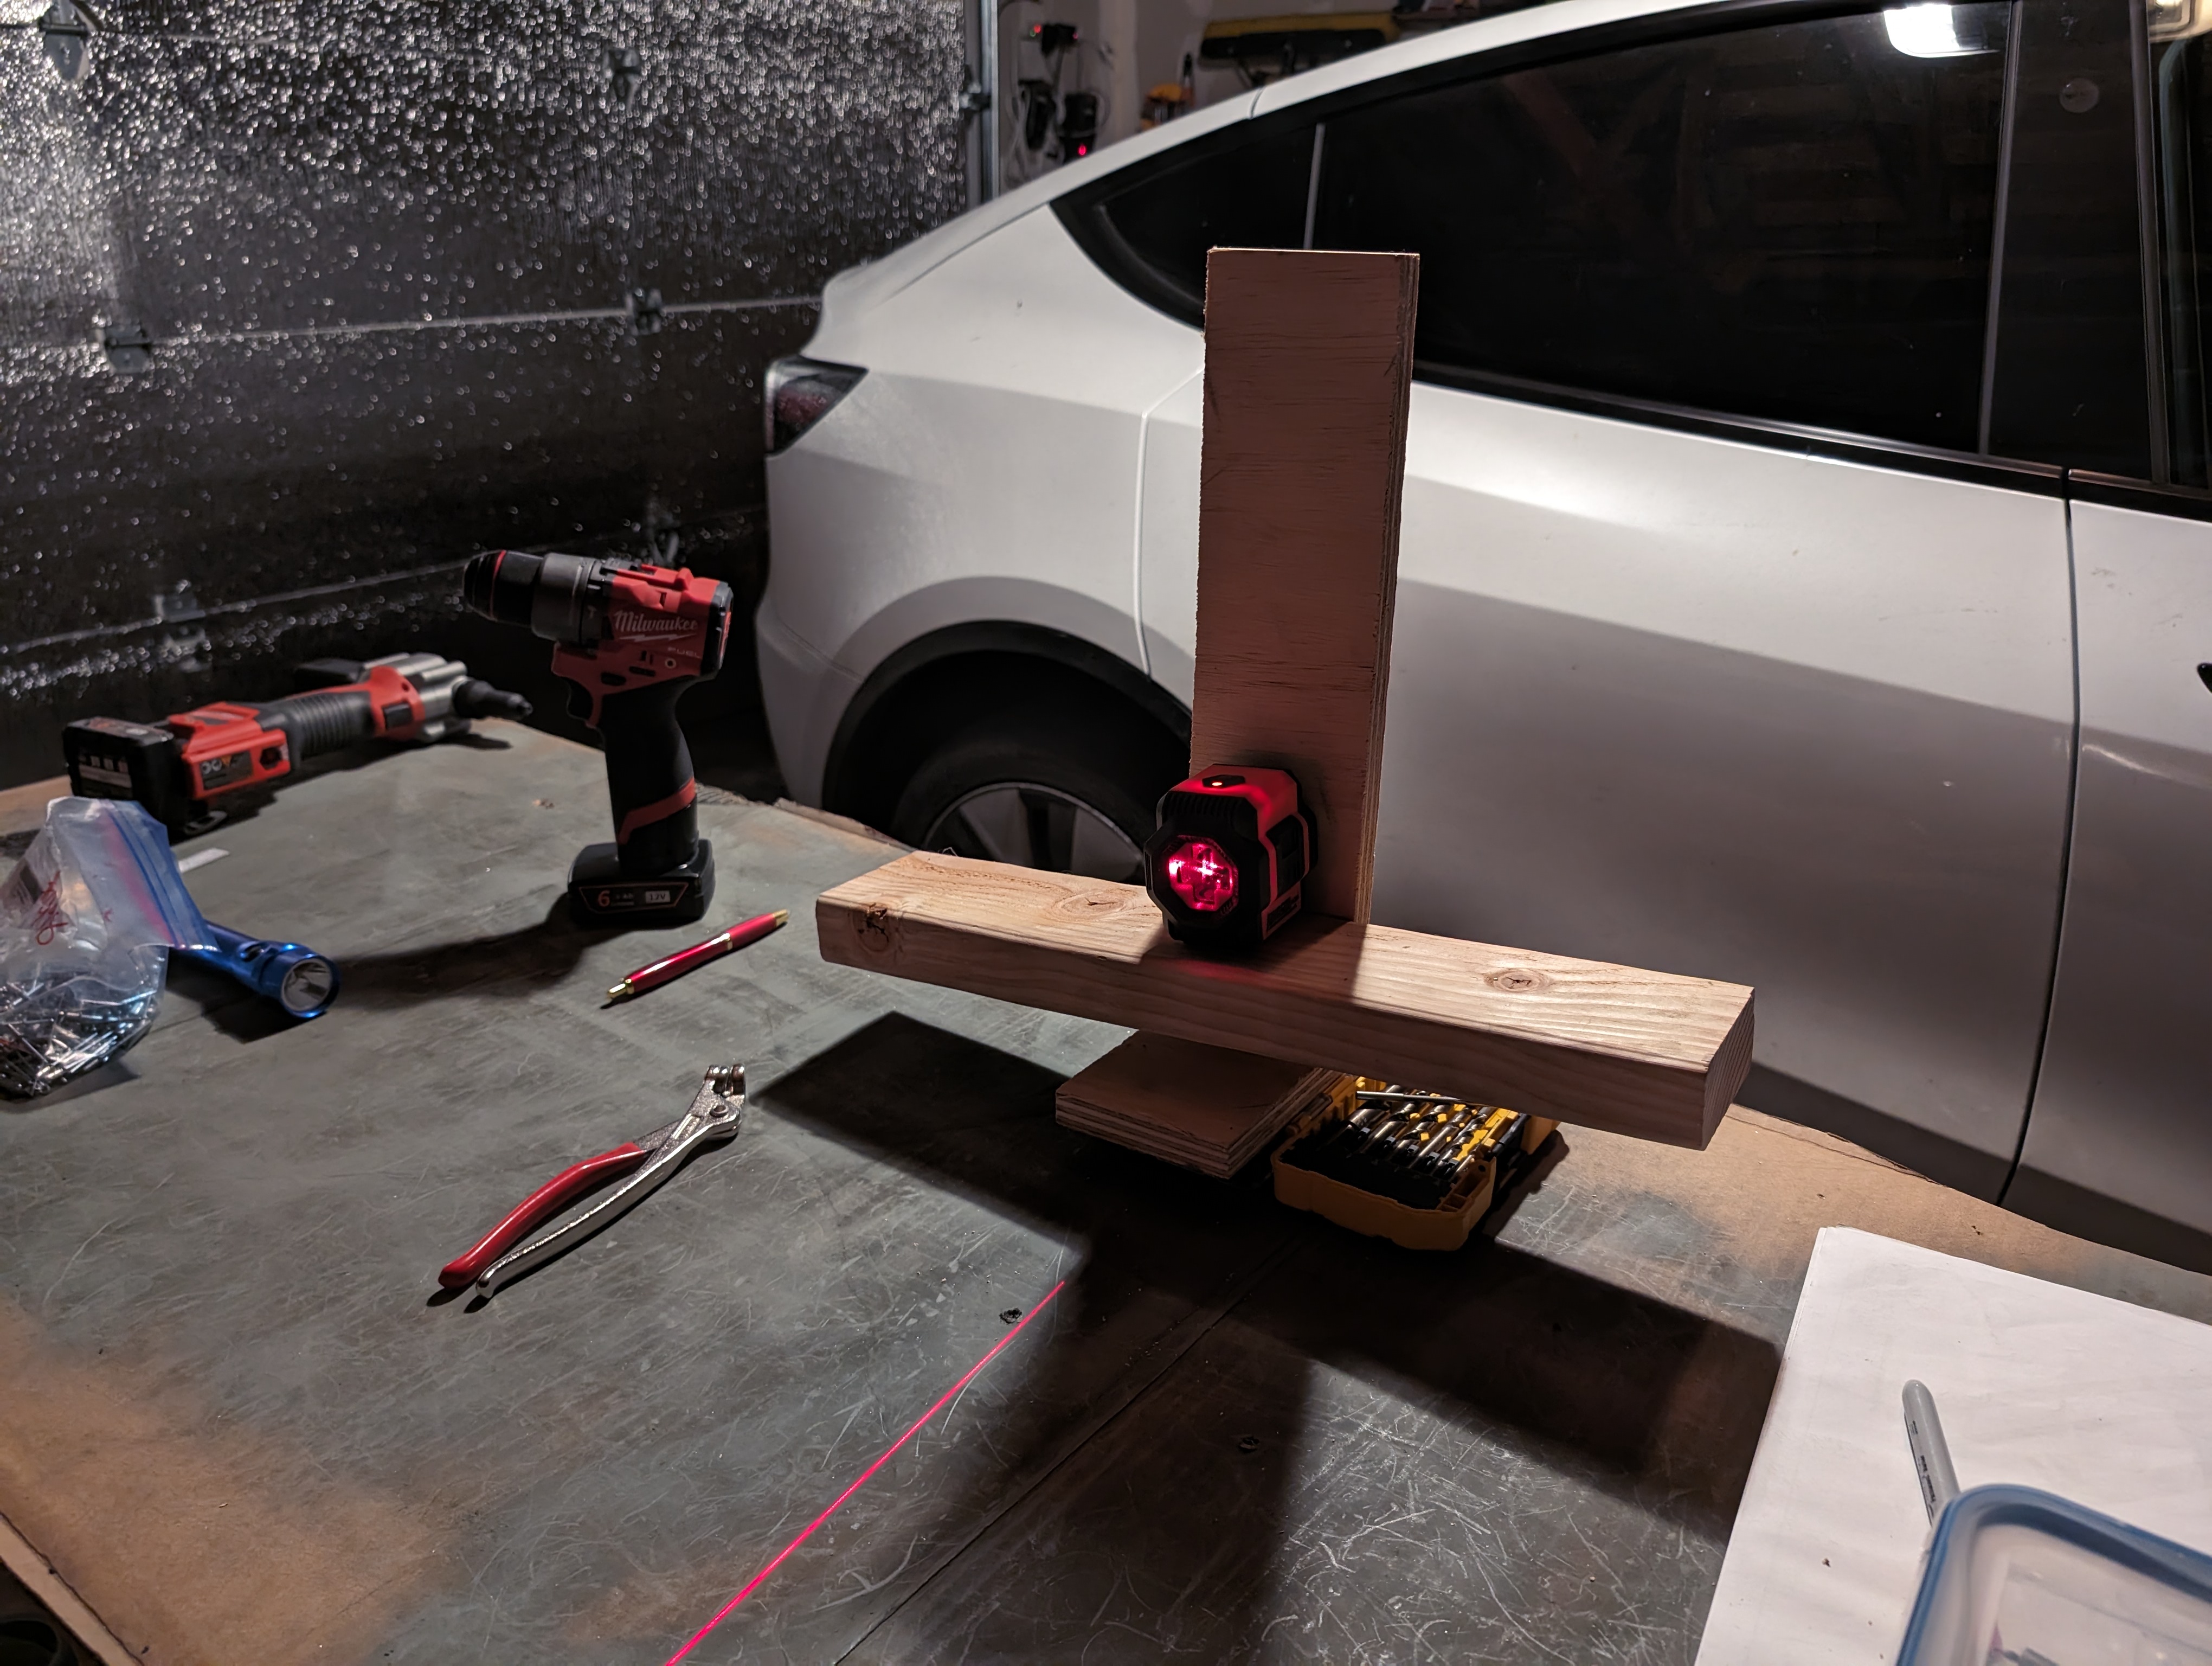
The table placing the elevator is not 100% level, so I needed to put my laser in manual mode. However my laser level is weird - when put it manual mode, the lines it shoots is about 10 degrees rotated. So I need a way to line up the laser line and horizontal axis of the elevator. I tried to manually hold the laser first. With patience, I was able to get an OK measurement. But obviously this isn’t scalable, I don’t want to do this to every part I am going to build next.
I decided to build a simple jig: I first used 2 flat wood board to build a T shape as stand. Then screwed a third piece of wood onto the T stand near the center. This will be the platform to put the laser. I only used a single screw intentionally so the platform can rotate. The whole thing took about 5 minutes and the final effect is pretty successful. I was able to measure the straightness much more easily.
Trim motor hardware
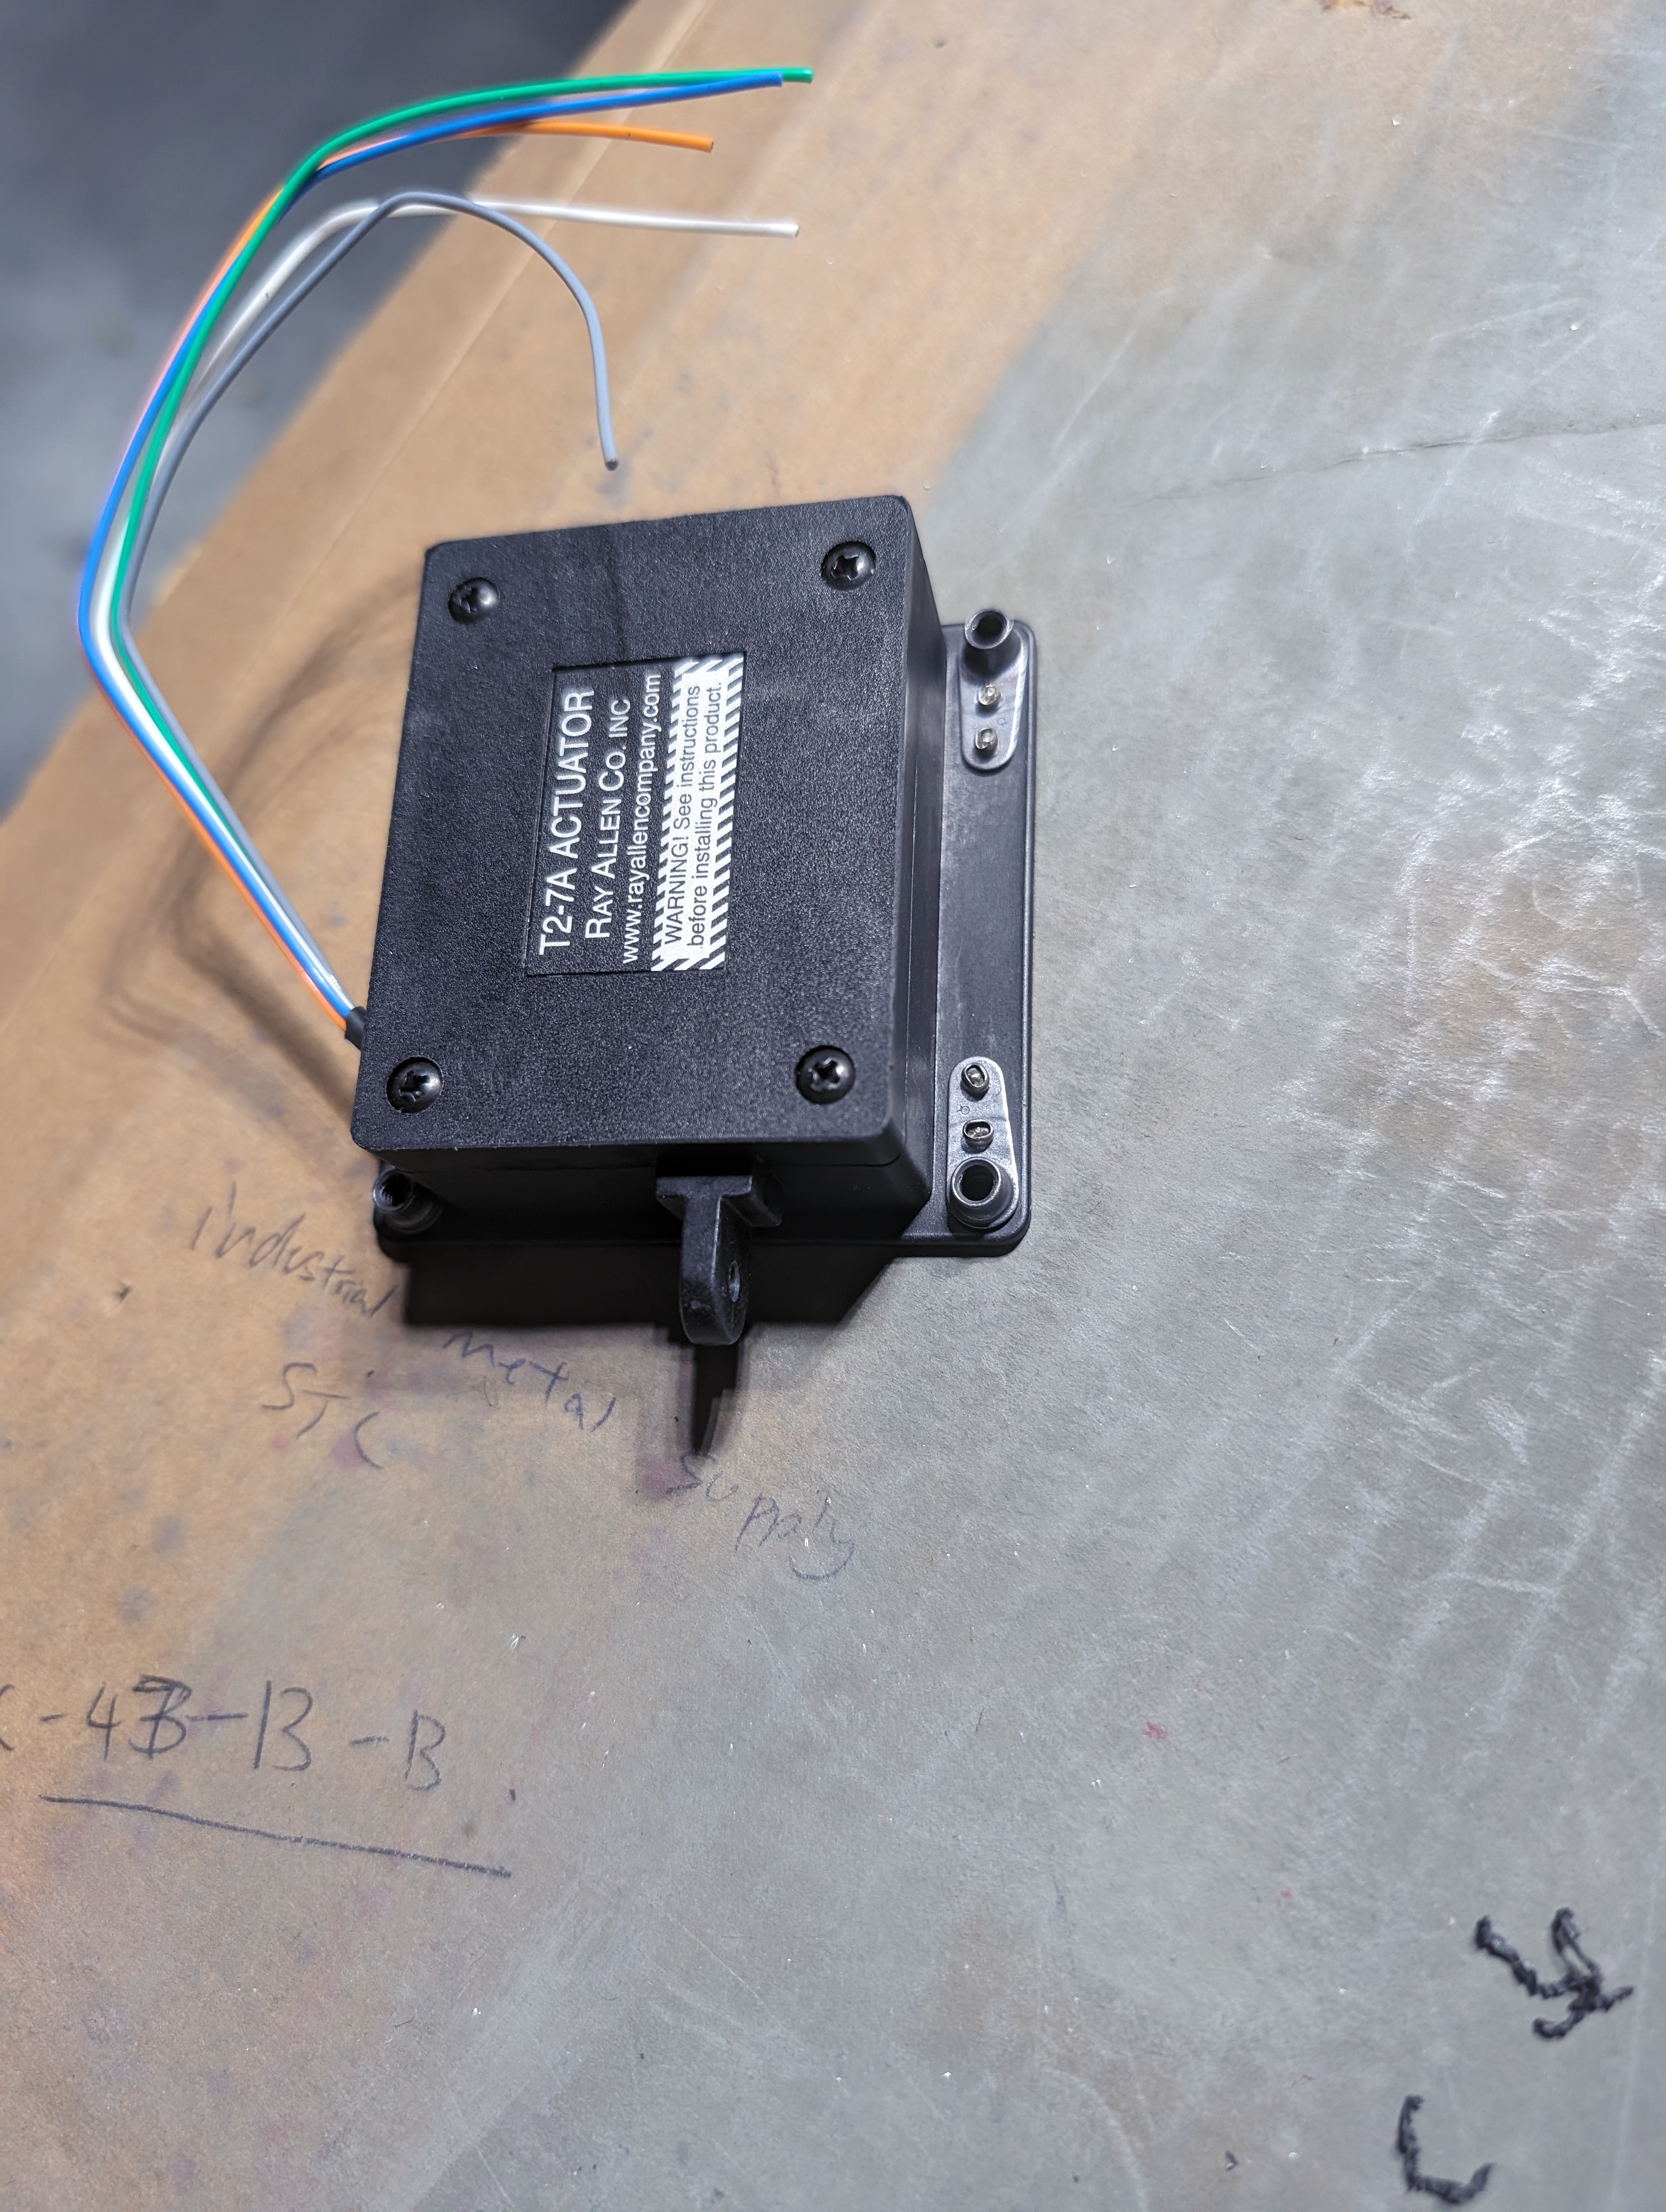
I also worked on the trim motor (just to hardware part, no wiring).
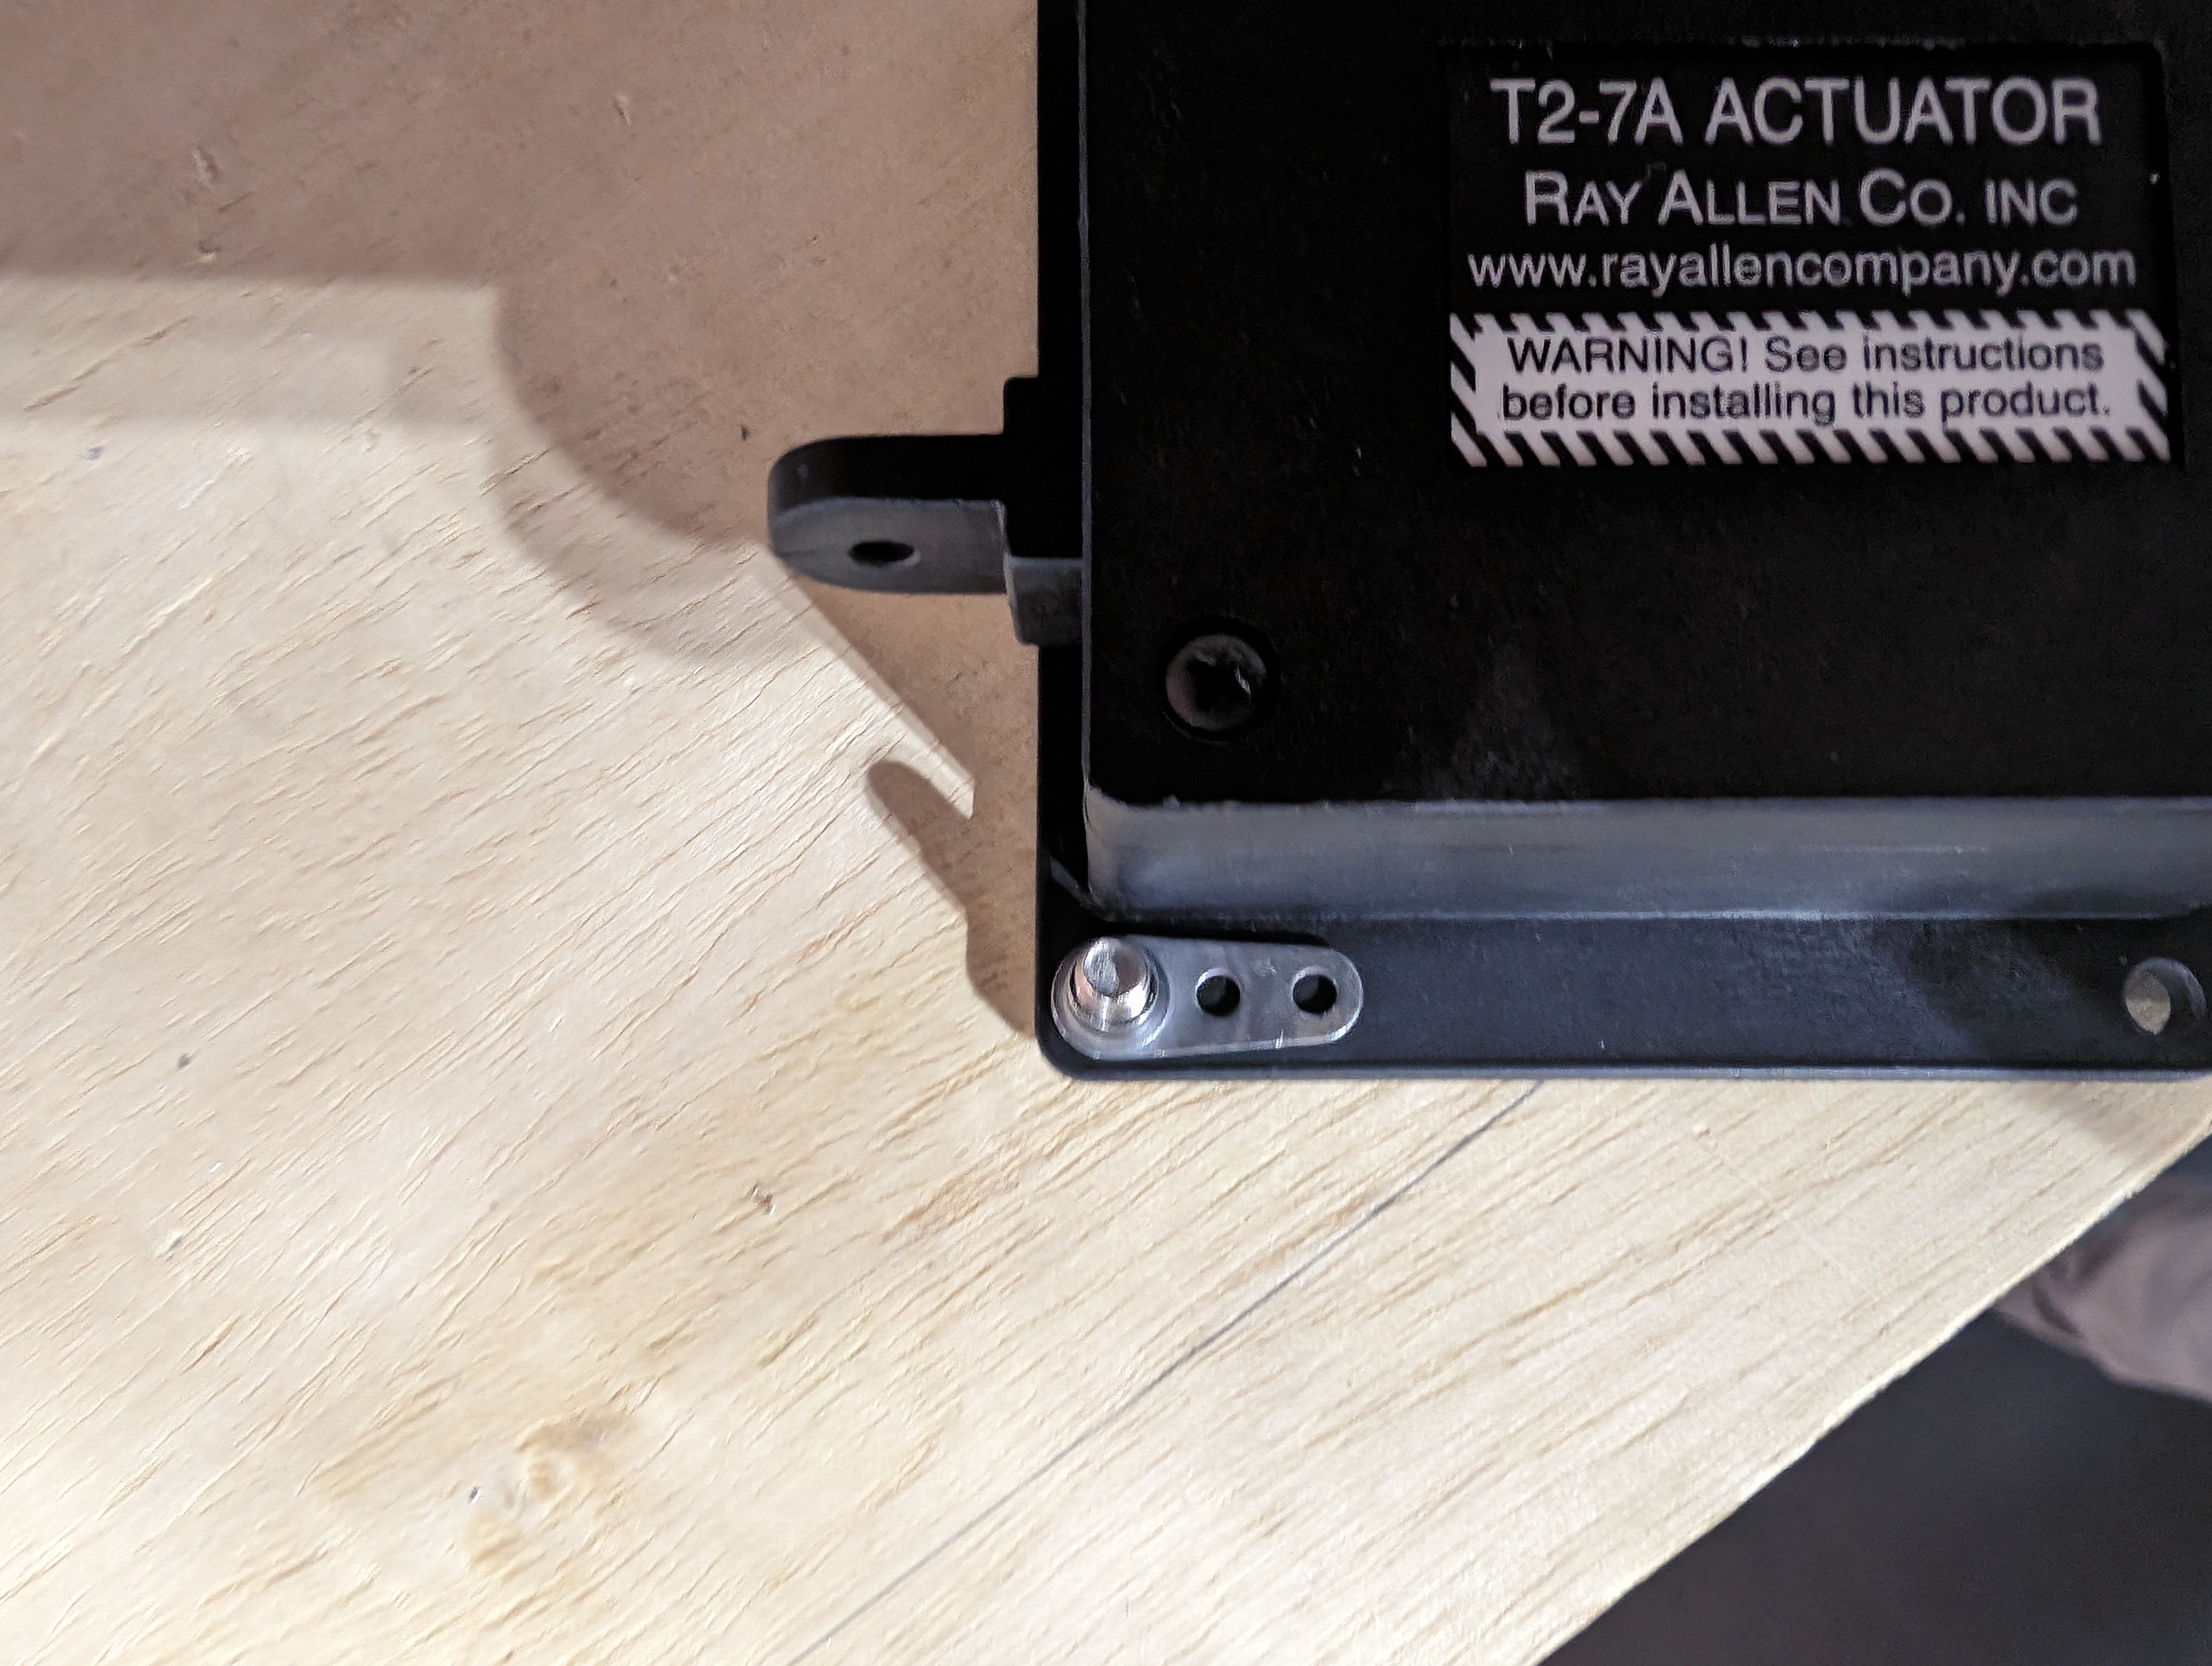
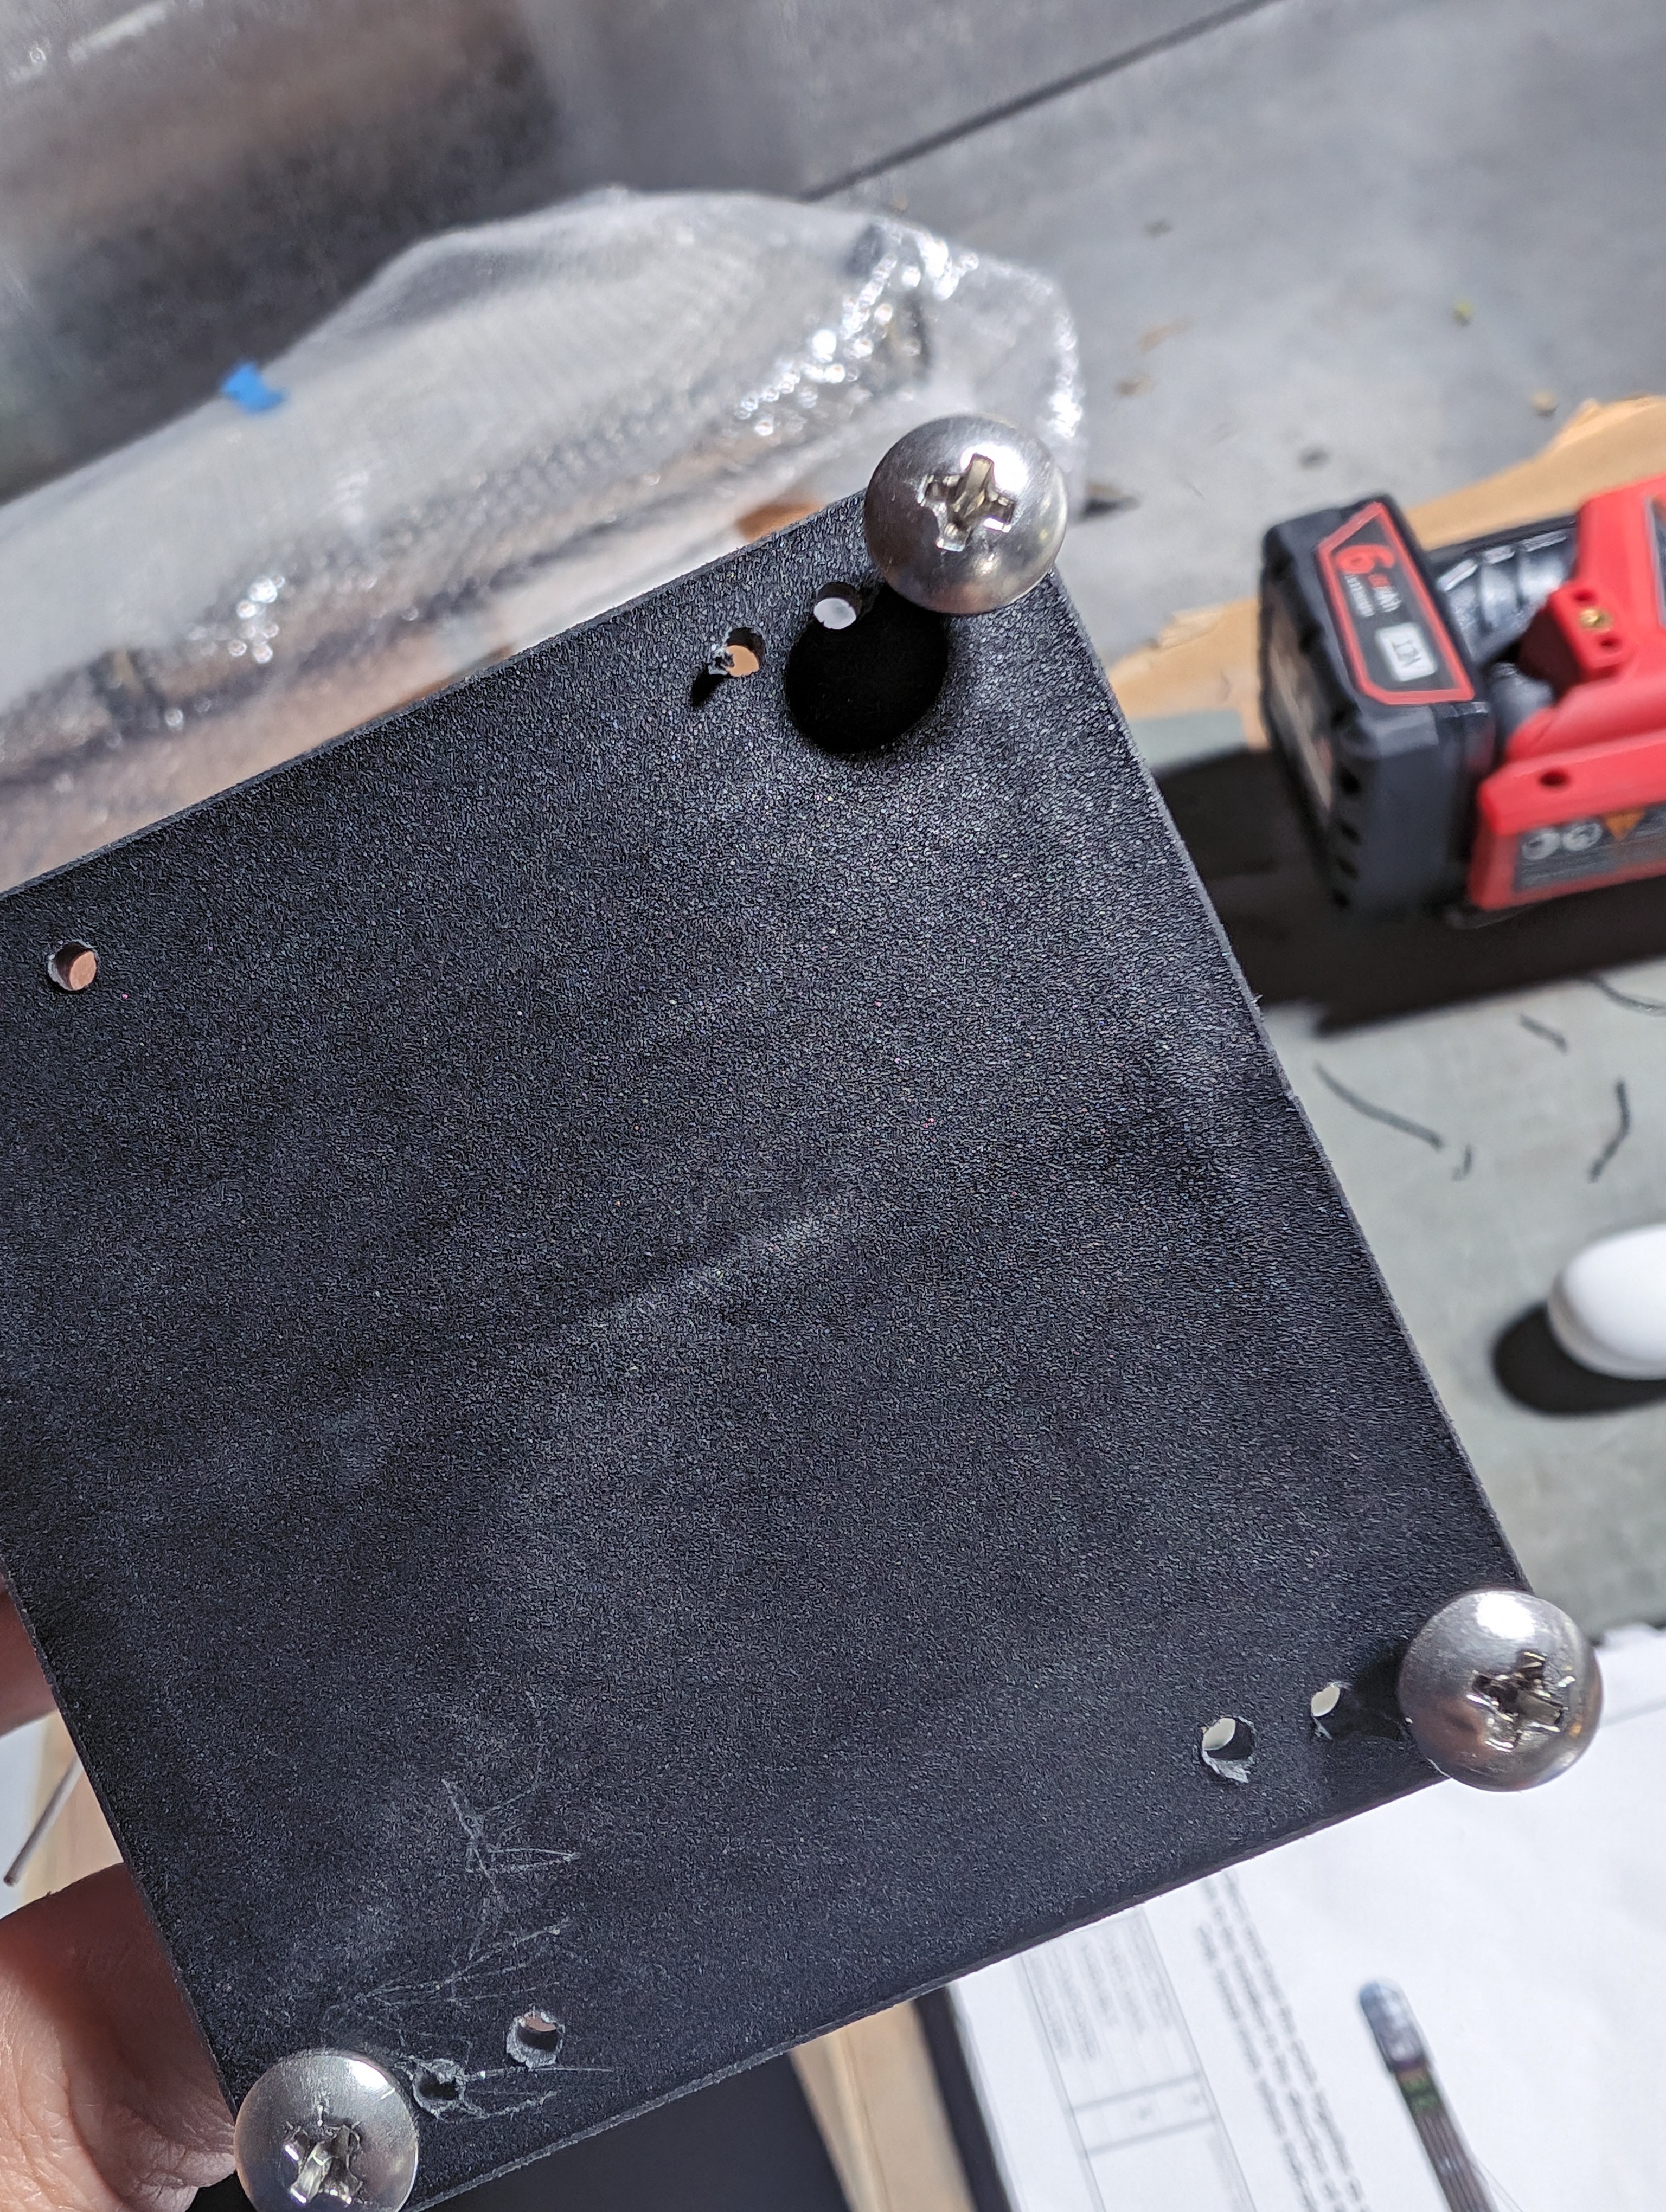
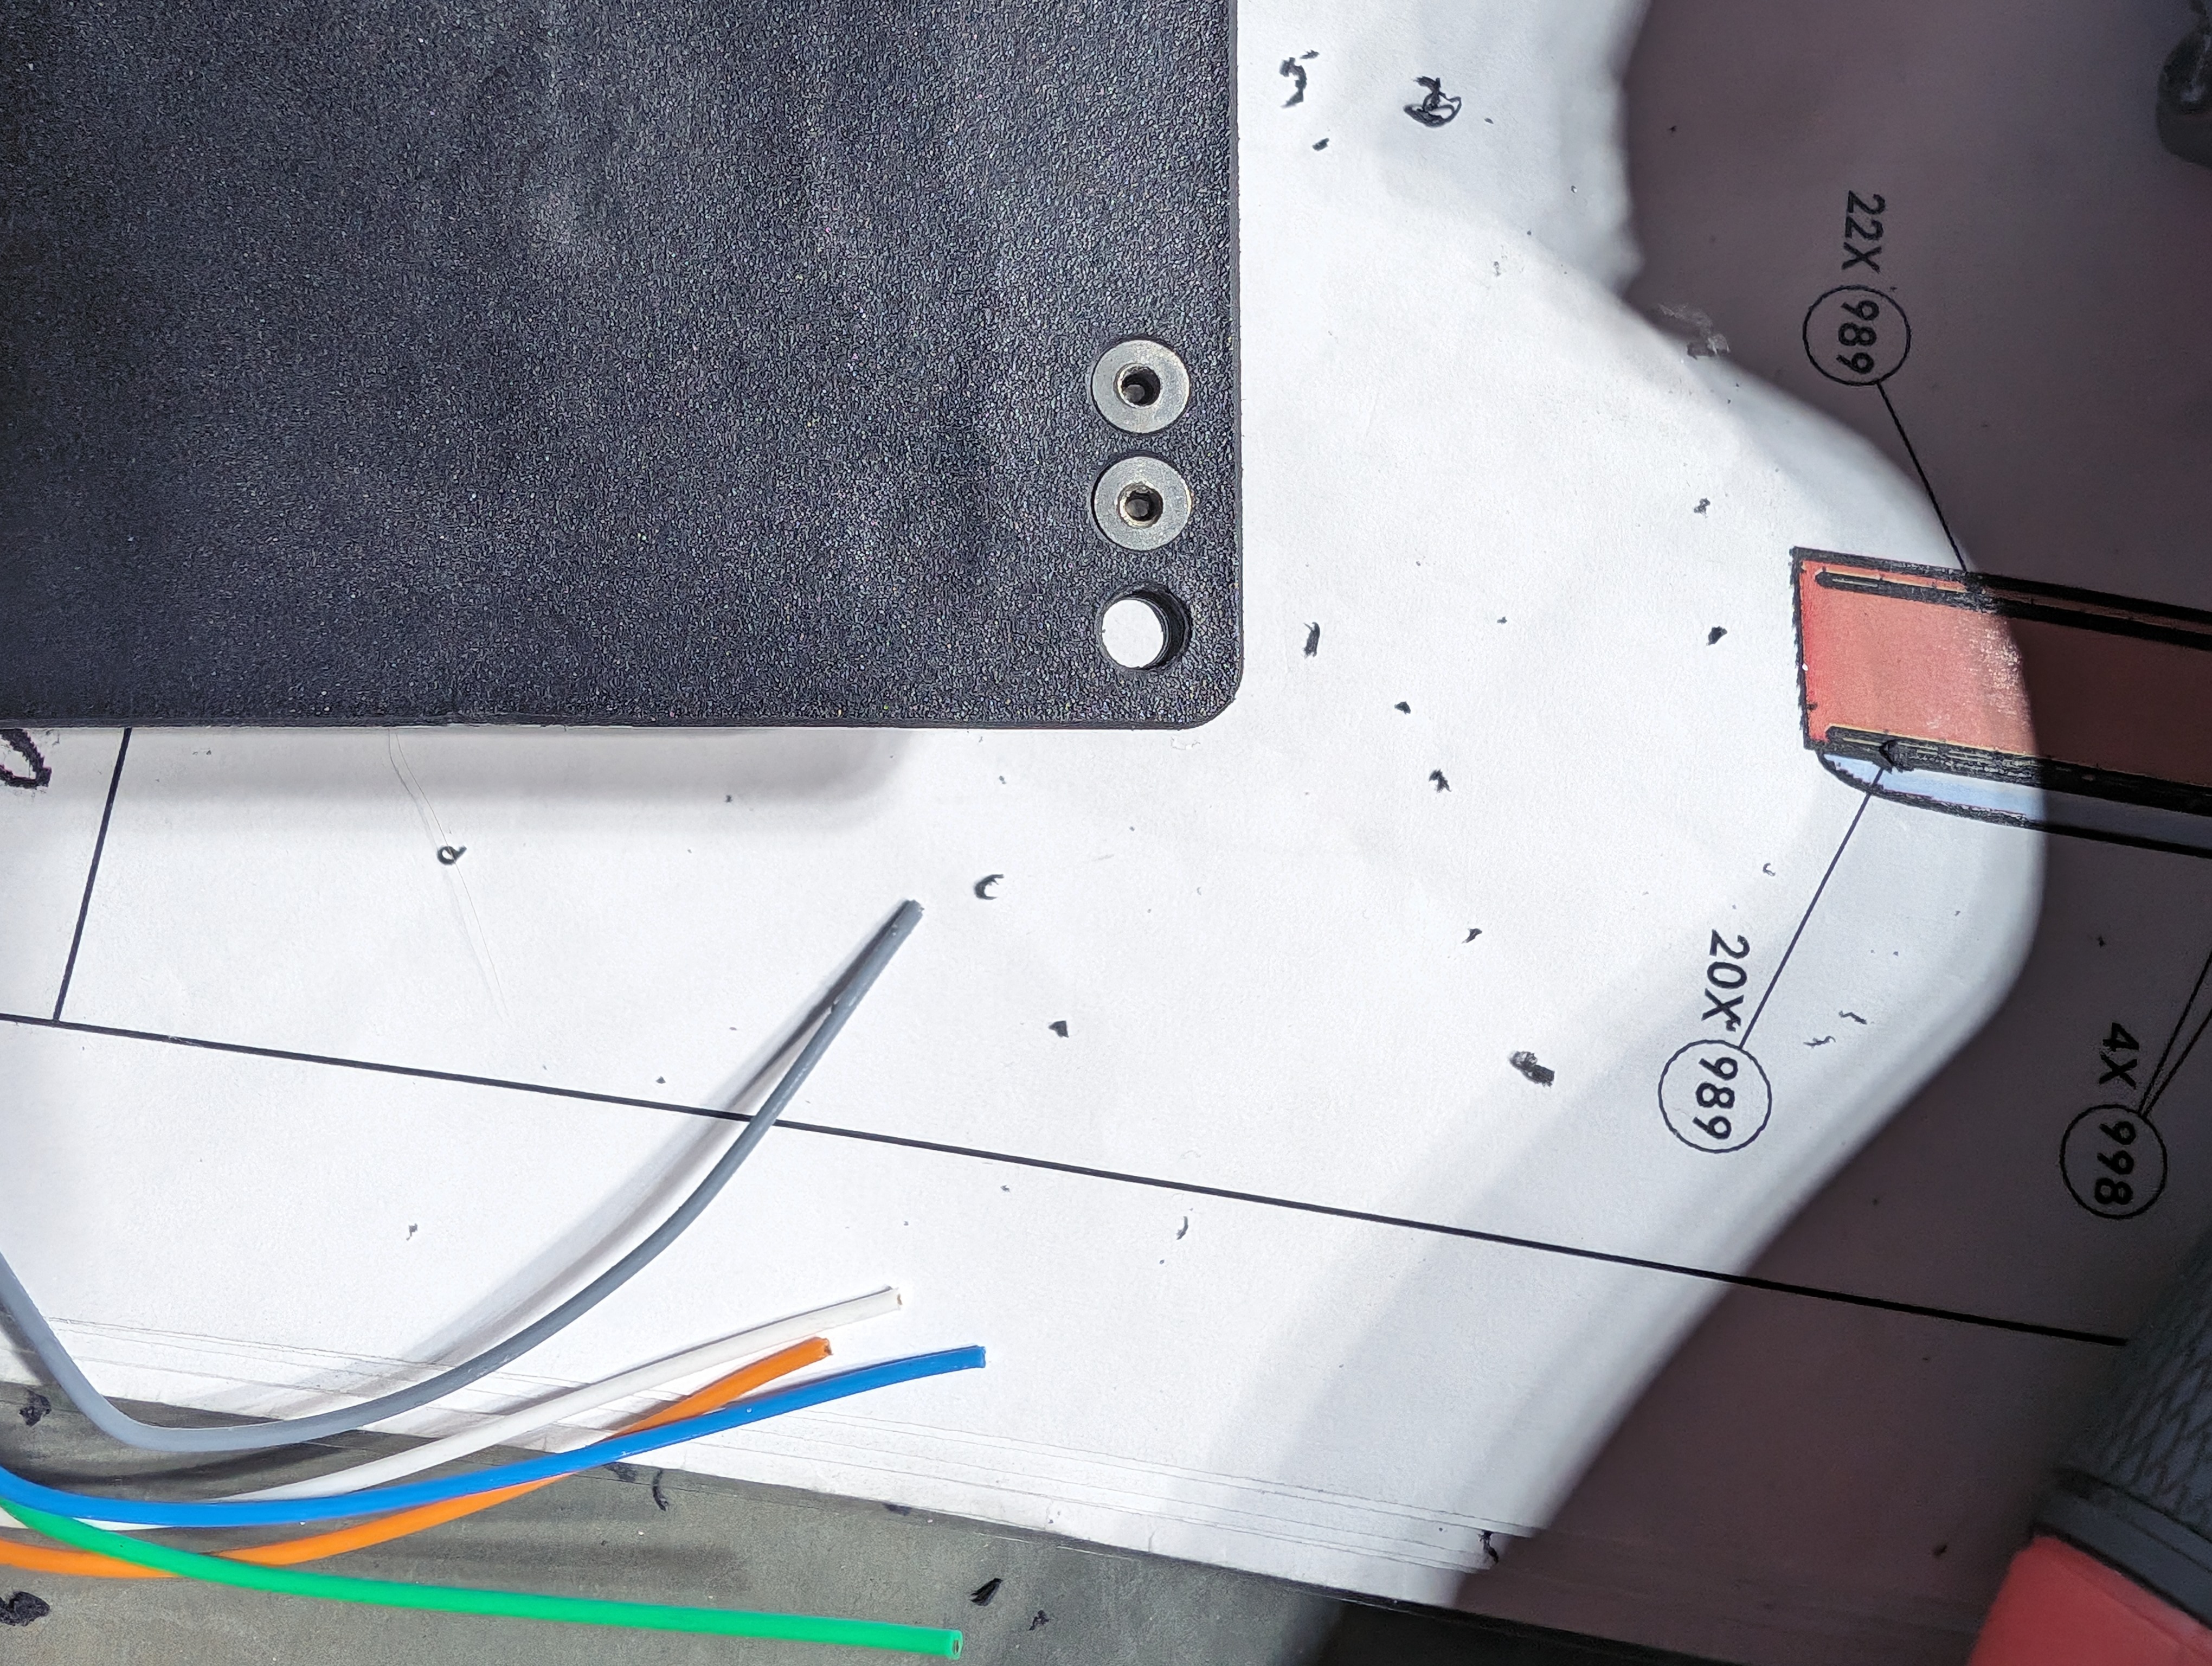
The main work here is to install 4 nutplates to the trim motor so it can be screwed onto the elevator. Not all holes are pre-drilled so some holes had to be manufactured.
The instruction was pretty clear, I pretty much just followed it:
- clecoed the motor onto the elevator to match holes
- upsized the four 3.2mm holes to 4mm
- unclecoed, and screwed M4 machine screw through the hole with nutplate in place
- drilled 2.4mm holes using nutplate as a template
- countersunk the 2.4mm holes
- installed countersink rivets
That’s pretty much it. I took extra care when drilling holes since the process was not reversible. But in the end the final product looked good.
