Elevator skin fitting and safety wire
TLDR
- Elevator skin (not including the tip skin) clecoed and tested for twist/straightness
- Added safety wire to trim tab piano hinge
Details
The last piece remaining in my empennage kit is the elevator. I started to fit the skin and trim tab on the elevator spar assembly.
Skin
Cleaned and scuffed the remaining skin near the rivet holes. I previously missed deburring a line of holes on the right skin so I did it today.
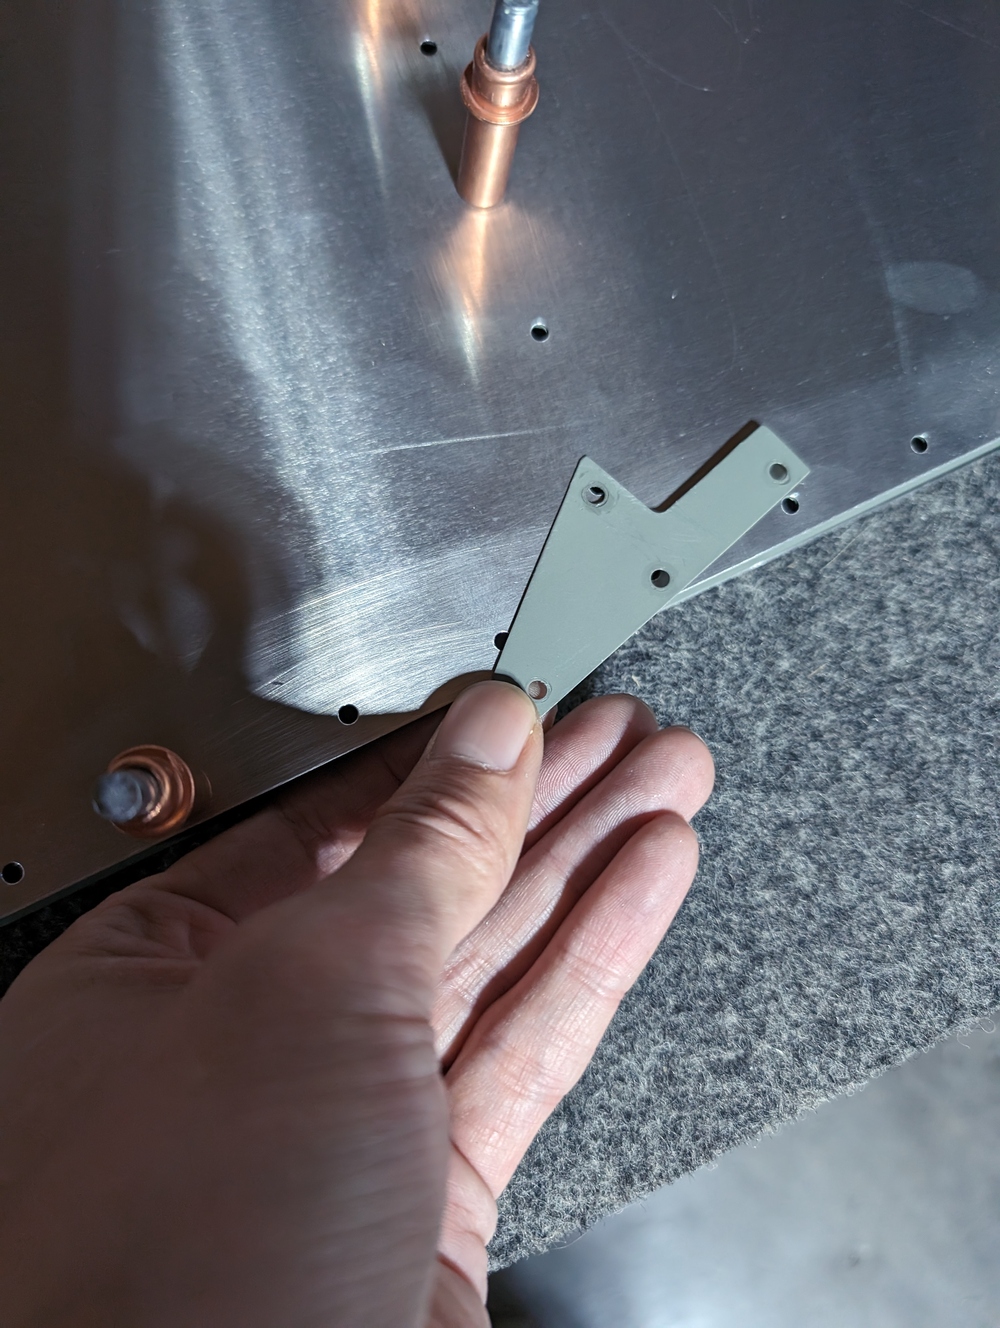
After the skin prep, I started to cleco the skin to the spar. I started with the left bottom skin as it is the most complex area on the elevator. On Evan’s video he suggested to insert the 3 gusset plates from the top when the whole assembly is flipped over. I found it actually easier to just insert them as I cleco the bottom parts so that’s what I did.
I left the trim mounting channel (EL-CHL-004-X-E-0) only clecoed for now because it only has 1 rivet hole on each end, and it’s really easy to introduce a twist if riveted too early. I wanted to rivet it after checking twist/straightness.
So after the both sides skins are clecoed, I measured the straightness using the laser level.
Trim tab
Next I worked on the trim tab.
It was very difficult to remove the plastic from the trim. It’s not only because the plastic is sticky, but also that the part has a very sharp bend and the part is pretty soft. I didn’t want to pull too hard and cause any malformation on the metal.
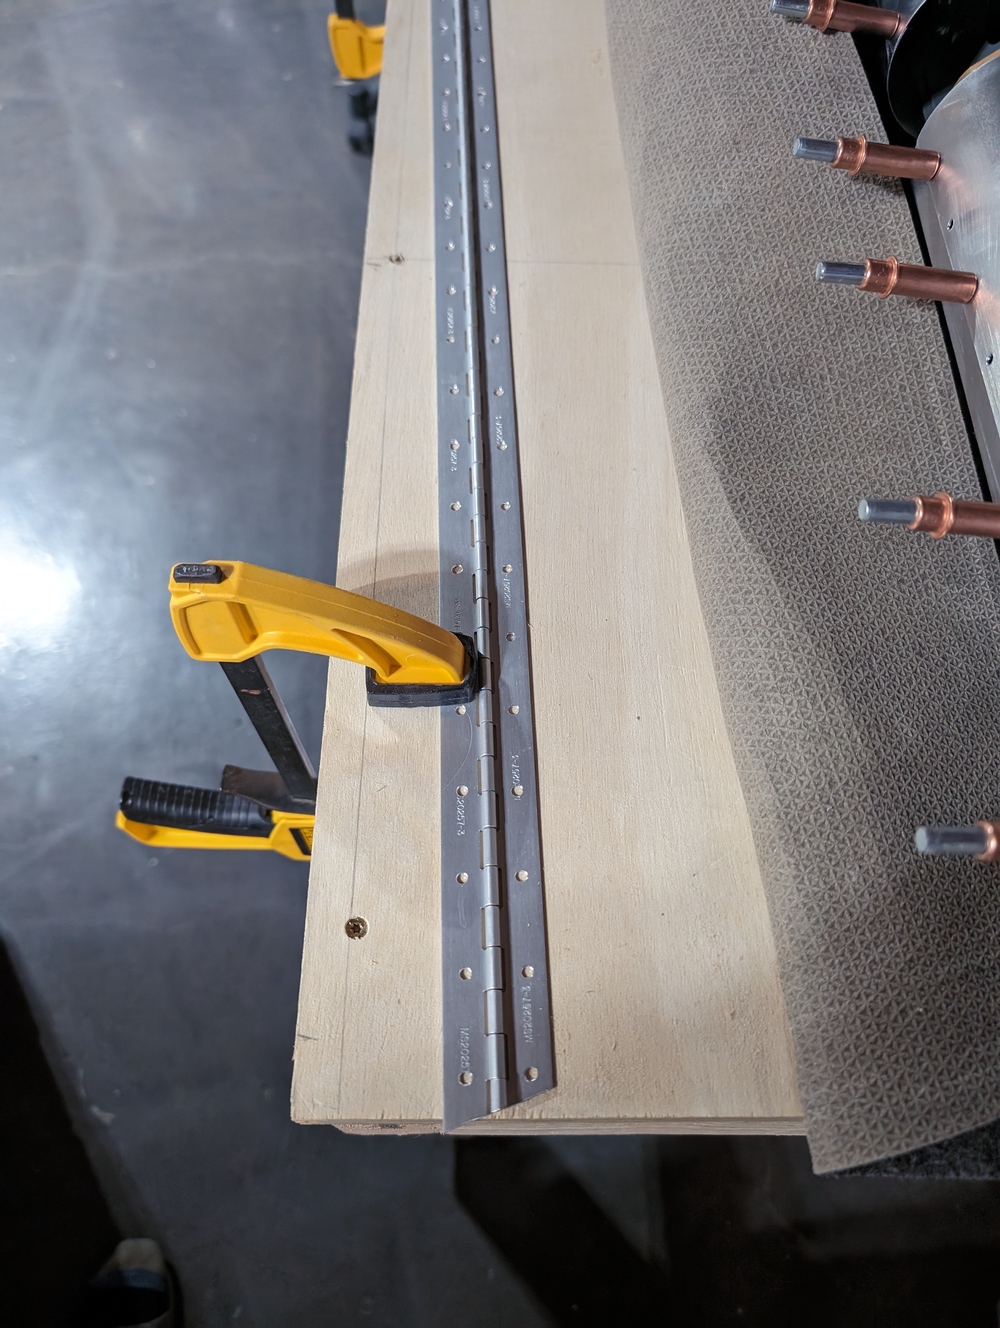
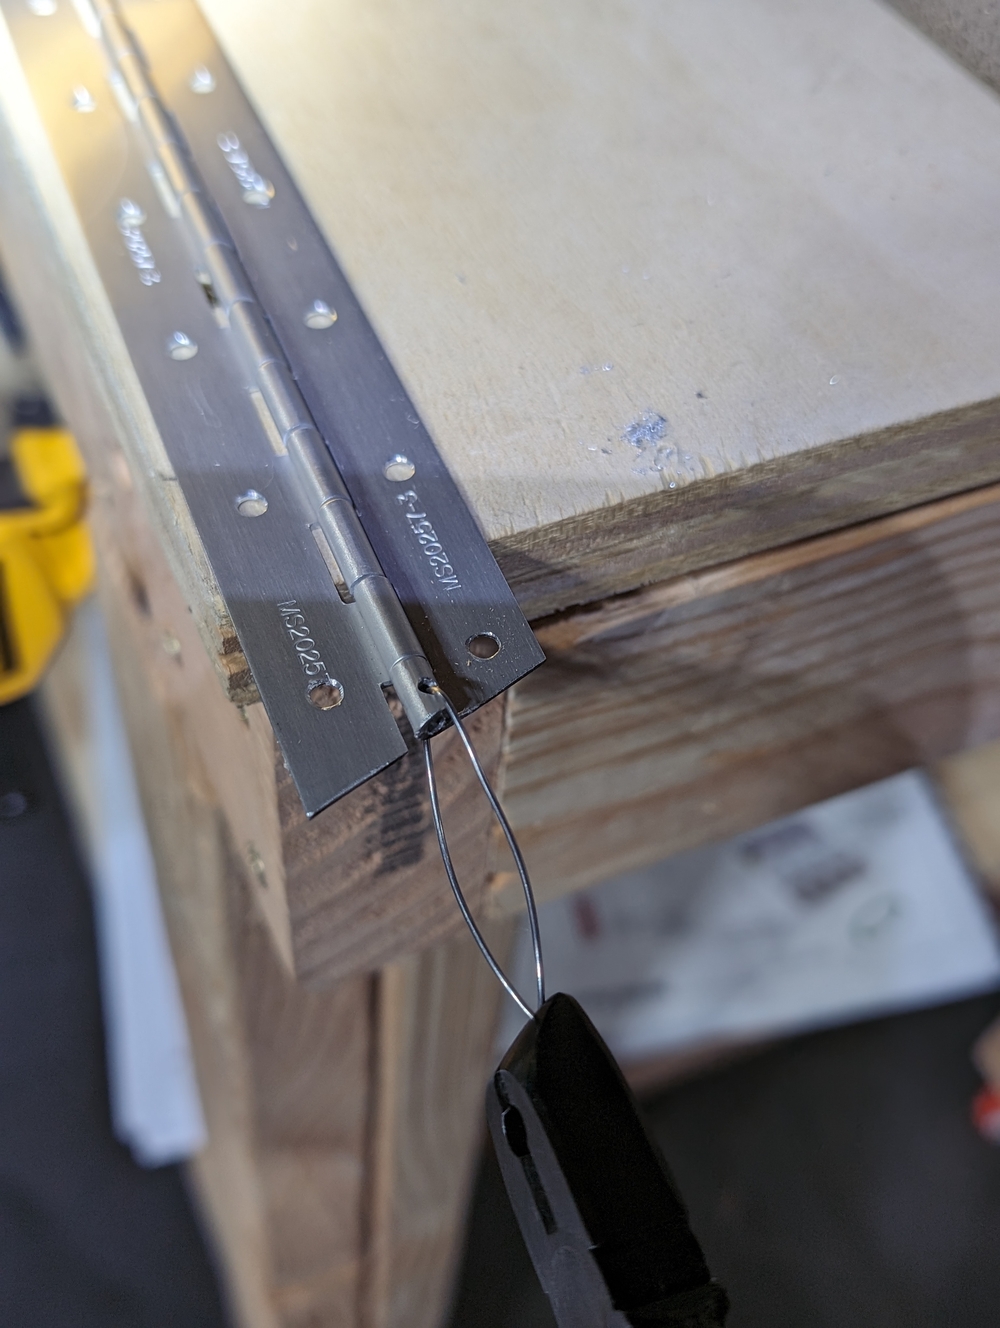
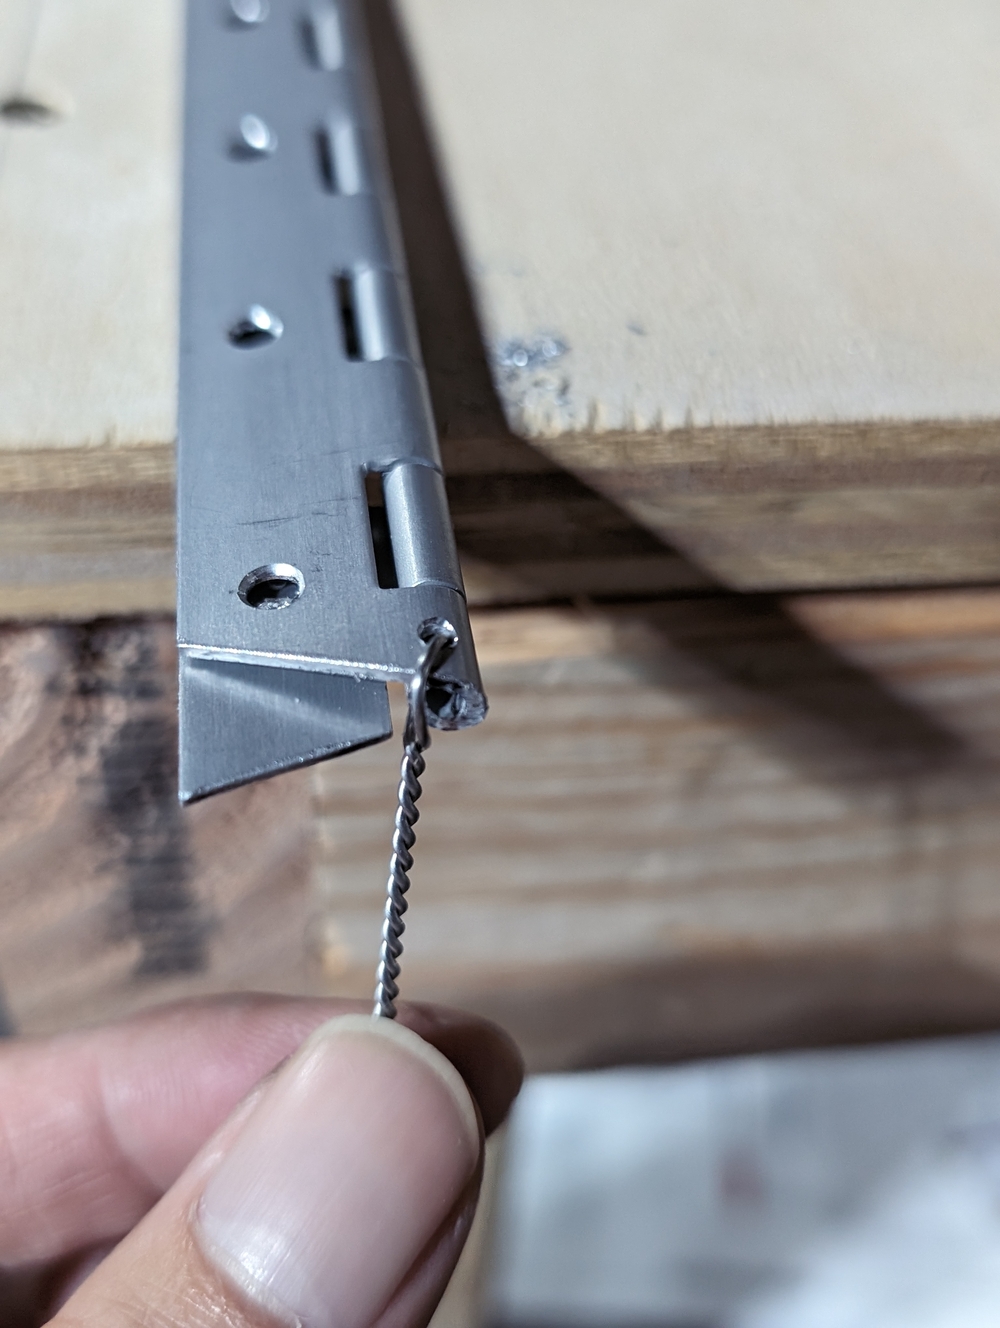
Then I proceeded to drill 2 holes on each end of the trim tab piano hinge to install safety wire. This is recommended by pretty much everyone on the Sling build facebook group as well as EAA. The safety wire will prevent the hinge rod falling out.
Here is roughly what I did:
- Push the rod out by a few millimeters (I clamped the hinge on workbench and used a drill bit to punch it out)
- Drill a 5/64 hole
- Cut off a few millimeters off the rod
- Push the rod in, and push it out from the other end
- Drill another 5/64 hole from the other end
- Push the rod in and make sure the ends of the rod stays between the drilled holes, but still long enough to go through every hinge
- Install safety wire on both ends through the holes
- open/close the hinge to make sure the safety wire does not interfere with the movement


