Countersink, more cleaning, and clecoing
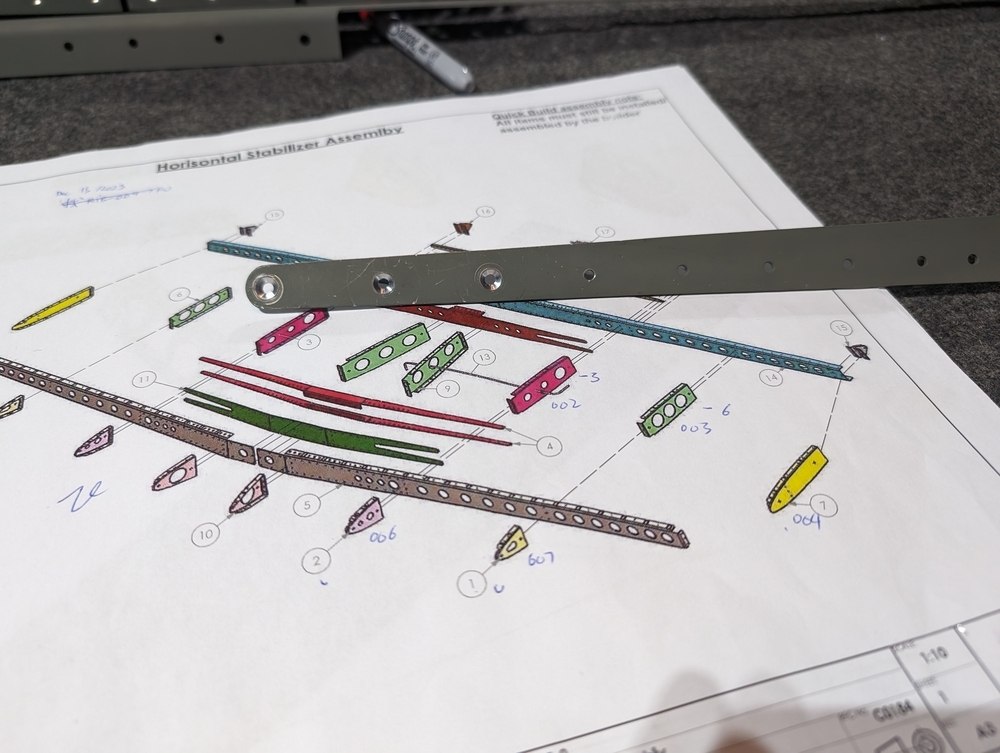
Today I continued on HS-ASS-001-C-F-0 sheet 2, 3 and 4.
Modifying dimple dies
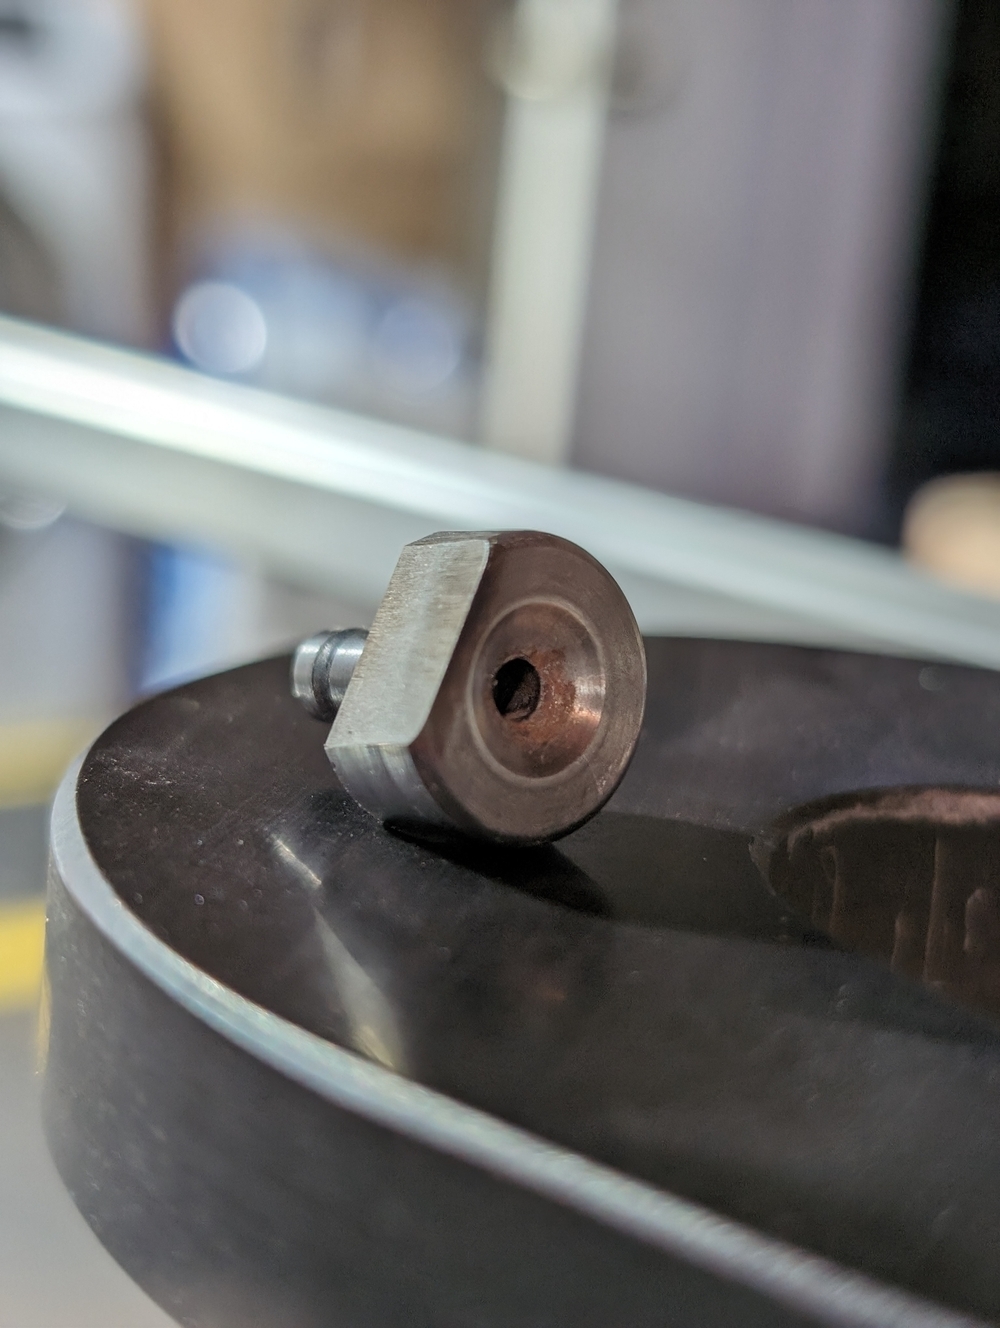
When making dimples on the parts for sheet 2, many pre-drilled holes are very close to the corner of the metal, and the dimple dies did not fit.
I googled around and it seems most folks would grind down their dimple die and the hand dimpling tool.
Easy enough, I pulled out my bench grinder and got it grinded down slightly.
The rest of the dimpling was pretty easy with the modified dimple die.
First countersink
Sheet 3 requires me to countersink 16 holes on HS-ANG-001-X-E-2.
I adjusted my countersink cage on a scrap aluminum and started to drill my first countersink! I was too excited and mistakenly countersank 3 holes on the opposite side on the center angle. Derp! More on that later.
I finished the other angle without incident.
Given that 3 holes are incorrectly drilled, I sent Sling technical an email to see how to fix it. My plan is to fill the hole using some structural adhesive like hysol, then re-drill them on the other side.
Update 2023-12-21: I got response back from Sling. Unfortunately I cannot patch it with structural adhesive. I will have to get a replacement part. So I will move on to other components for now and come back to the spar when I get the new part.
More part cleaning
With the set back on the countersink, I was unable to cleco the front spar channels together. So I moved on to the rear spar channel.
More peeling protective films, here we go.
While cleaning parts, I start to experiment ordering tasks differently for efficiency.
Last time, I started with cleaning and priming. I don’t think this is working because the primer is easily scratched after drying for 2-3 days. Besides, some primer will be removed when I debur holes anyway. Priming should come last, right before riveting.
So for the rear spar I planned to clean, cleco and test fit, then prime.
I soon realized this doesn’t work either, because the parts will get greasy when I try to cleco.
So going forward I will follow the following steps instead:
flowchart LR;
    RemoveCover["Remove plastic cover"]-->Cleco;
    Cleco-->MatchDrill["Match drill"];
    MatchDrill-->Debur;
    Debur-->Clean["Cleaning parts"];
    Clean-->Prime;
    Prime-->Rivet;
Cleco
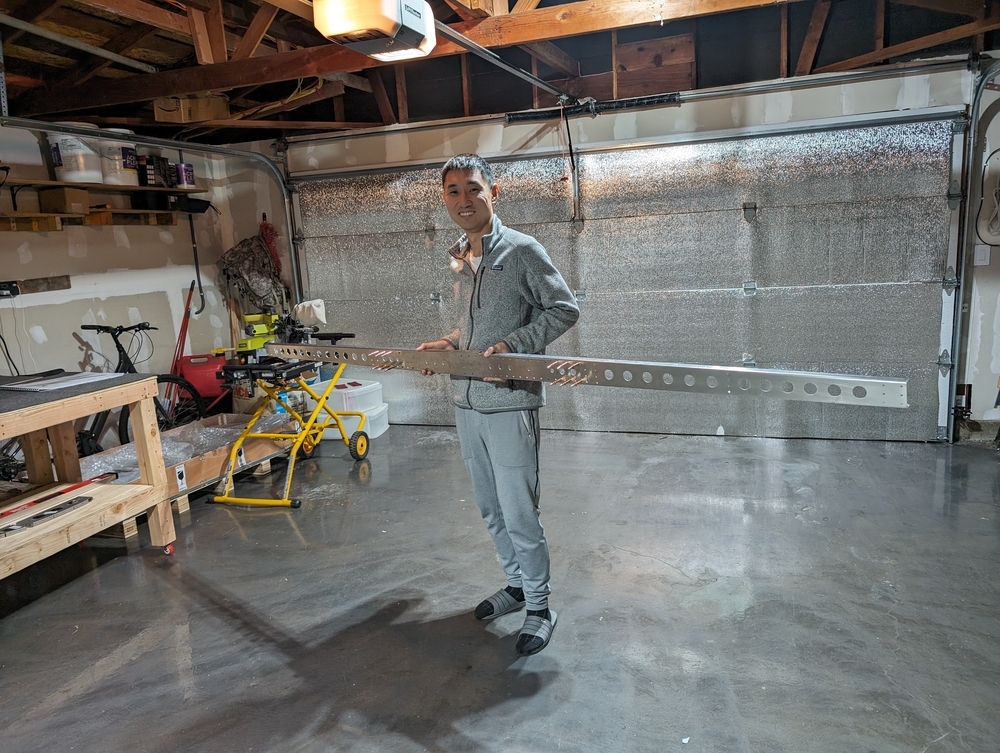
I clecoed the rear spar and center channel together. Now it finally looks an airplane part!
I ran out of the black cleco quickly. Off to buy more! Te be continued!


