Back to HS front spar
Following the countersink mistake I made a few weeks ago, I ordered and received the replacement angle HS-ANG-001-X-E-2.
With rudder finished and VS blocked partially by the defective part, I switched my attention back to the horizontal stabilizer front spar this week, focusing on HS-ASS-001-C-F-0 sheet 2, 3.
Countersinking
I first marked the countersink positions, and double checked this time I’m marking the correct side :)
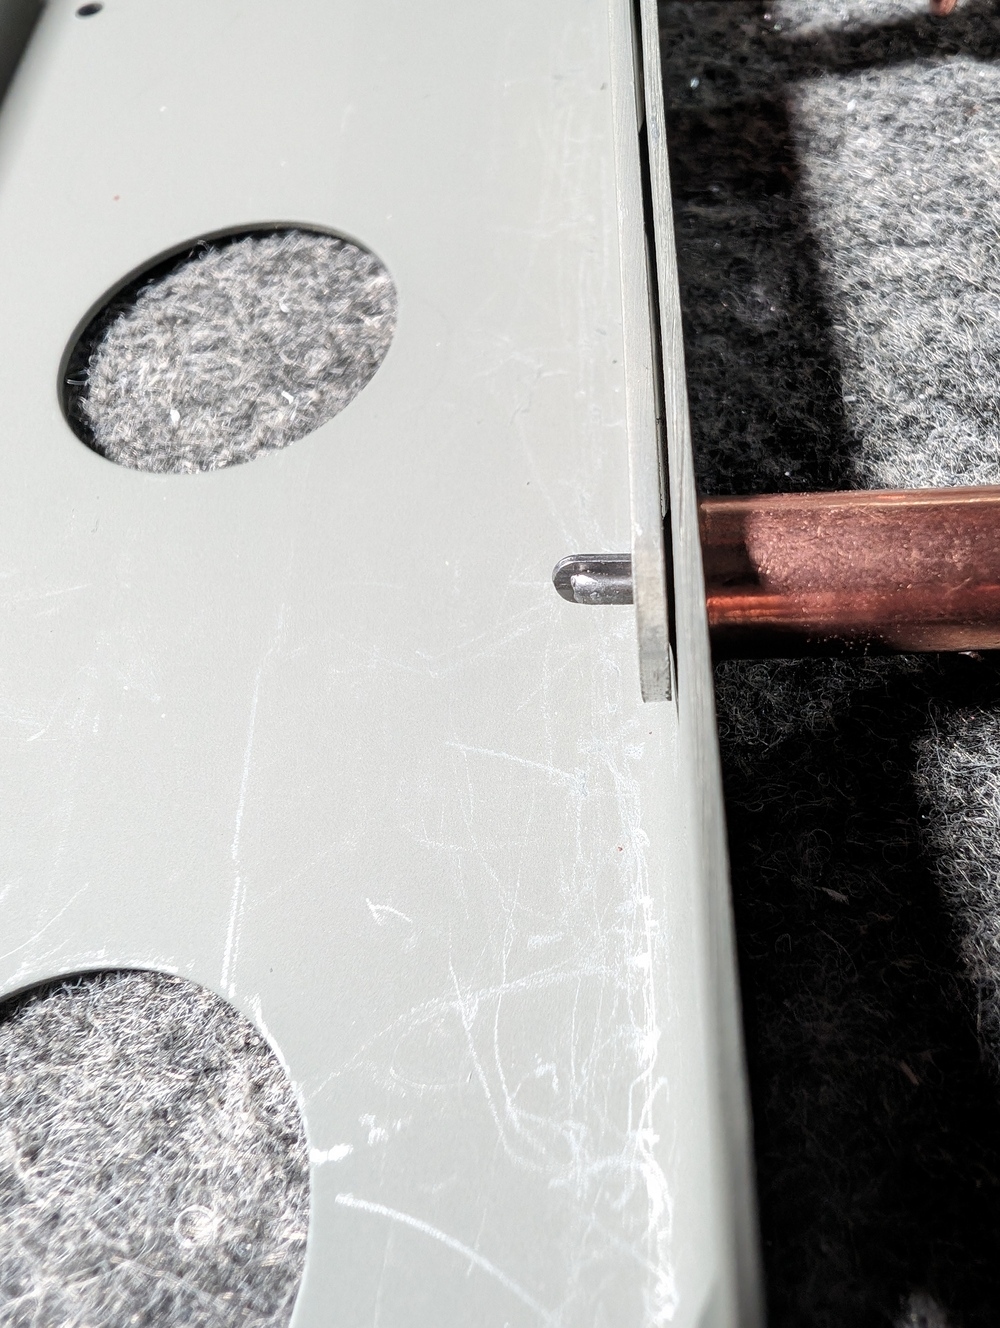
Then I adjusted the countersink tool using a flush rivet. The issue, however, is that when I try to fit the dimpled spar with the countersunk holes, the spar sits proud of the angle by quite a bit. See picture below.
Since the dimple came from the factory, I’m pretty sure it’s not caused by my own dimple skills.
I didn’t like the gap between the 2 layers but was a little hesitant to keep counter sinking. It was already not a standard depth for putting flush rivets. I took a caliper to measure the remaining depth of the angle to make sure there was more than 60% left in the countered hole, and there was. So I drilled a few thousands (5 maybe?). The gap situation became a lot better after that.
Matching holes
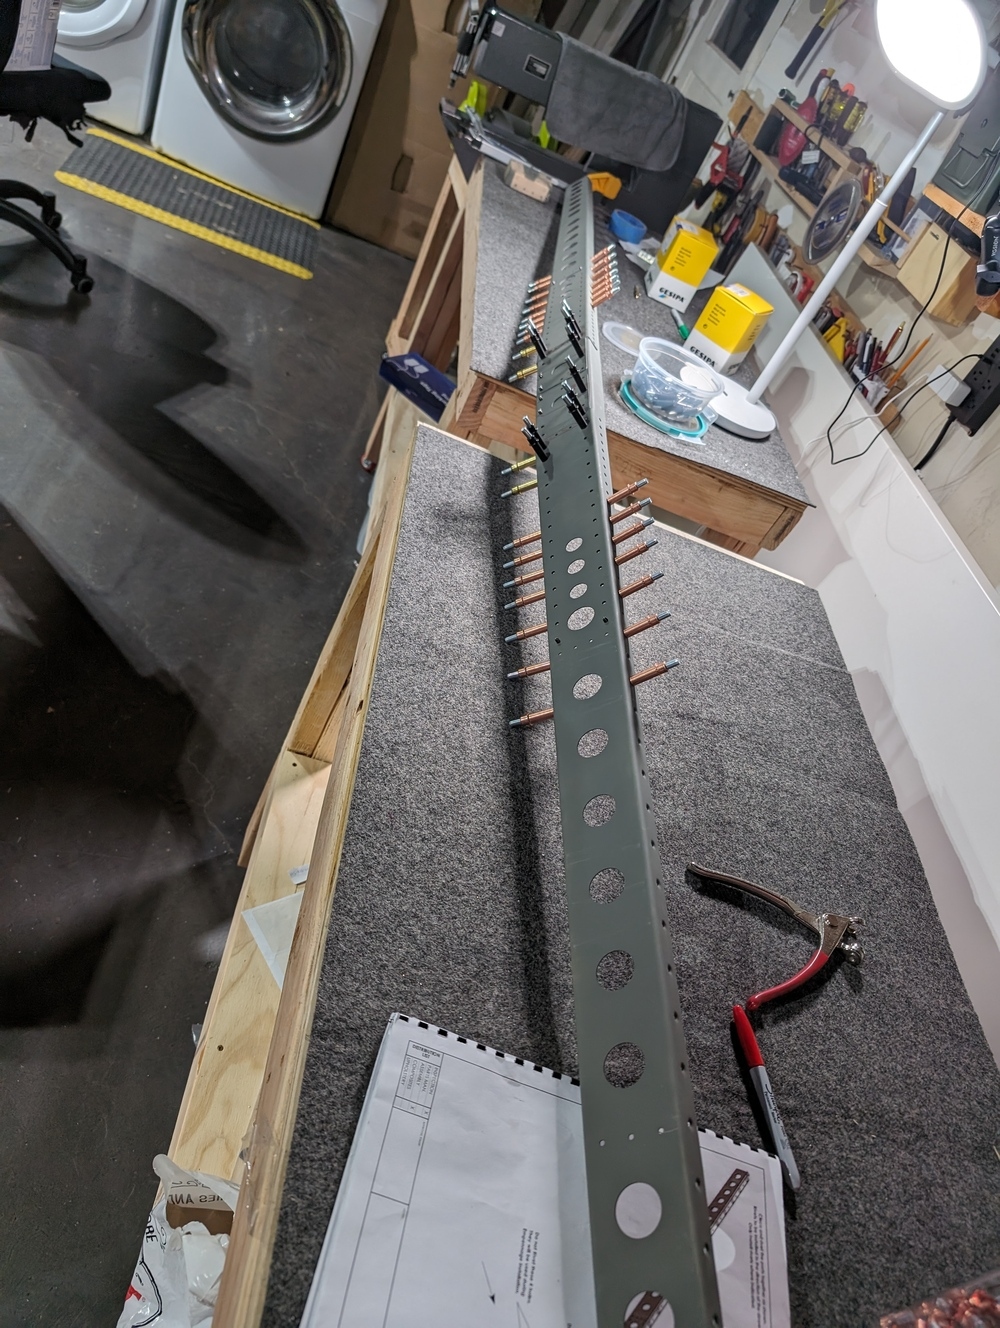
Then I started to cleco the spar,stiffener, and the angle plates together. I started from the center and tried to radiate outwards. Pretty soon I found the holes were super not aligned. I think what happened was that the stiffener was not aligned when I put the first cleco, and it kinda just got stuck.
I took apart all clecos, and started over. The second time I just focused on aligning holes on one side first, then moved on to the other side. This worked much better.
Measuring twist
On Evan’s video and also from the instruction I know they want me to check twist at a later step. But given the worried on twist I had when building rudder, I just pulled out the level laser and did a quick measure on the front spar. I put it on the ground, and shot the laser from one side to the other passing through the center rivet holes. It aligned perfectly so I was very happy.
Riveting
This was the easy part and also the fun part. I marked the few holes that I was not supposed to rivet, and went at it. It was done within a few minutes.
Result
I think I have finished everything on page 3. I took a few pictures. Long weekend is coming, and I hope I will find some time to cleco front and rear spar together this weekend and check their twist.


