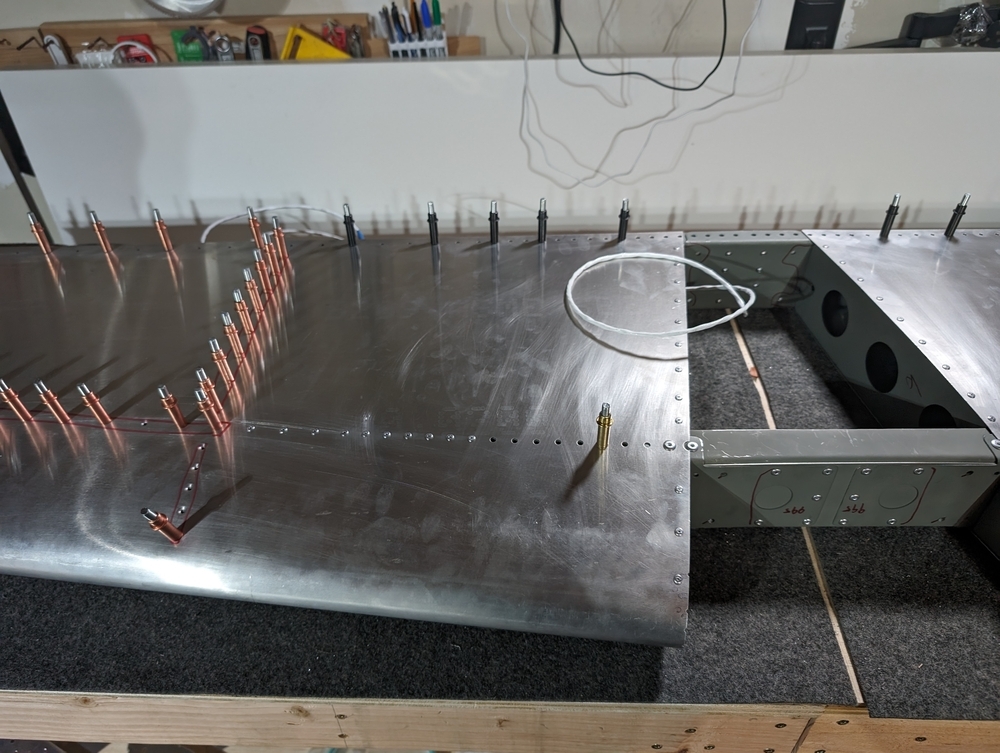
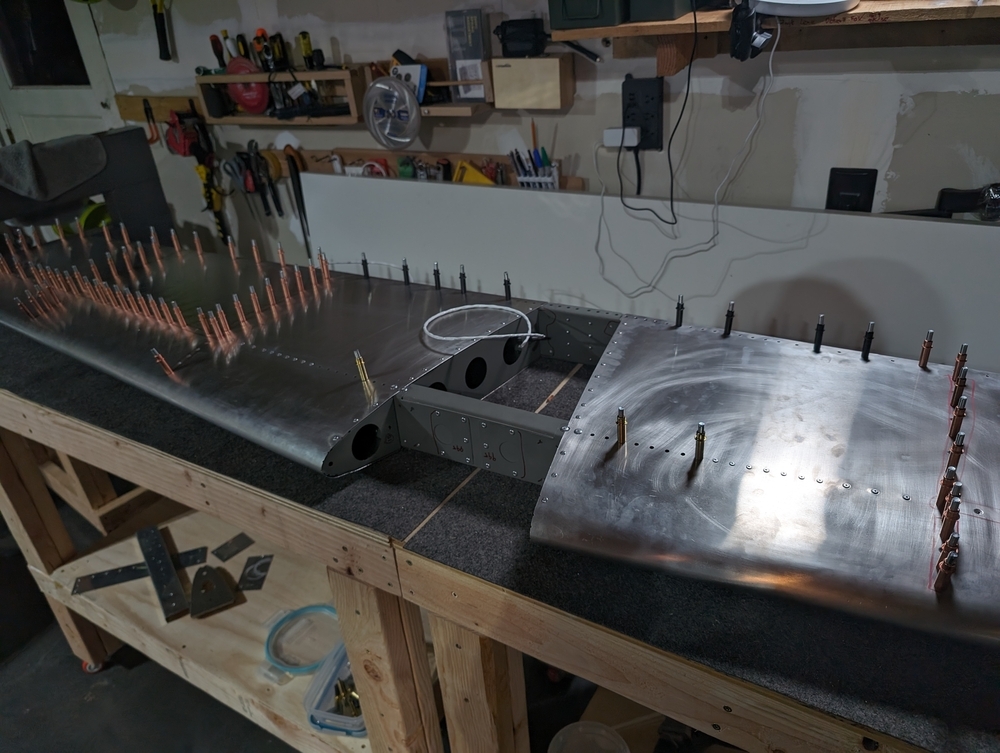
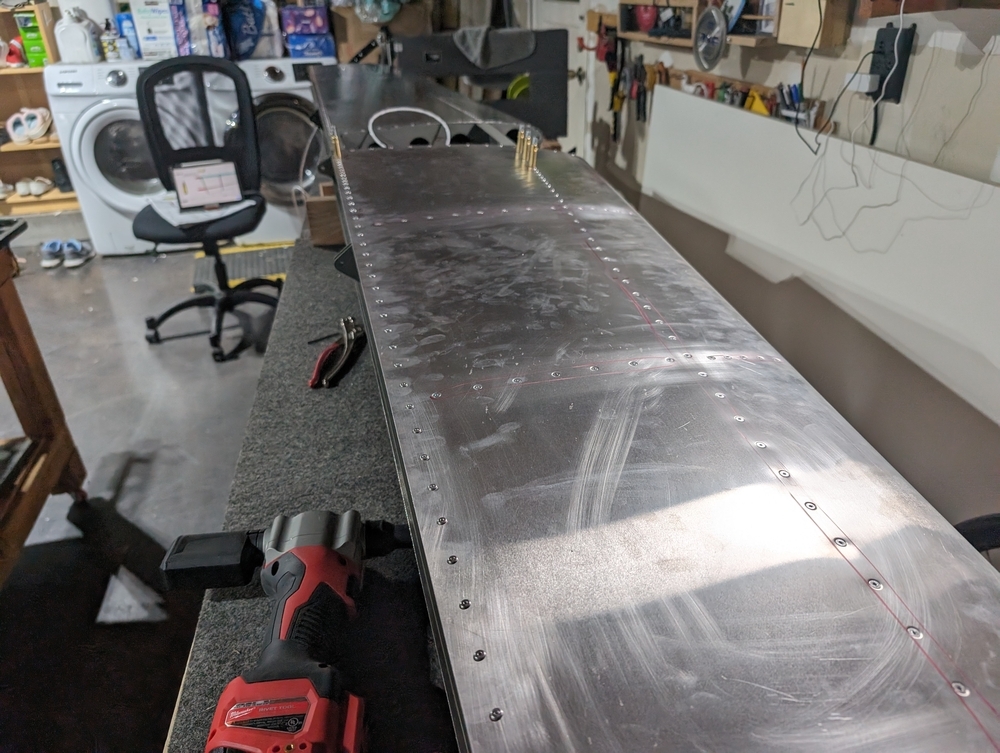
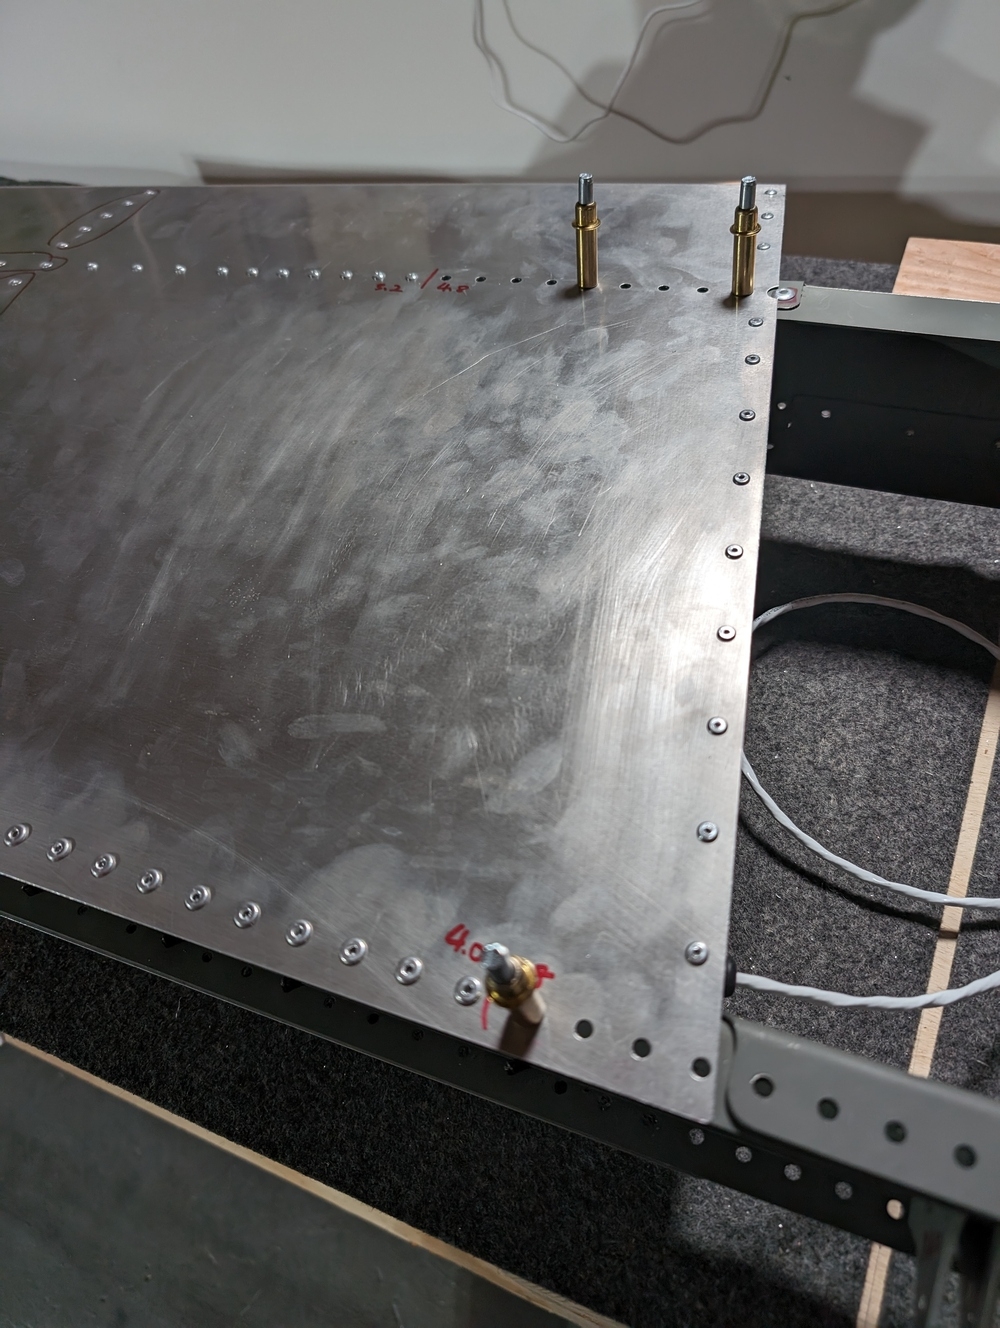
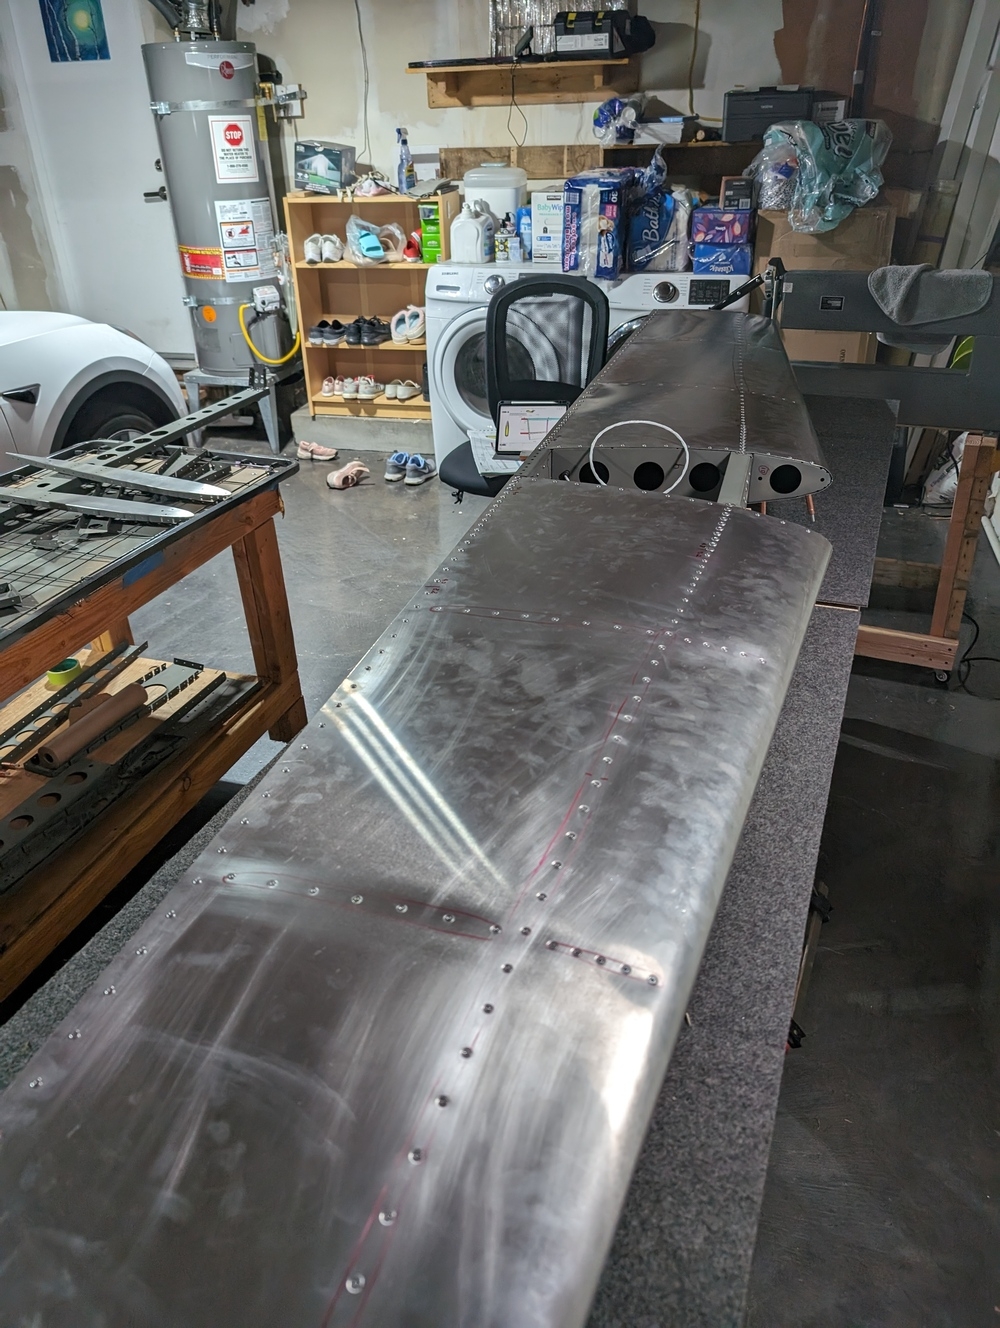
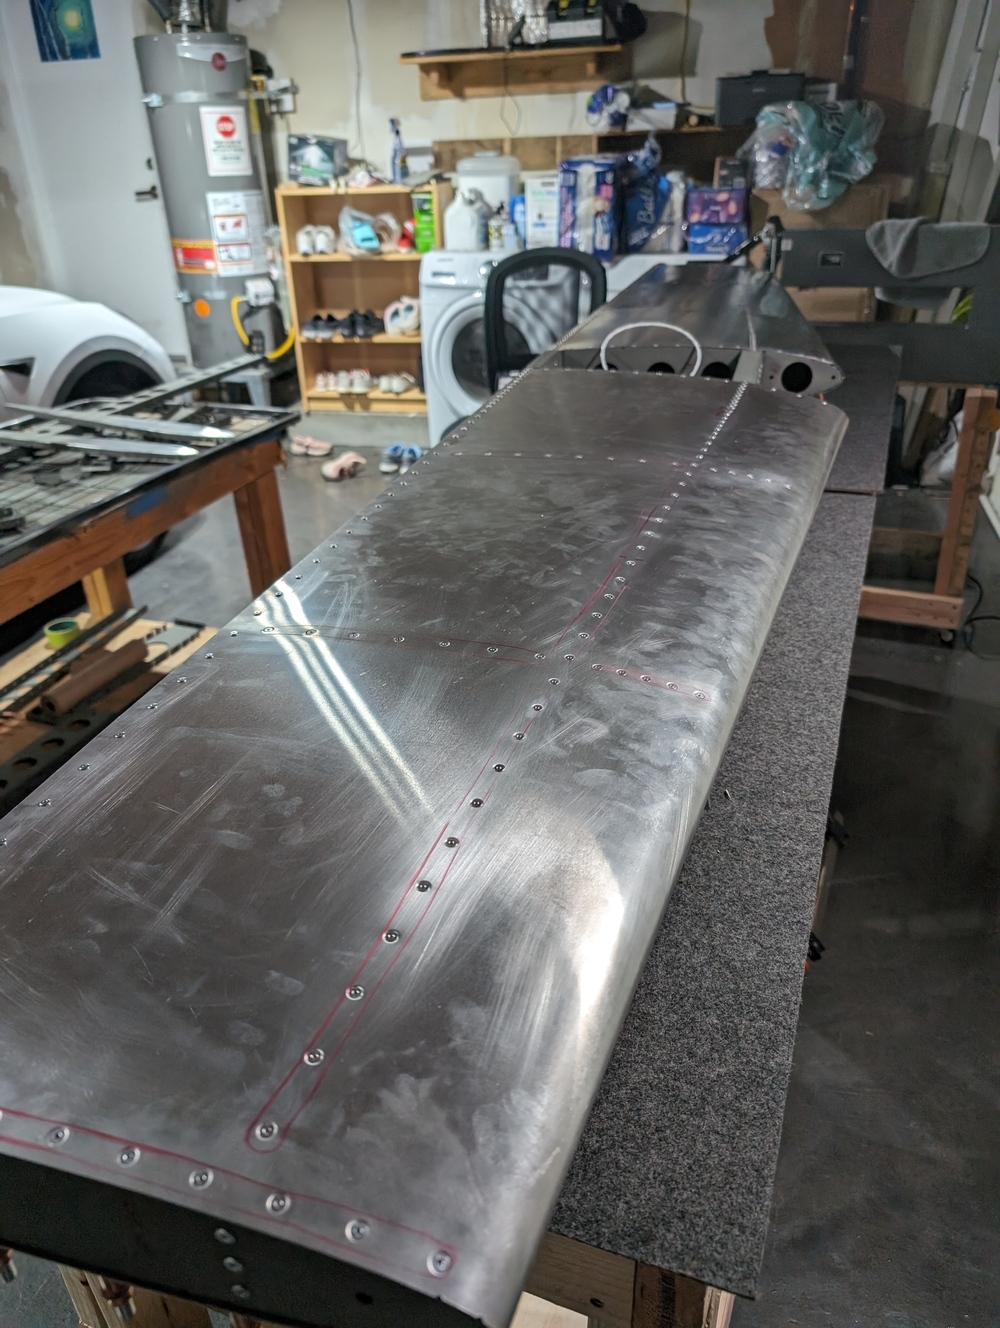
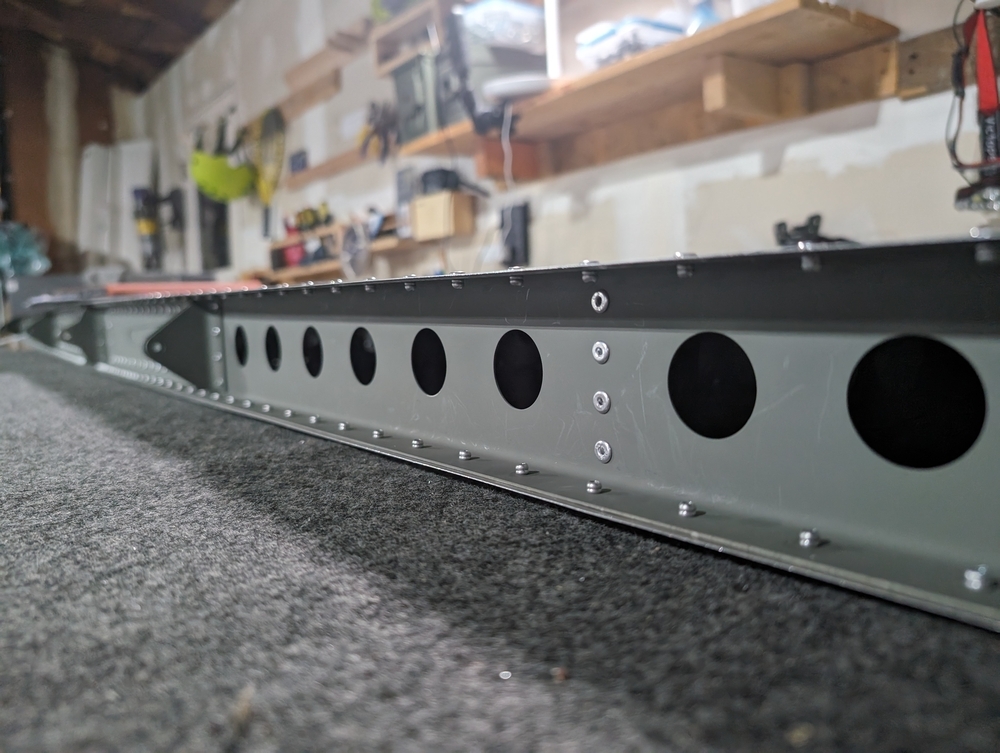
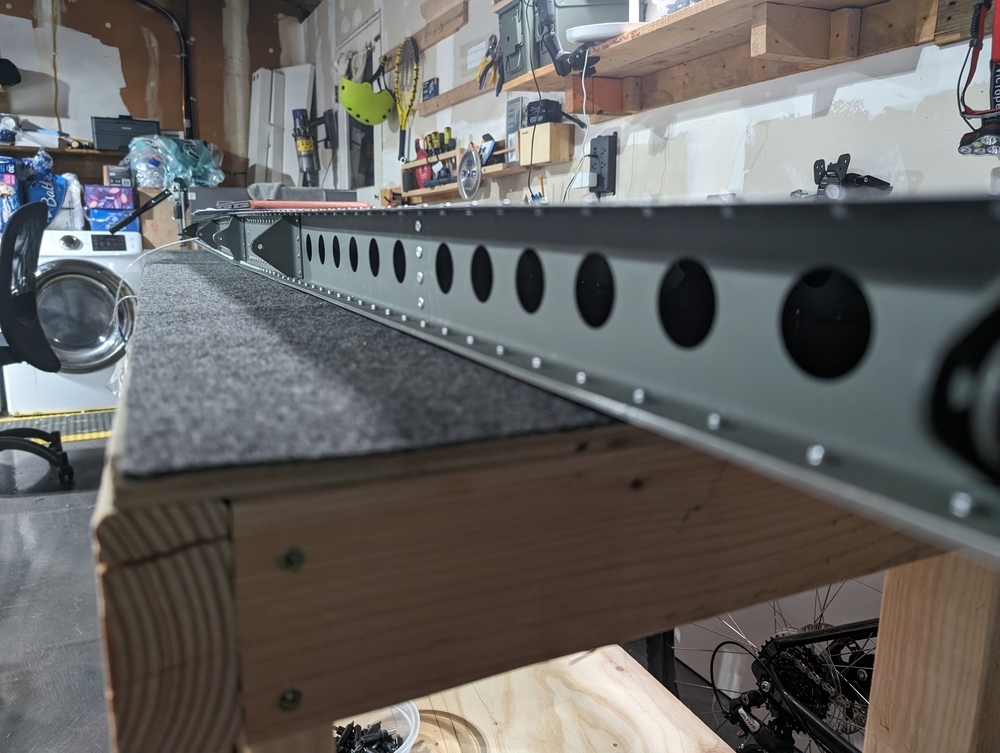
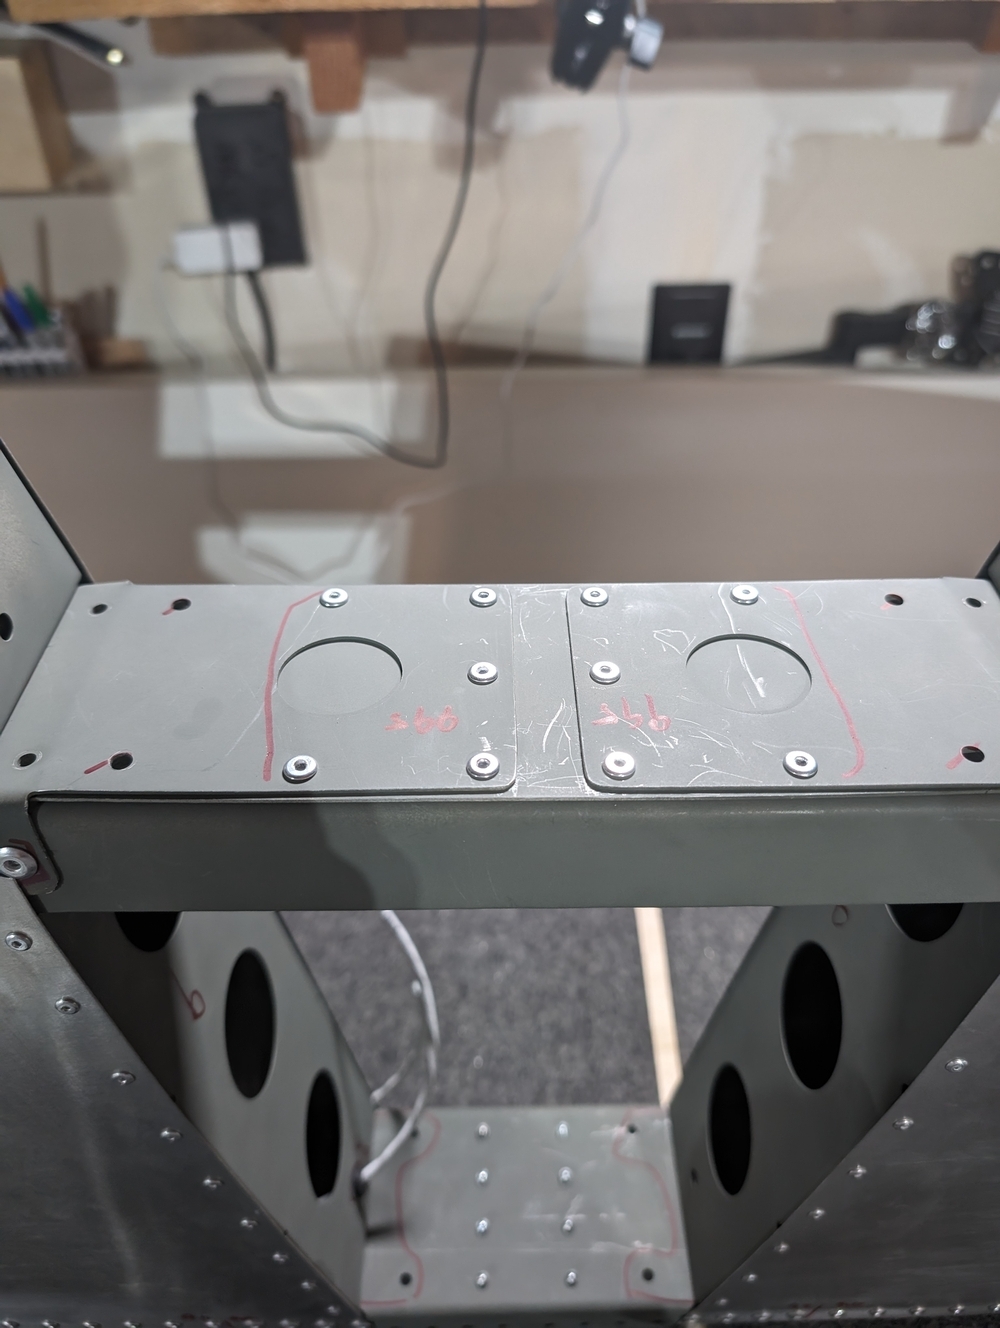
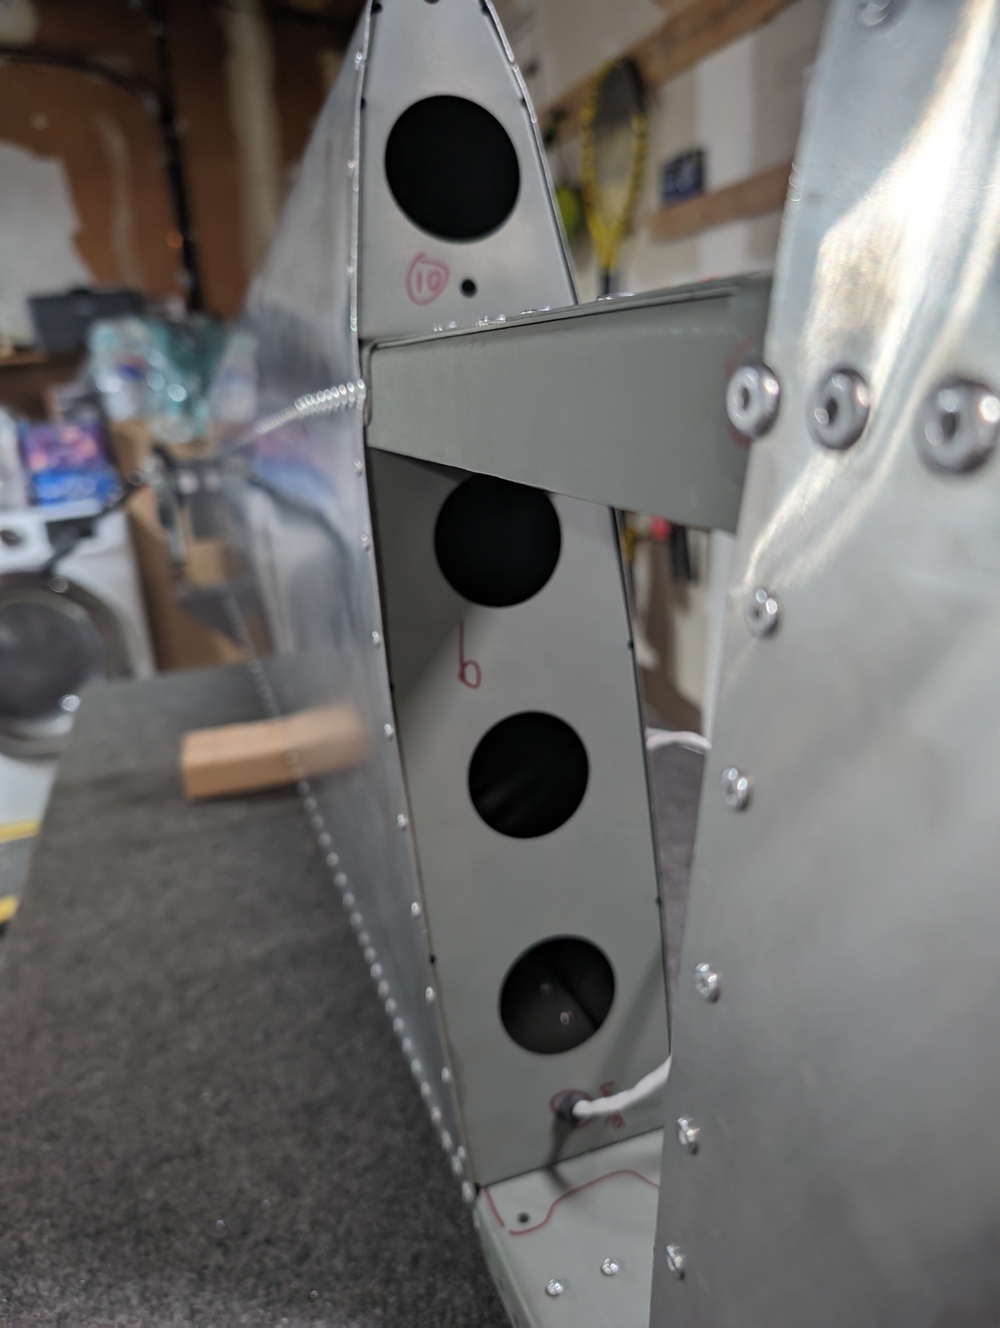
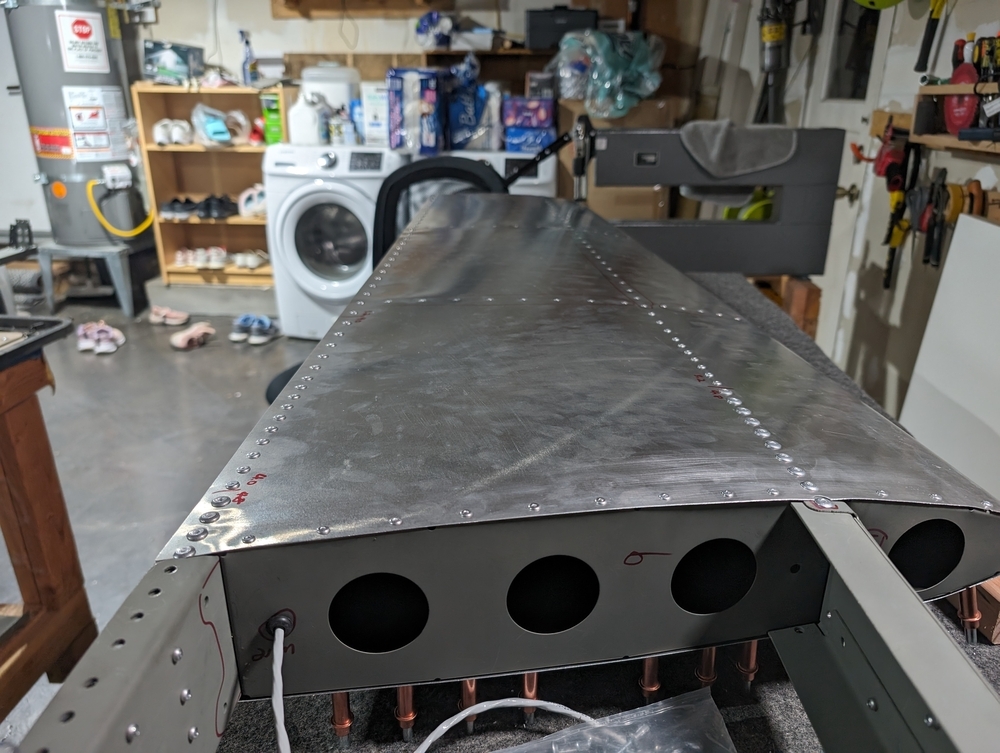
Horizontal Stabilizer Close
TLDR
- Reamed all holes on horizontal stabilizer skin
- Uncleco-ed HS assembly, cleaned, and put it back together
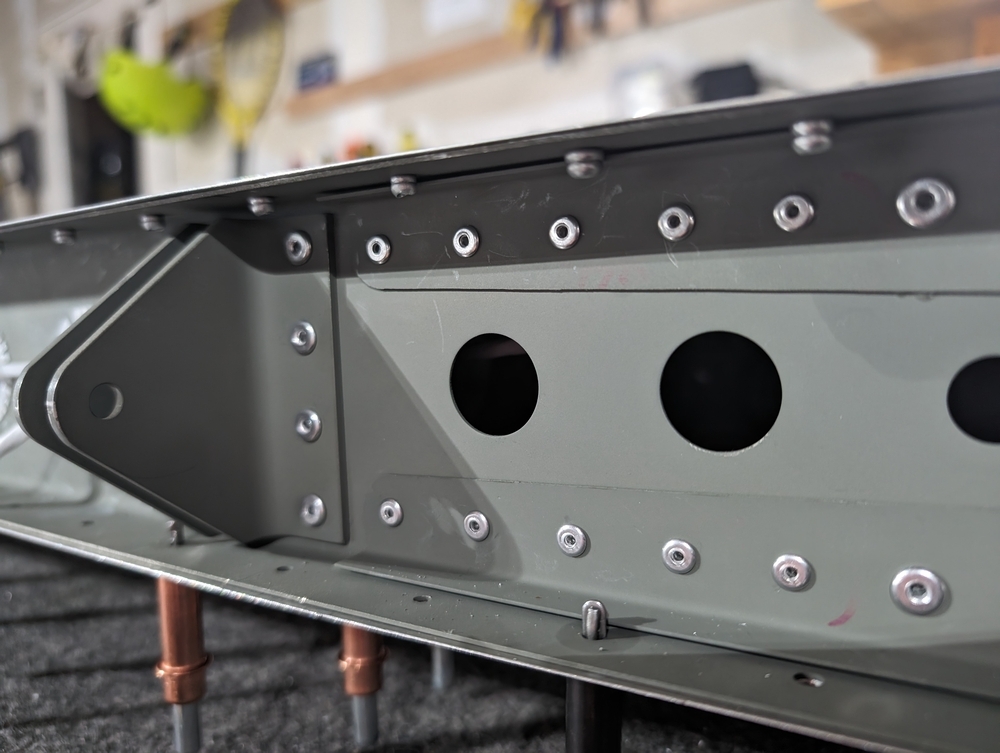
- Riveted HS assembly
Details
Reaming and cleaning
Following the advise from Bob’s EAA tech counselor visit, I decided to clean everything before riveting.
I read the Sling KAI introduction, they actually said the same thing. I guess I just didn’t remember reading them a few weeks ago.
If a hole is drilled or cleaned out then those holes must be deburred and the aluminum chips removed from the assembly to prevent them from >getting stuck under the skin and creating an unsightly bump.
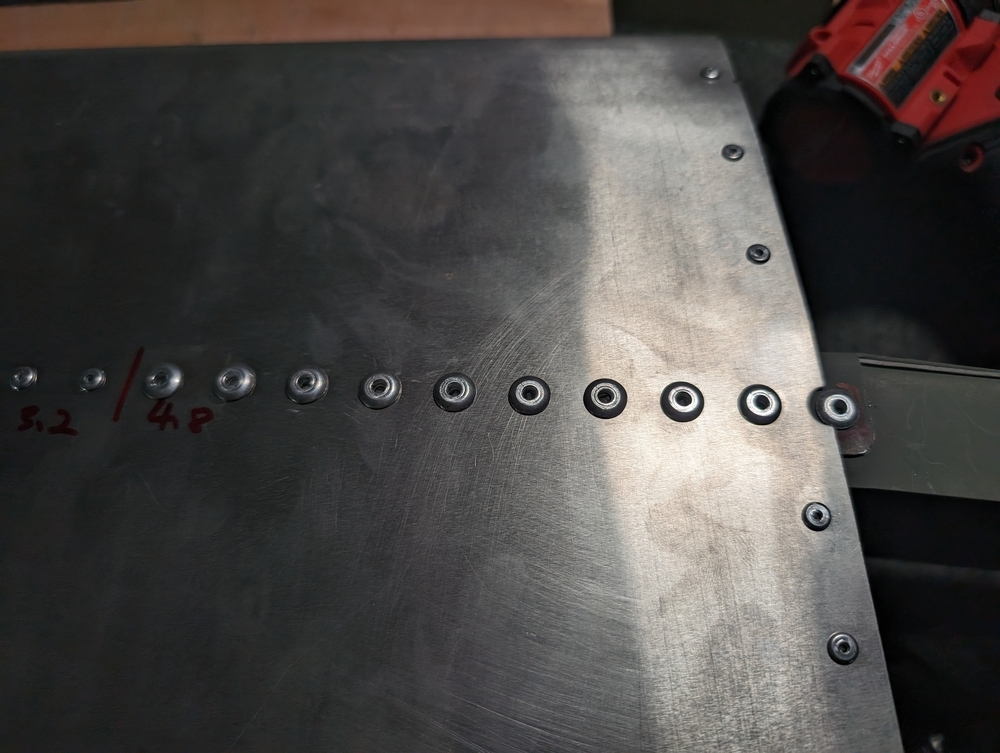
So I spent an hour or so reaming with 3.2mm 4mm and 4.8 mm reamers. I recently replaced my old Ryobi drill with a Milwaukee M12 Fuel. It’s so much lighter and more compact. Had I used this drill earlier I would probably not have elongated rivet holes from elevator a couple of days ago. Moral of the story: never cheap out on the tools!!
After reaming, I removed the clecos from one side, opened the skin and ran my vacuum over the entire surface, re-clecoed the skin and flipped to the other side and did the same.
Re-clecoing
When Clecoing the parts back, I was a little anxious because I was worried if the skin did not realign perfectly, I’d get twist, oil canning and more importantly the holes would become bigger for nothing.
Luckily, the skin went back together fairly smoothly. I remeasured the twist, still good.
Then I moved on to riveting
Riveting
This was the most time consuming part, but also kind of fun. It took me 2 nights (4 hours total) to finish both sides.
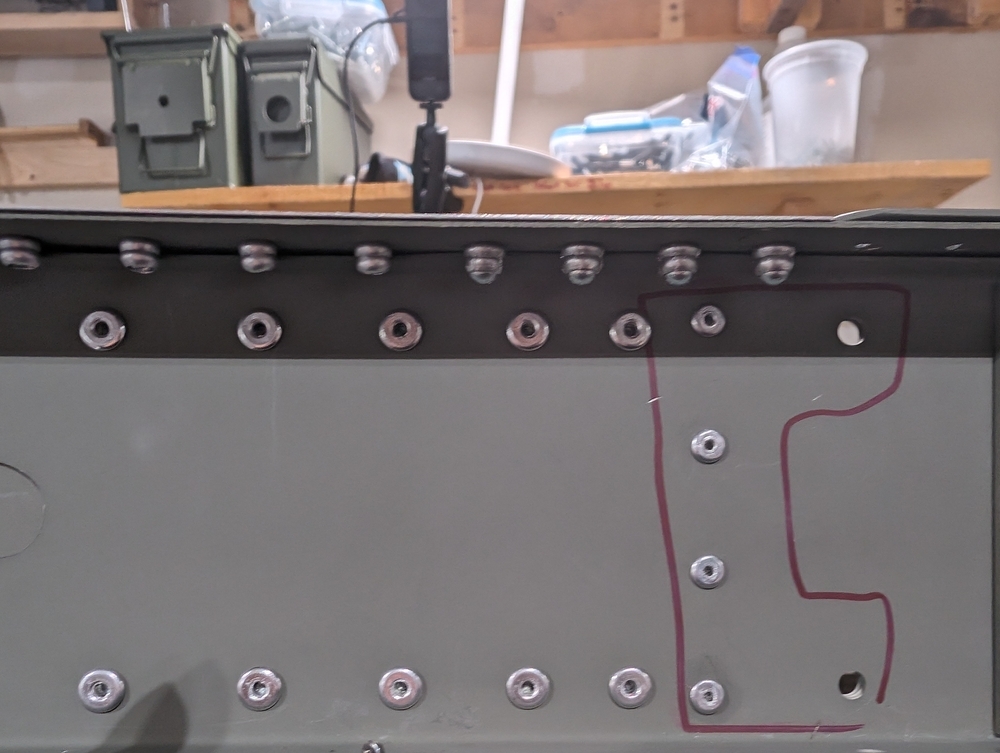
Funny thing is, I was short of exactly 1 countersink rivet 🥲 I’m not even mad haha.
I took a countersink rivet from the elevator hardware pack. I suppose I will deal with elevator hardware shortage later.
