Horizontal stabilizer spar
Process
In the last few days I finished the rear spar on the horizontal stabilizer (HS-ASS-001-C-F-0 sheet 4).
It took a little longer than I thought to clean and debur, mainly because of the size of he parts.
But once primed, putting together was smooth.
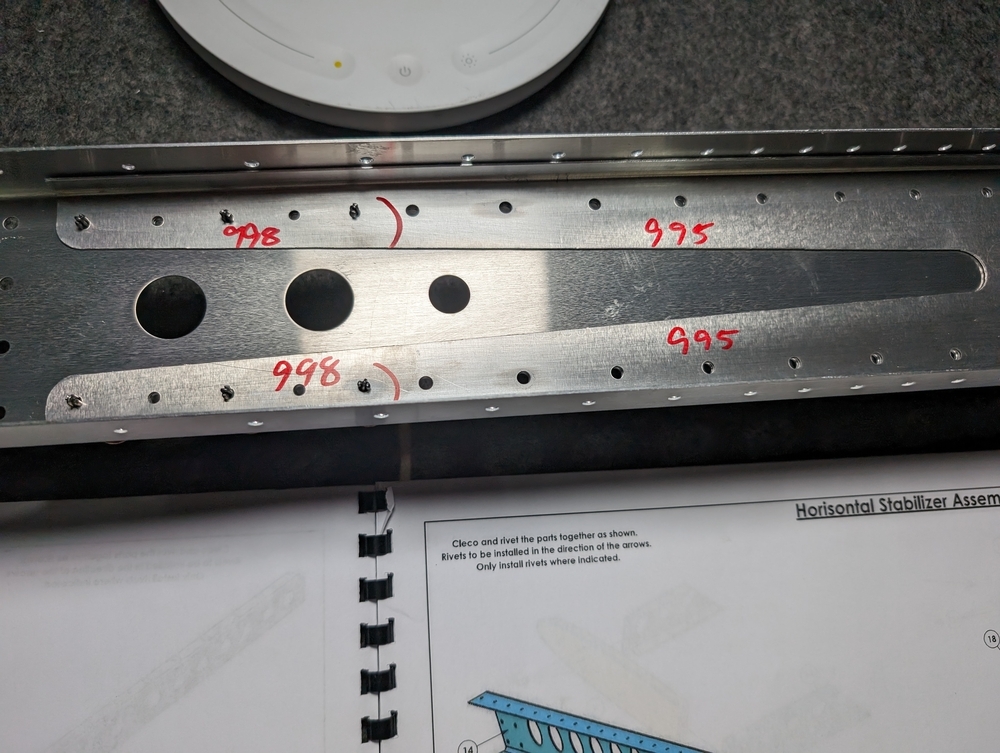
I had to pay attention to the notes on the instruction where a few holes were not supposed to be riveted. So I marked them on the part and skipped them.
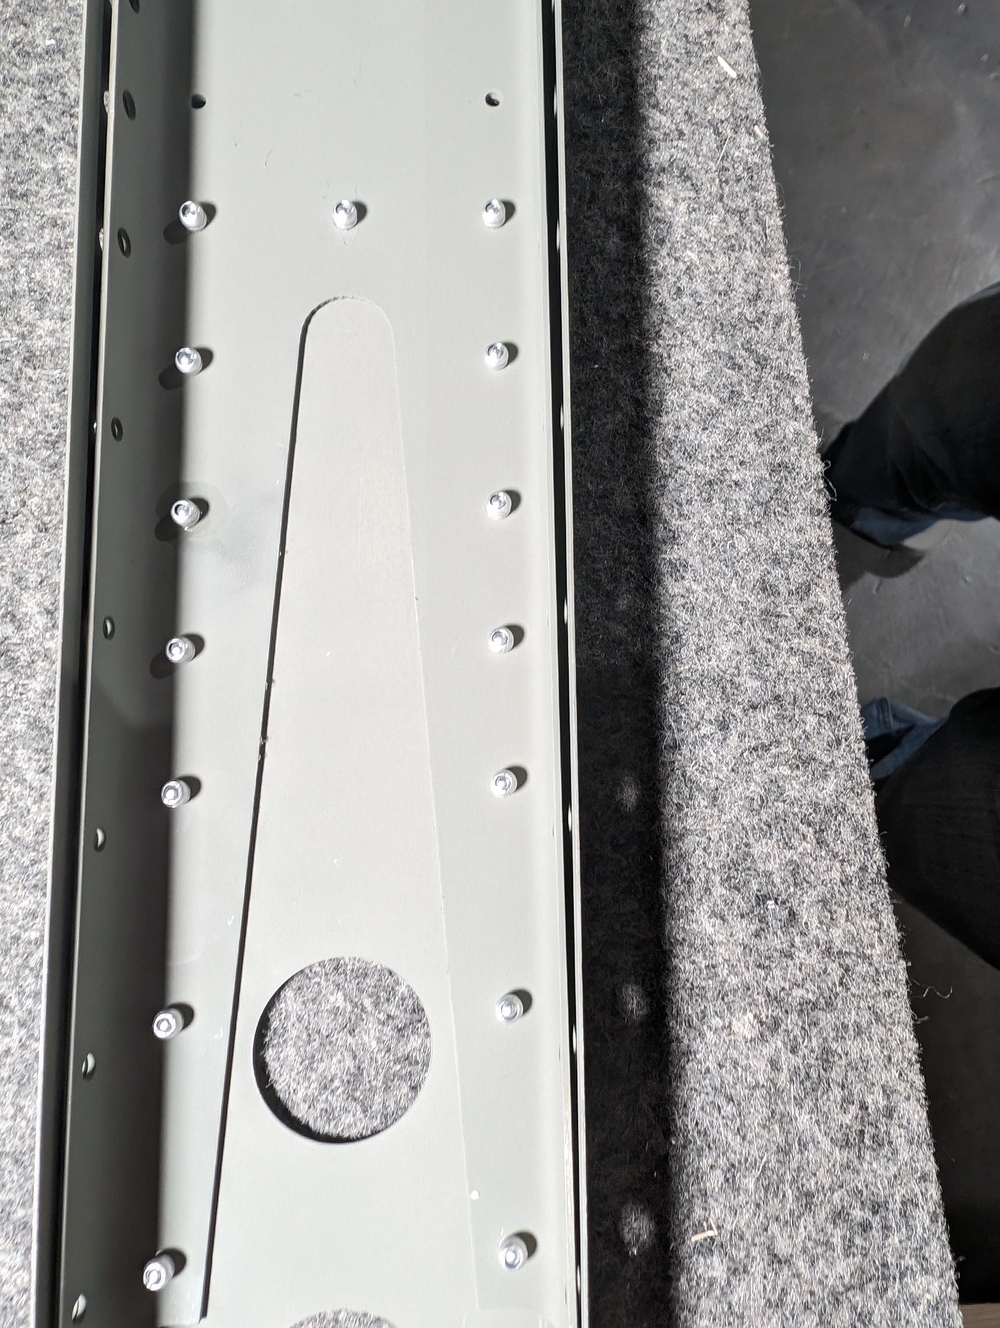
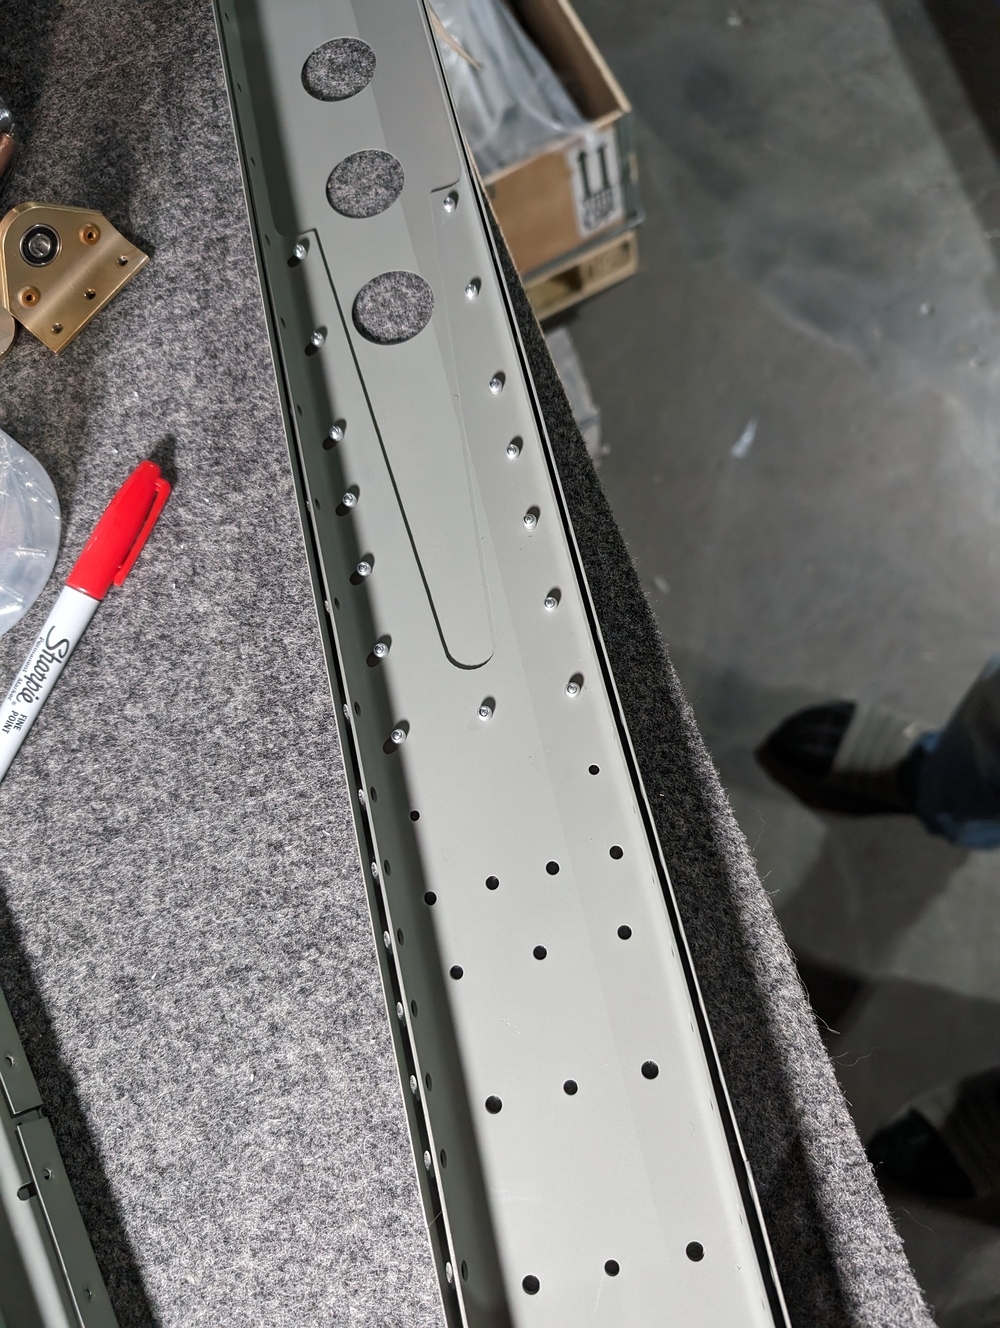
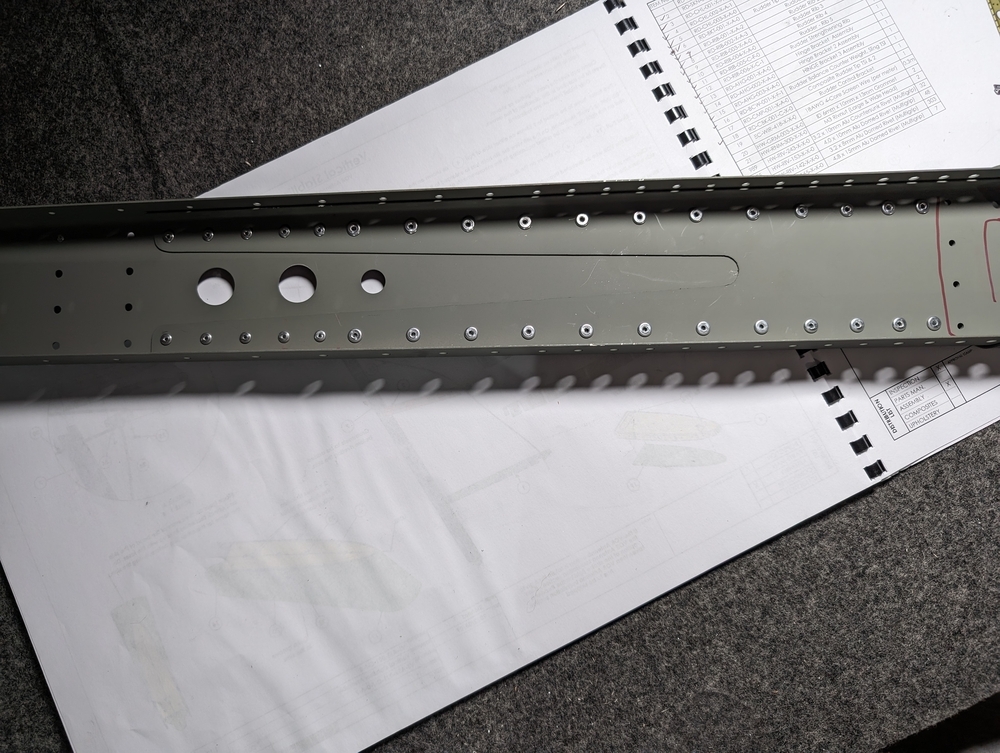
Pics from the horionzontal spar build.
Test fit:
Primed:
Riveted
Side track to elevator spar
The last part I riveted together was the elevator spar.
And when flipping through instructions I realized I riveted the parts in the opposite direction as the KAI stated.
It was defintely a panic moment. I spent a few days to research online. I ended up purchasing a bunch of 3.2mm and 4mm Gesipa rivets from ebay in case I needed to drill them out and start over.
But in the end I think riveting in the opposite direction will not affect the strength of the parts. It will affect how easy it is to drill out the rivets in the future in case I need to replace them. I jumped ahead a few pages on the instruction and looked at Evan’s video to get a sense what I will deal with. It seems most rivets will be covered by other parts soon. So it’s probably not going to make a difference which way I put the rivets. There will be 8 or so still accessible after all parts come together. So I think I will drill them out and flip the side, but I will keep the rest in as is.


