Leather seat & throttle quadrant vinyl part 2
TLDR
- Finished seat upholstery
- Throttle quadrant vinyl revision 2.0
Detail
Upholstery
Front seats
I finished putting together the seats and installed the upholstery on all seats.
Previously I was missing a few bushings to finish the front seat. I received the parts a while ago but never got time to install it. I finally finished this work and the seats are pretty much done.

Passenger seats
The passenger seats on the back are slightly more difficult to upholster. There are a few screws that needs to go through the upholstery material into the rivnuts behind.
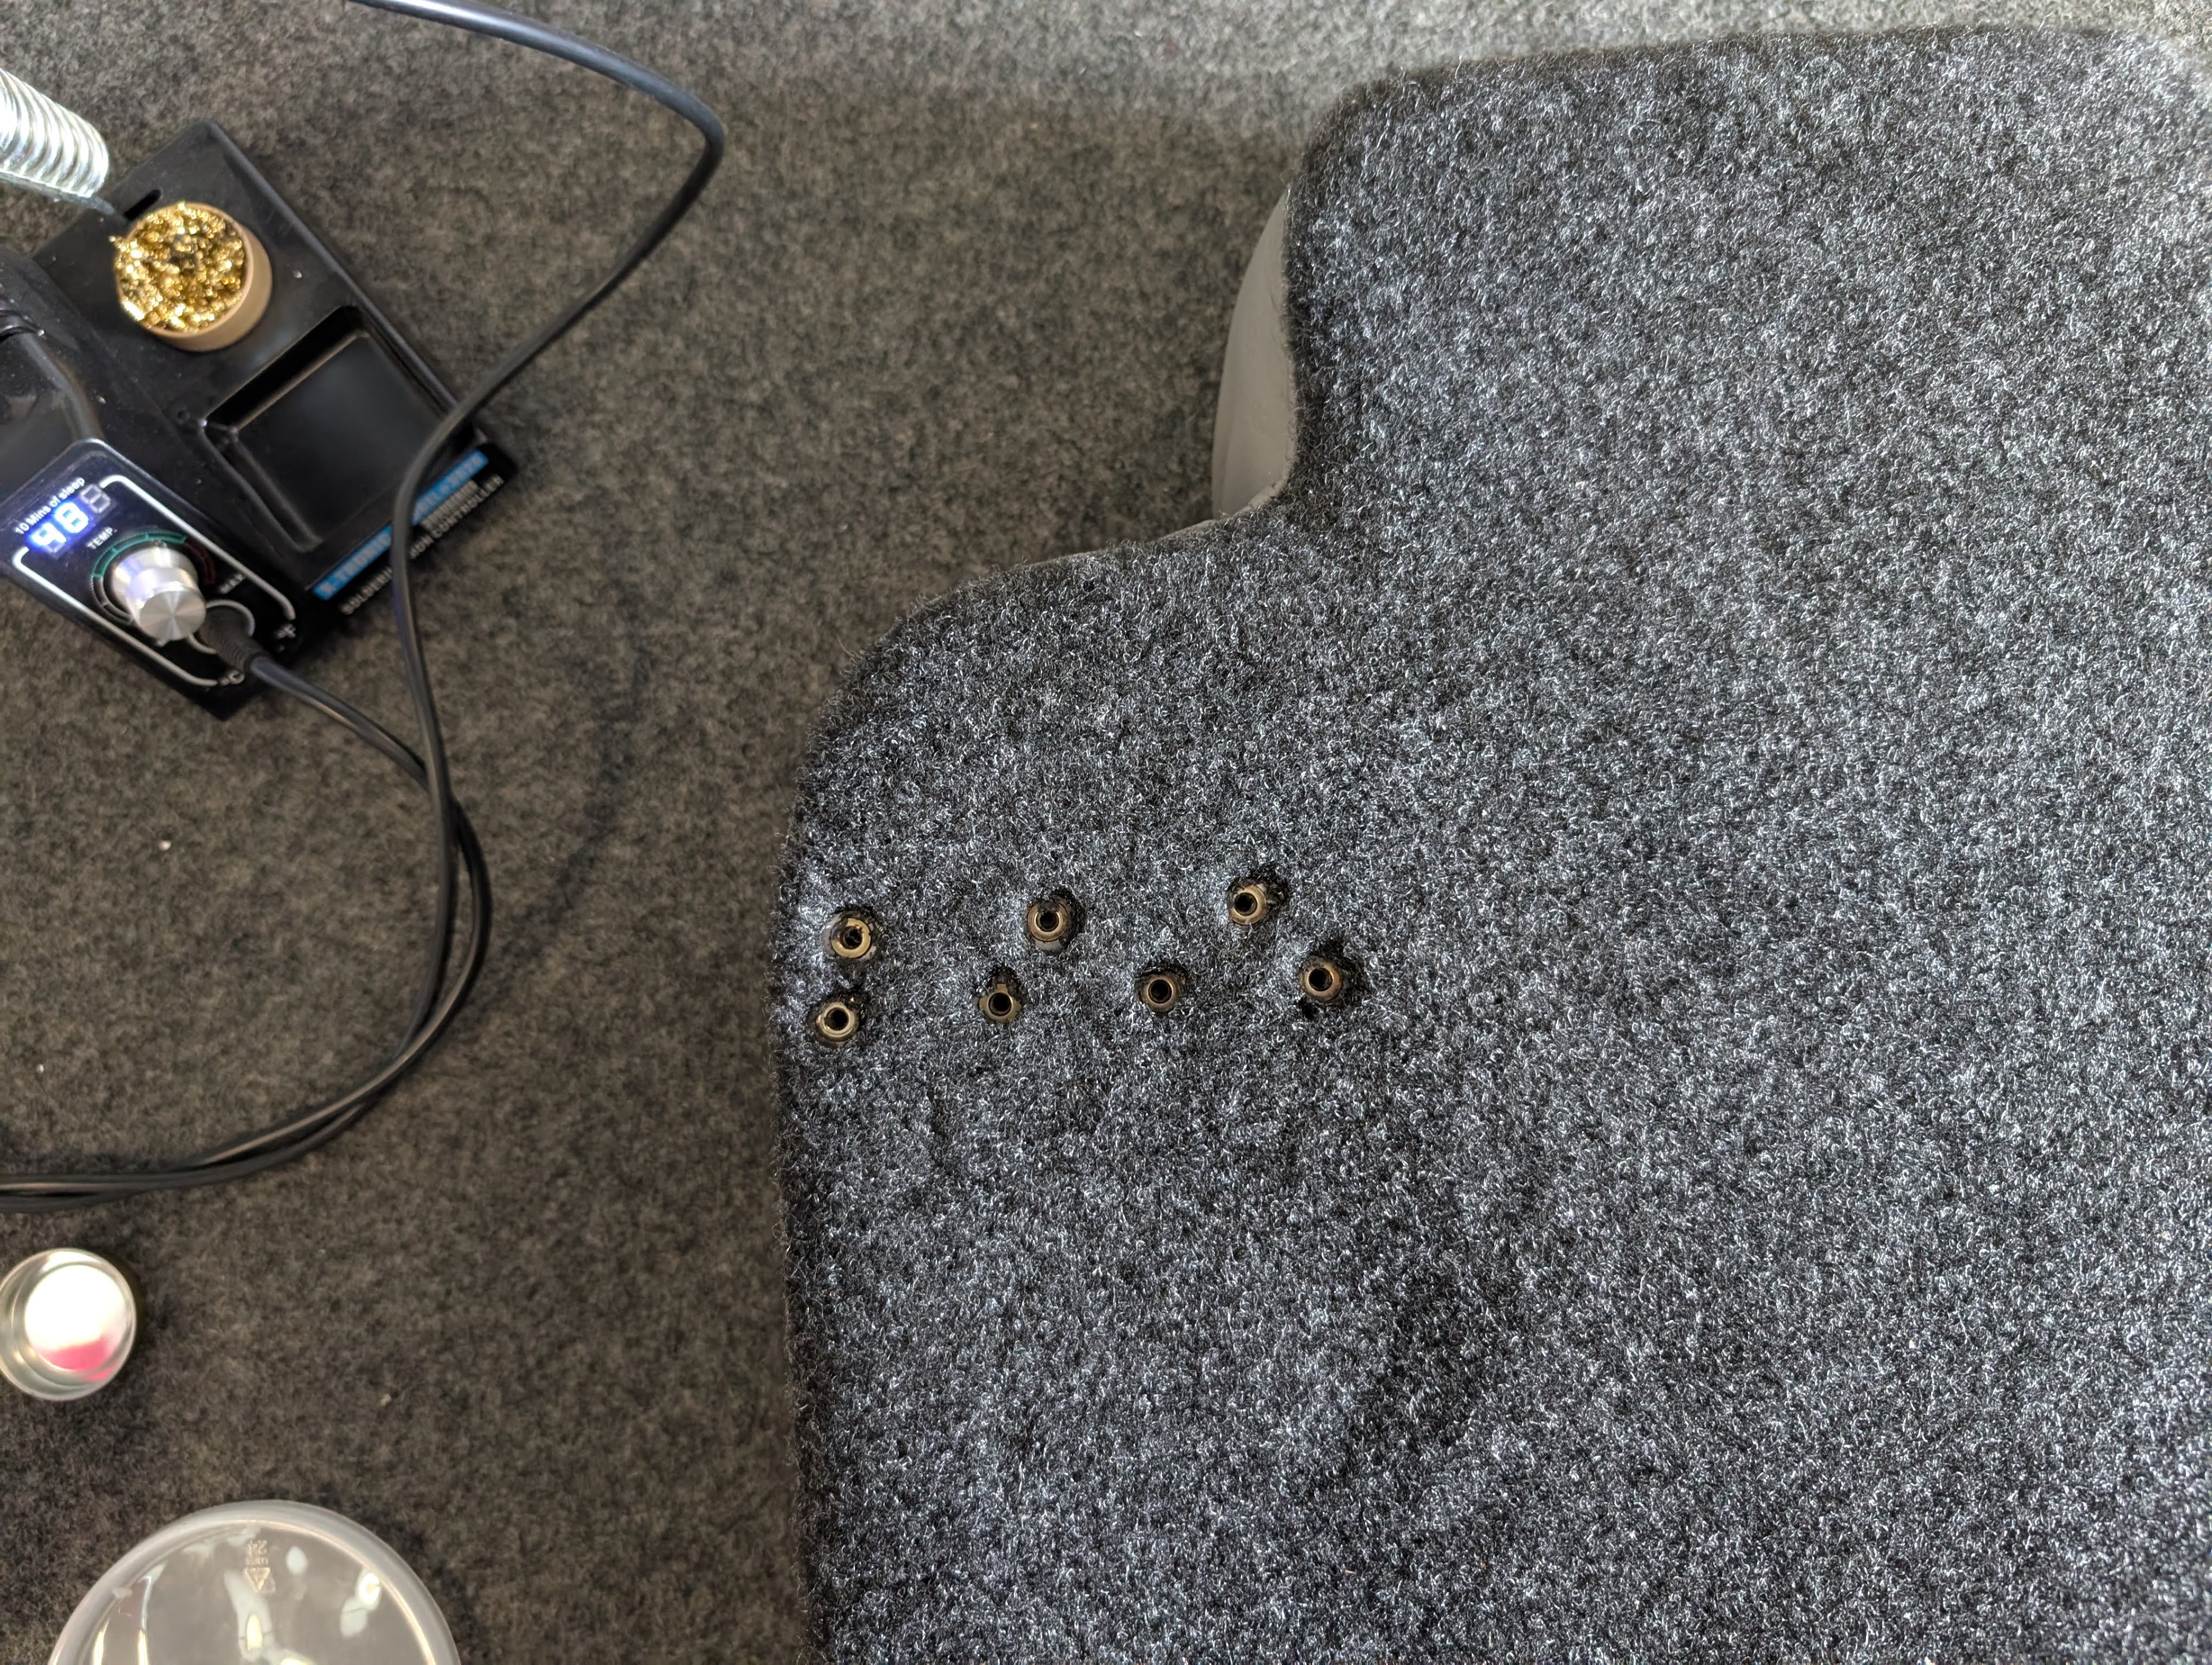
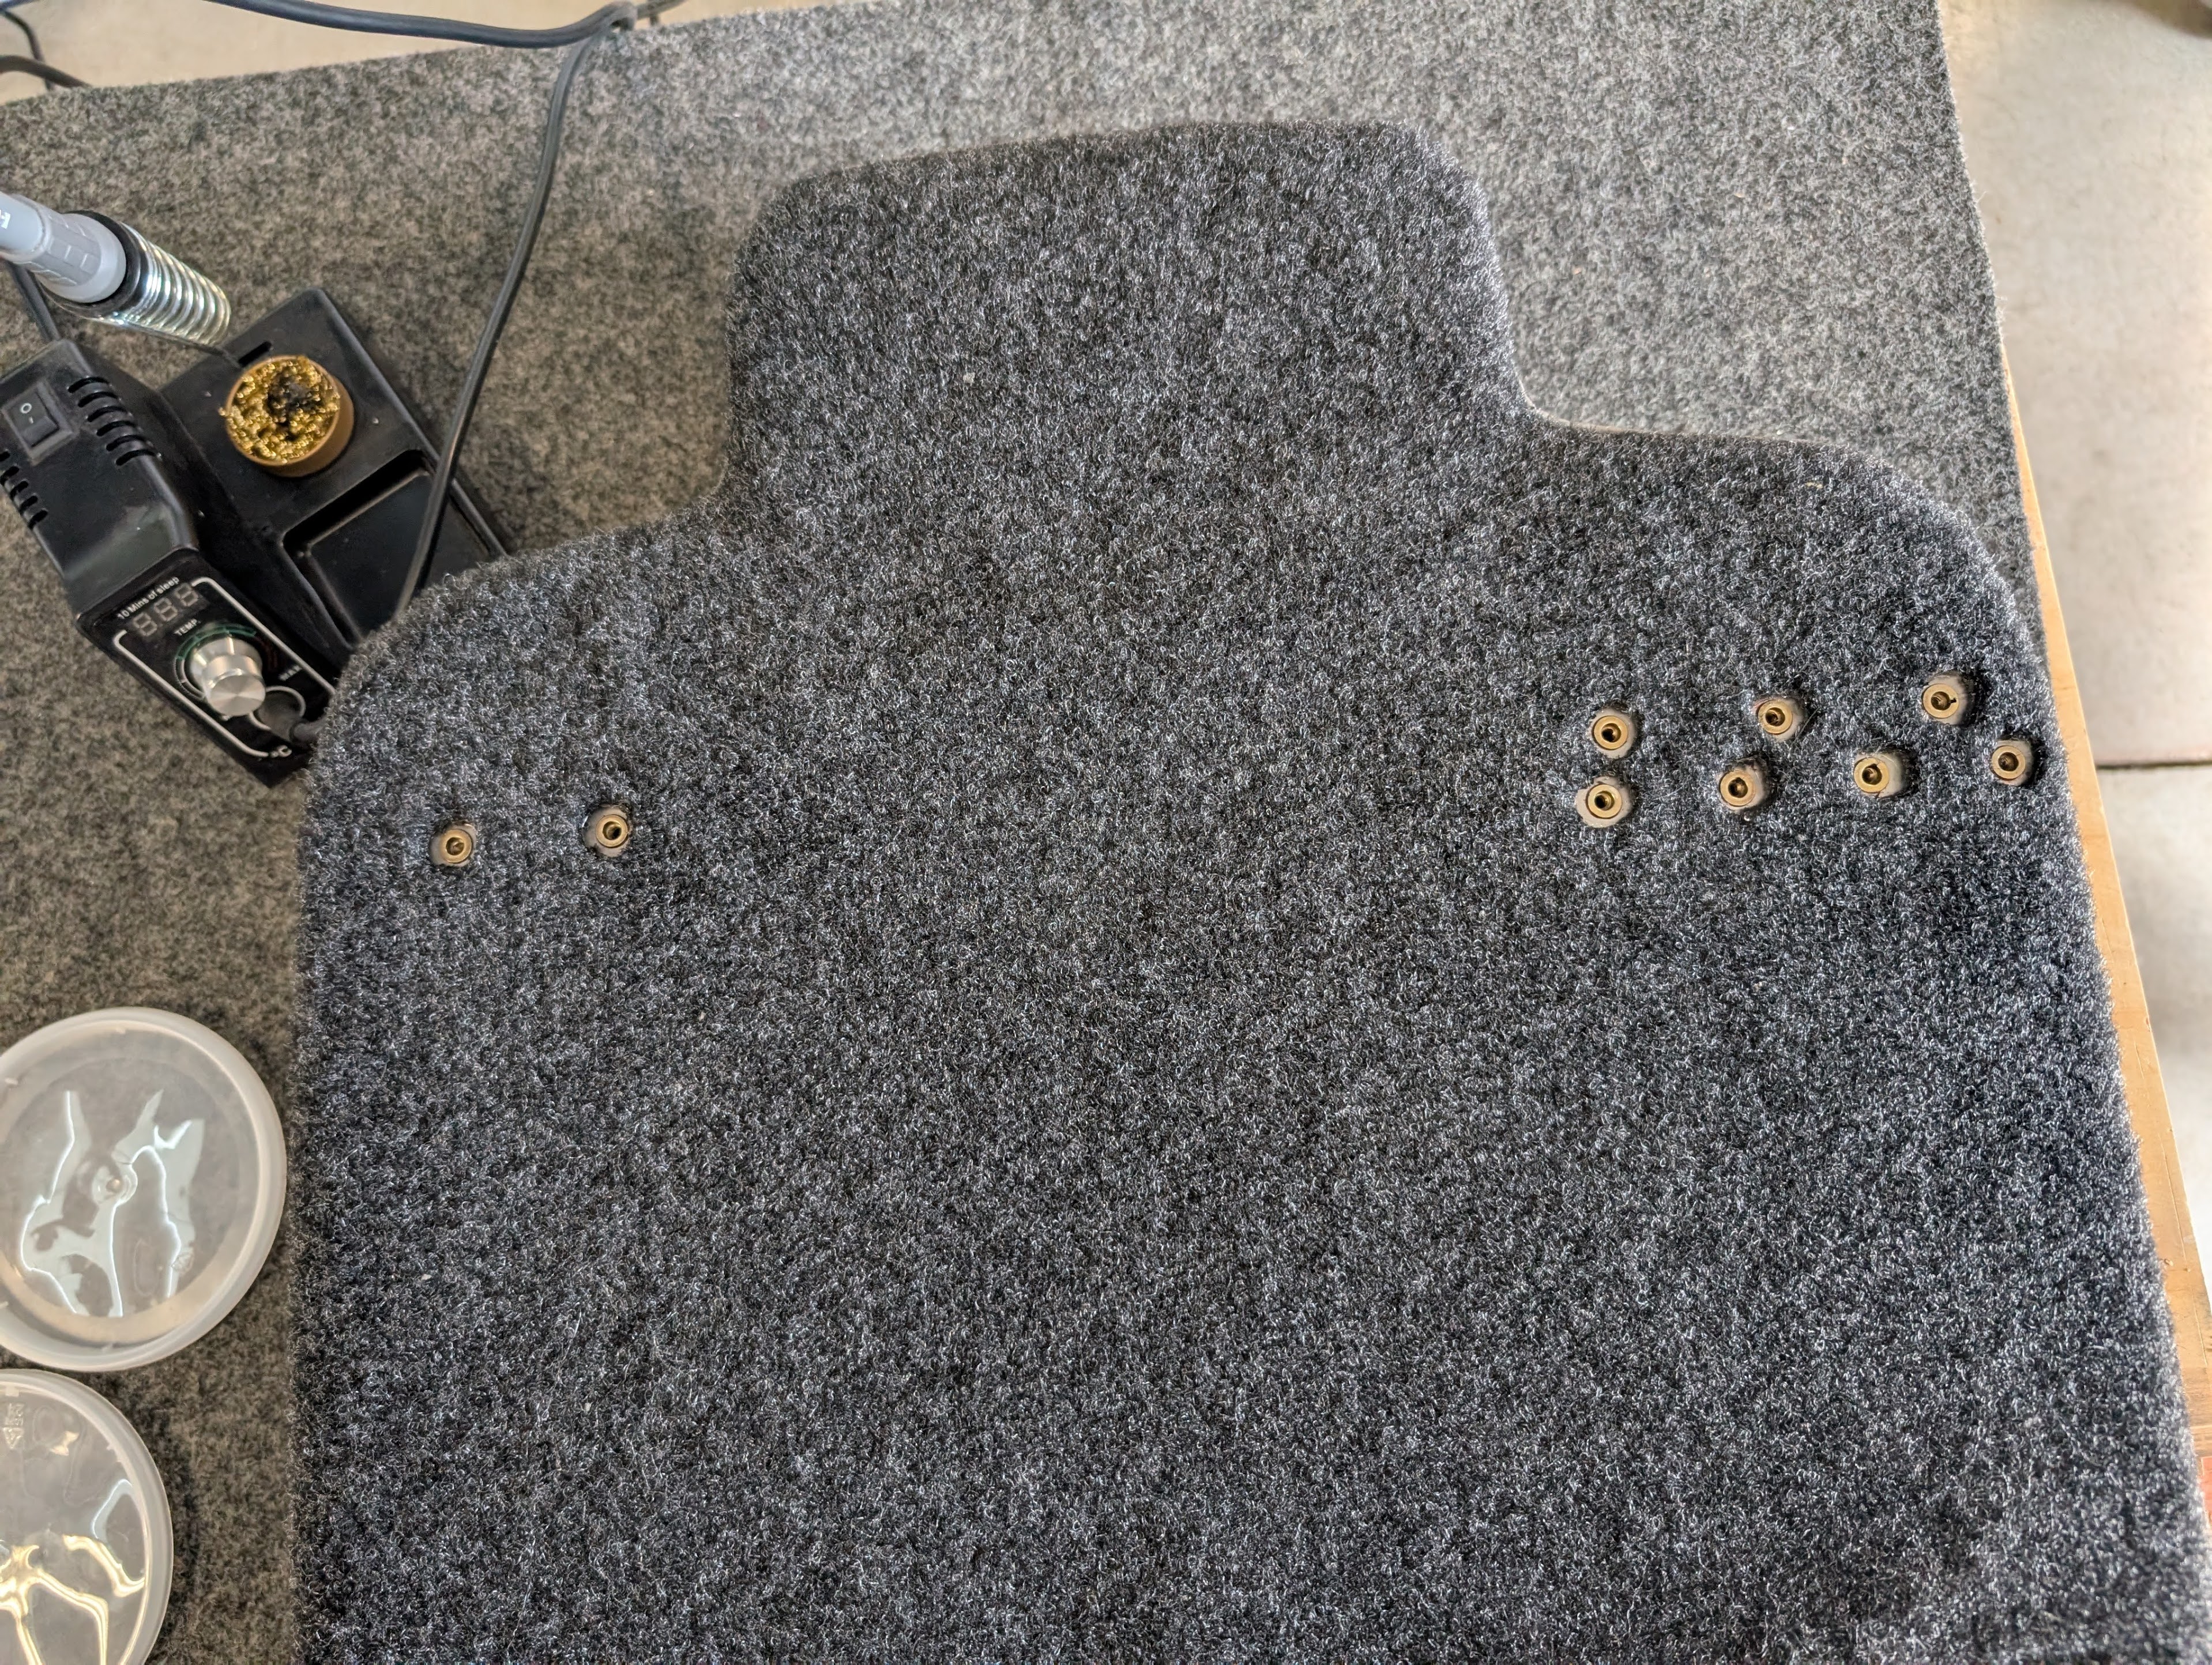
So I first installed the leather seat cover, then burned holes using soldering icon to reveal the rivnuts, and finally installed the screws on the back of the seats.
The time consuming part is finding the right position to burn holes. I was a a little worried that the burnt holes might be slightly misaligned with the rivnuts. But turns out it was a non-issue. I used a ice pick to poke through the material until I found each rivnut under the cover. It was pretty accurate, and everything turned out to be fine.

Mystery part
And in my kit I have a mystery part. The KAI has no mention of this part, so I sent a question to Sling Technical. They got back to me with the following picture, which helped a lot.


Throttle quadrant vinyl v2.0
Learning from the last print, I fixed the vinyl for the throttle quadrant. The issue is that the text size is too small, so I couldn’t peel off the letters to make a good transfer onto the throttle quadrant metal.
I just increased the text size by 2, and re-printed the parking valve label. It worked quite well.
