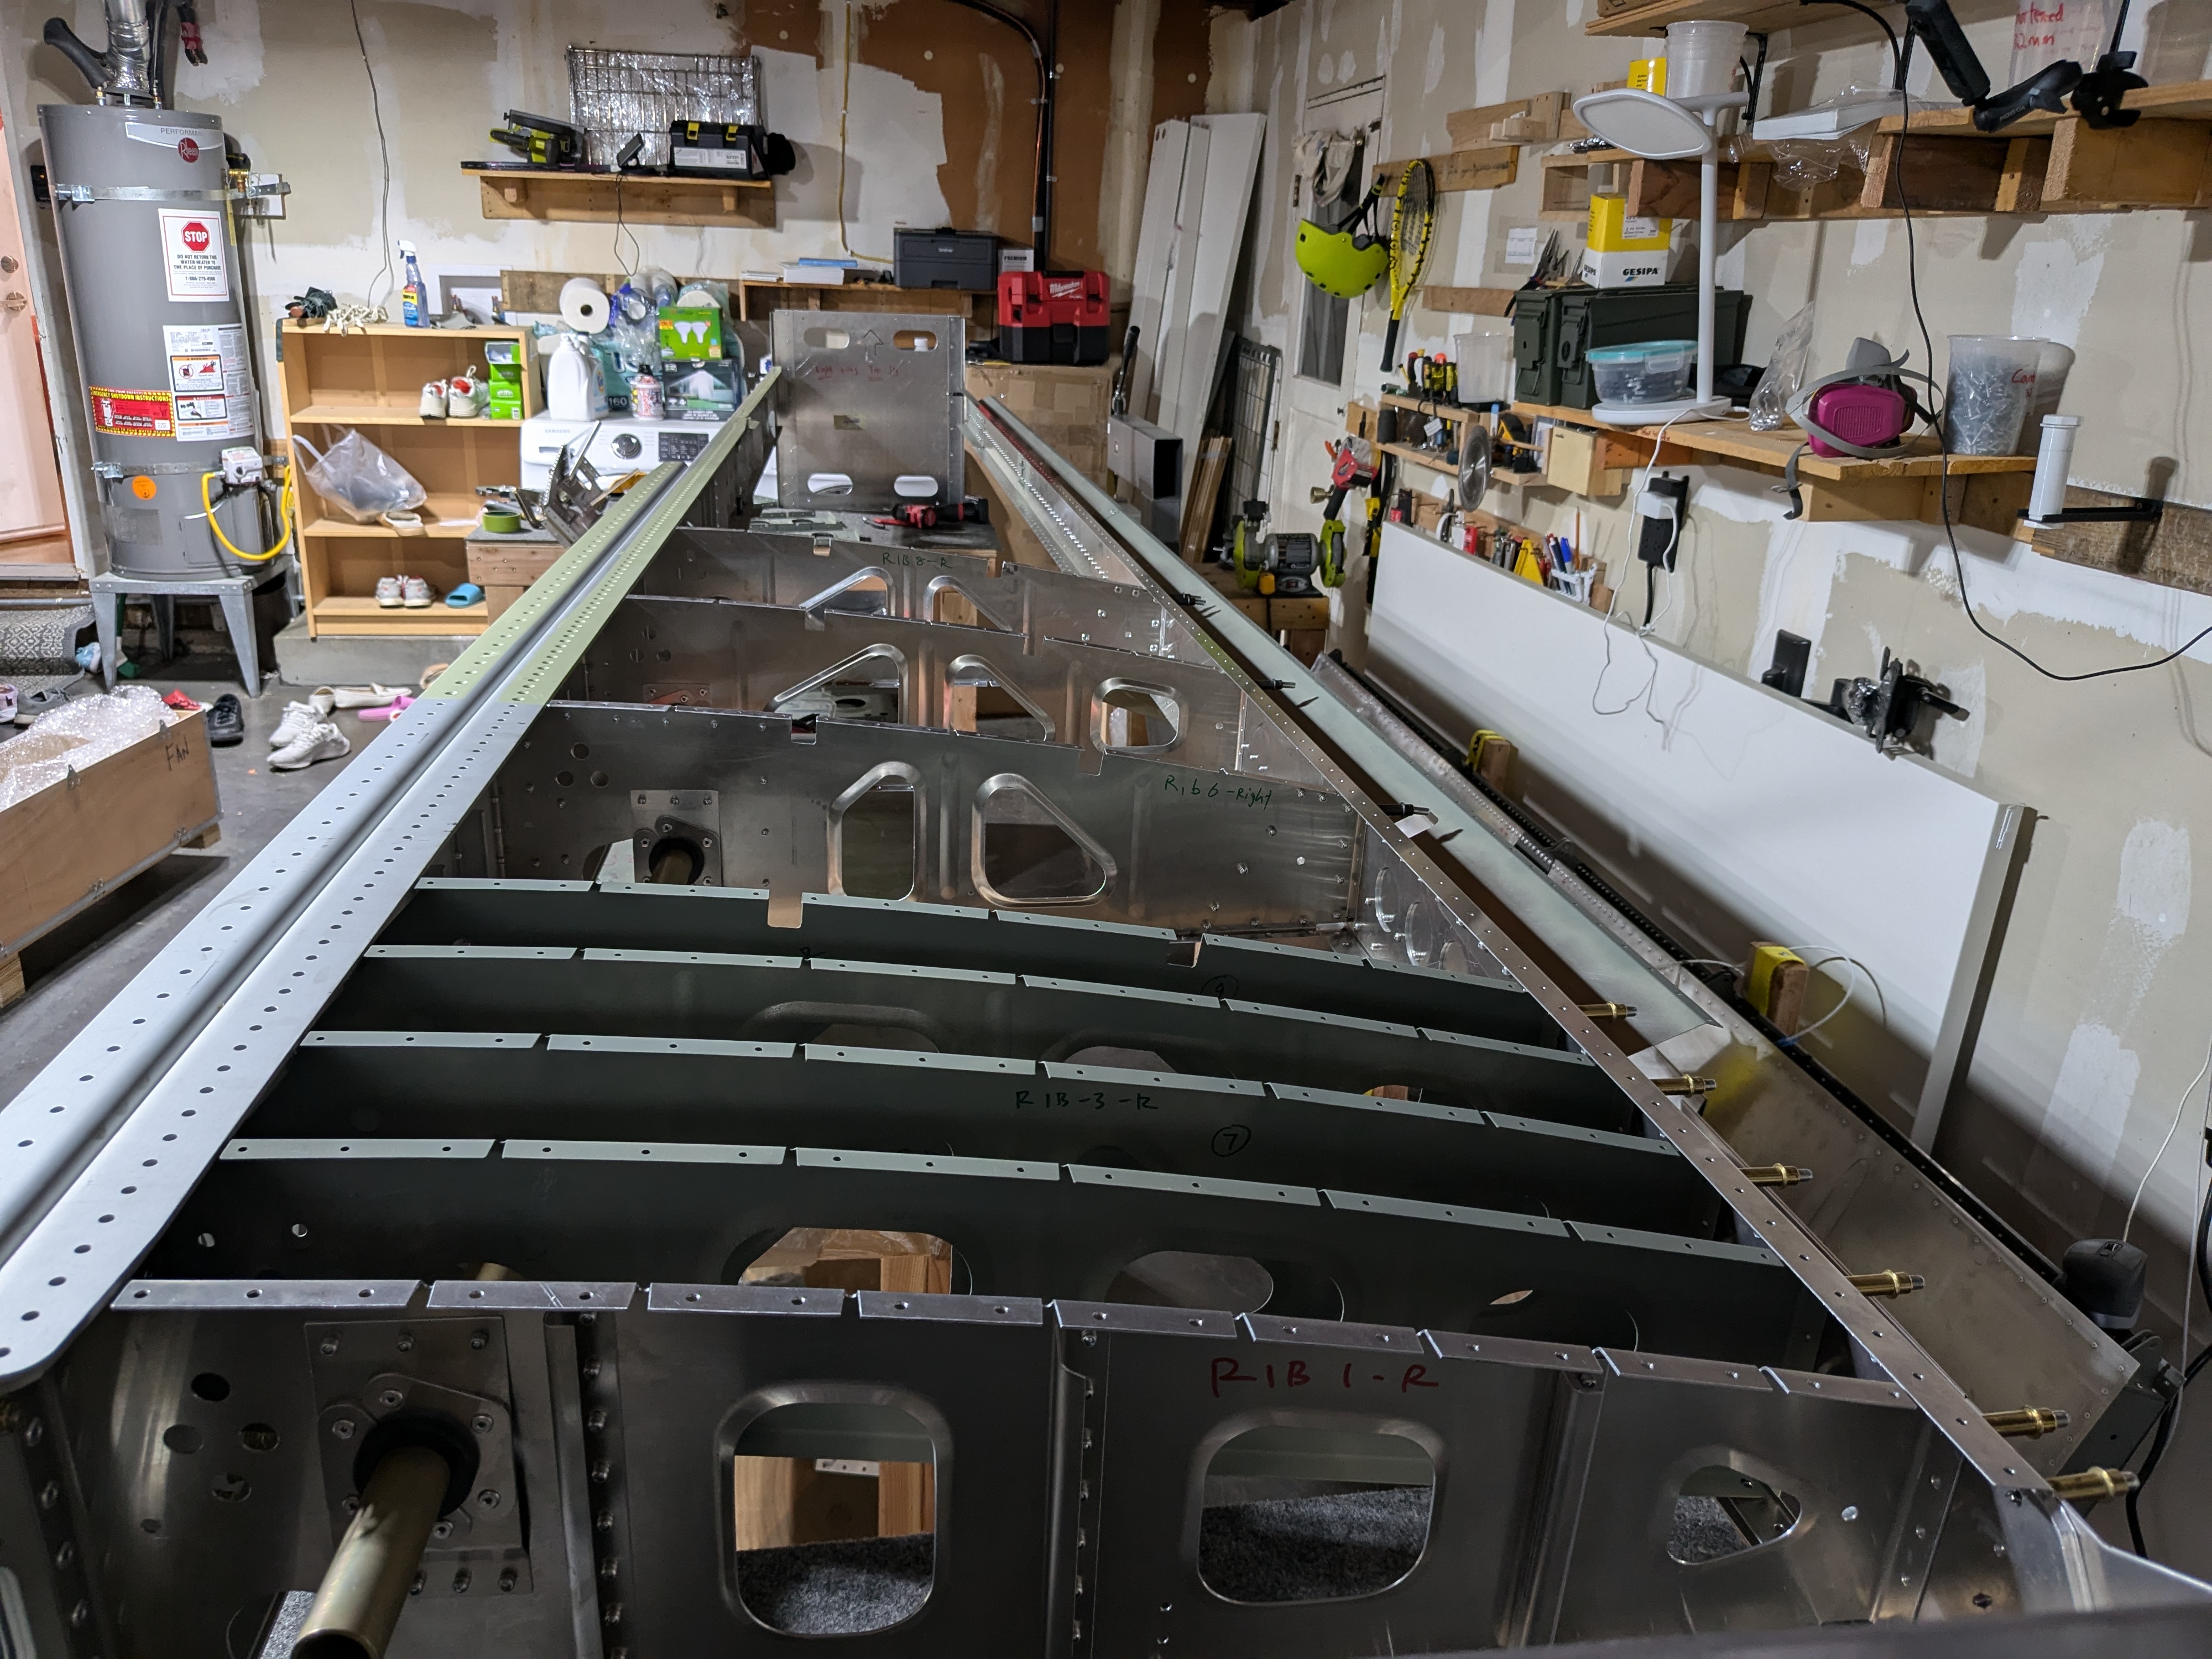
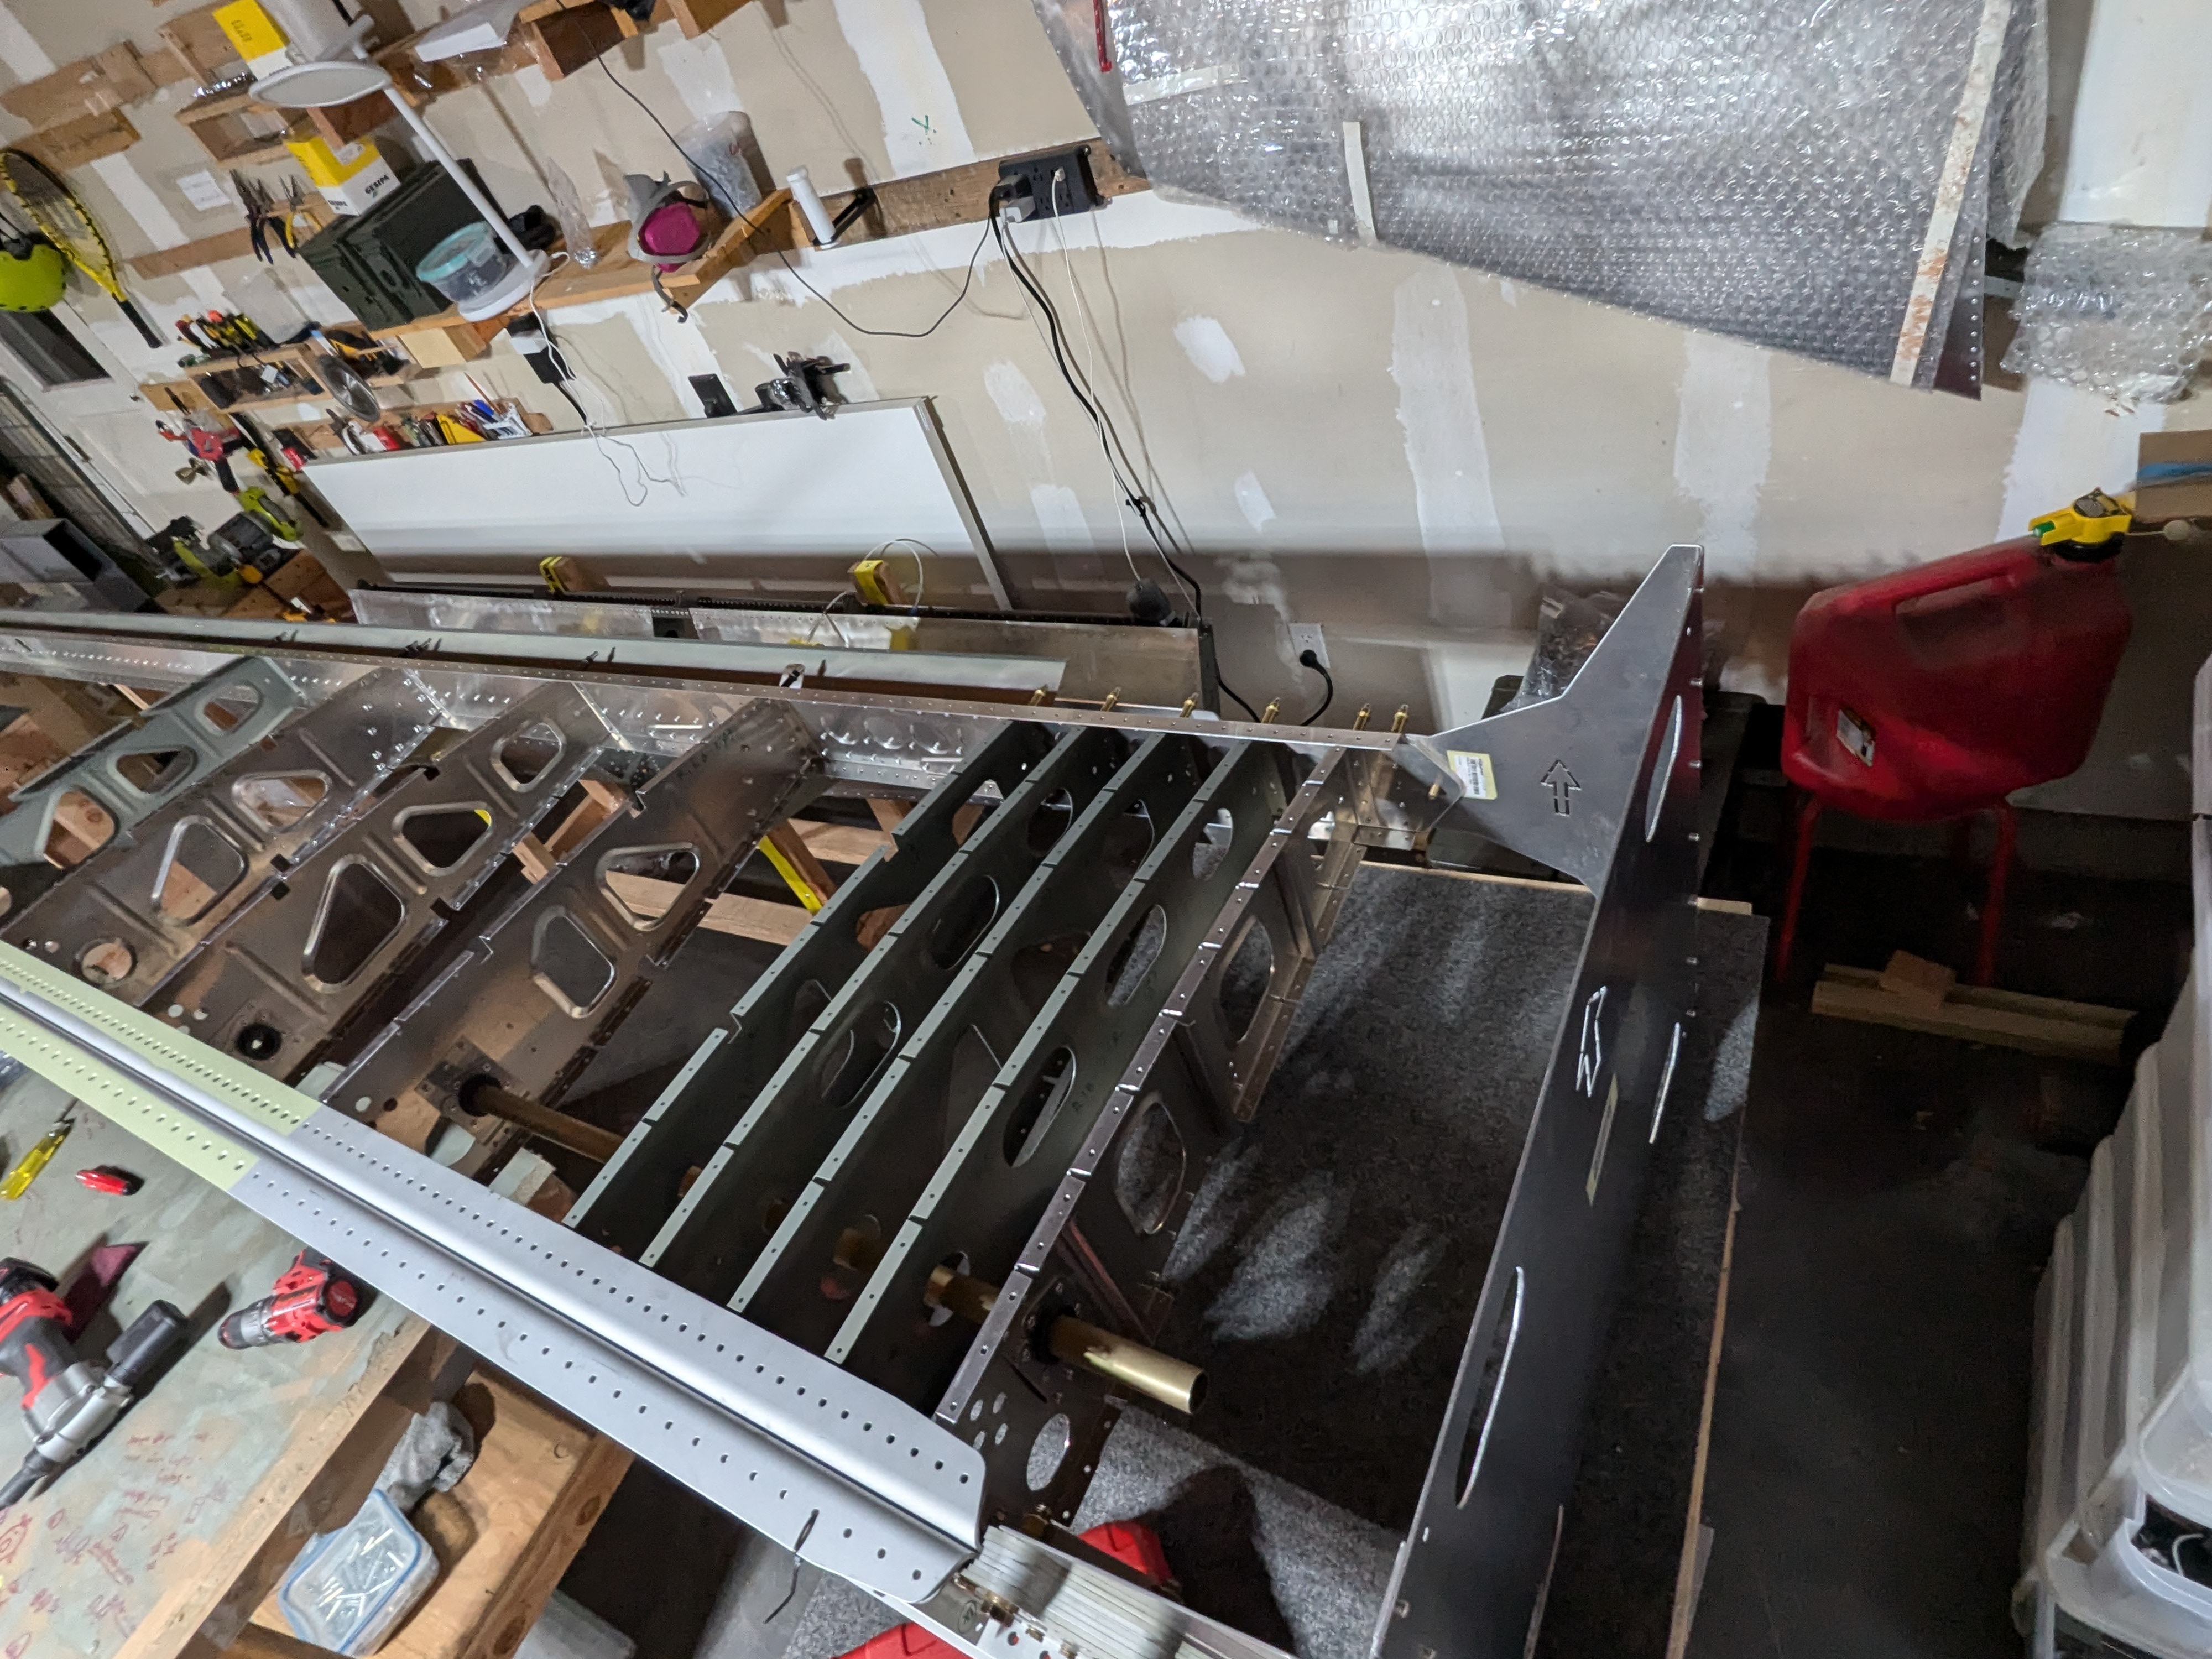
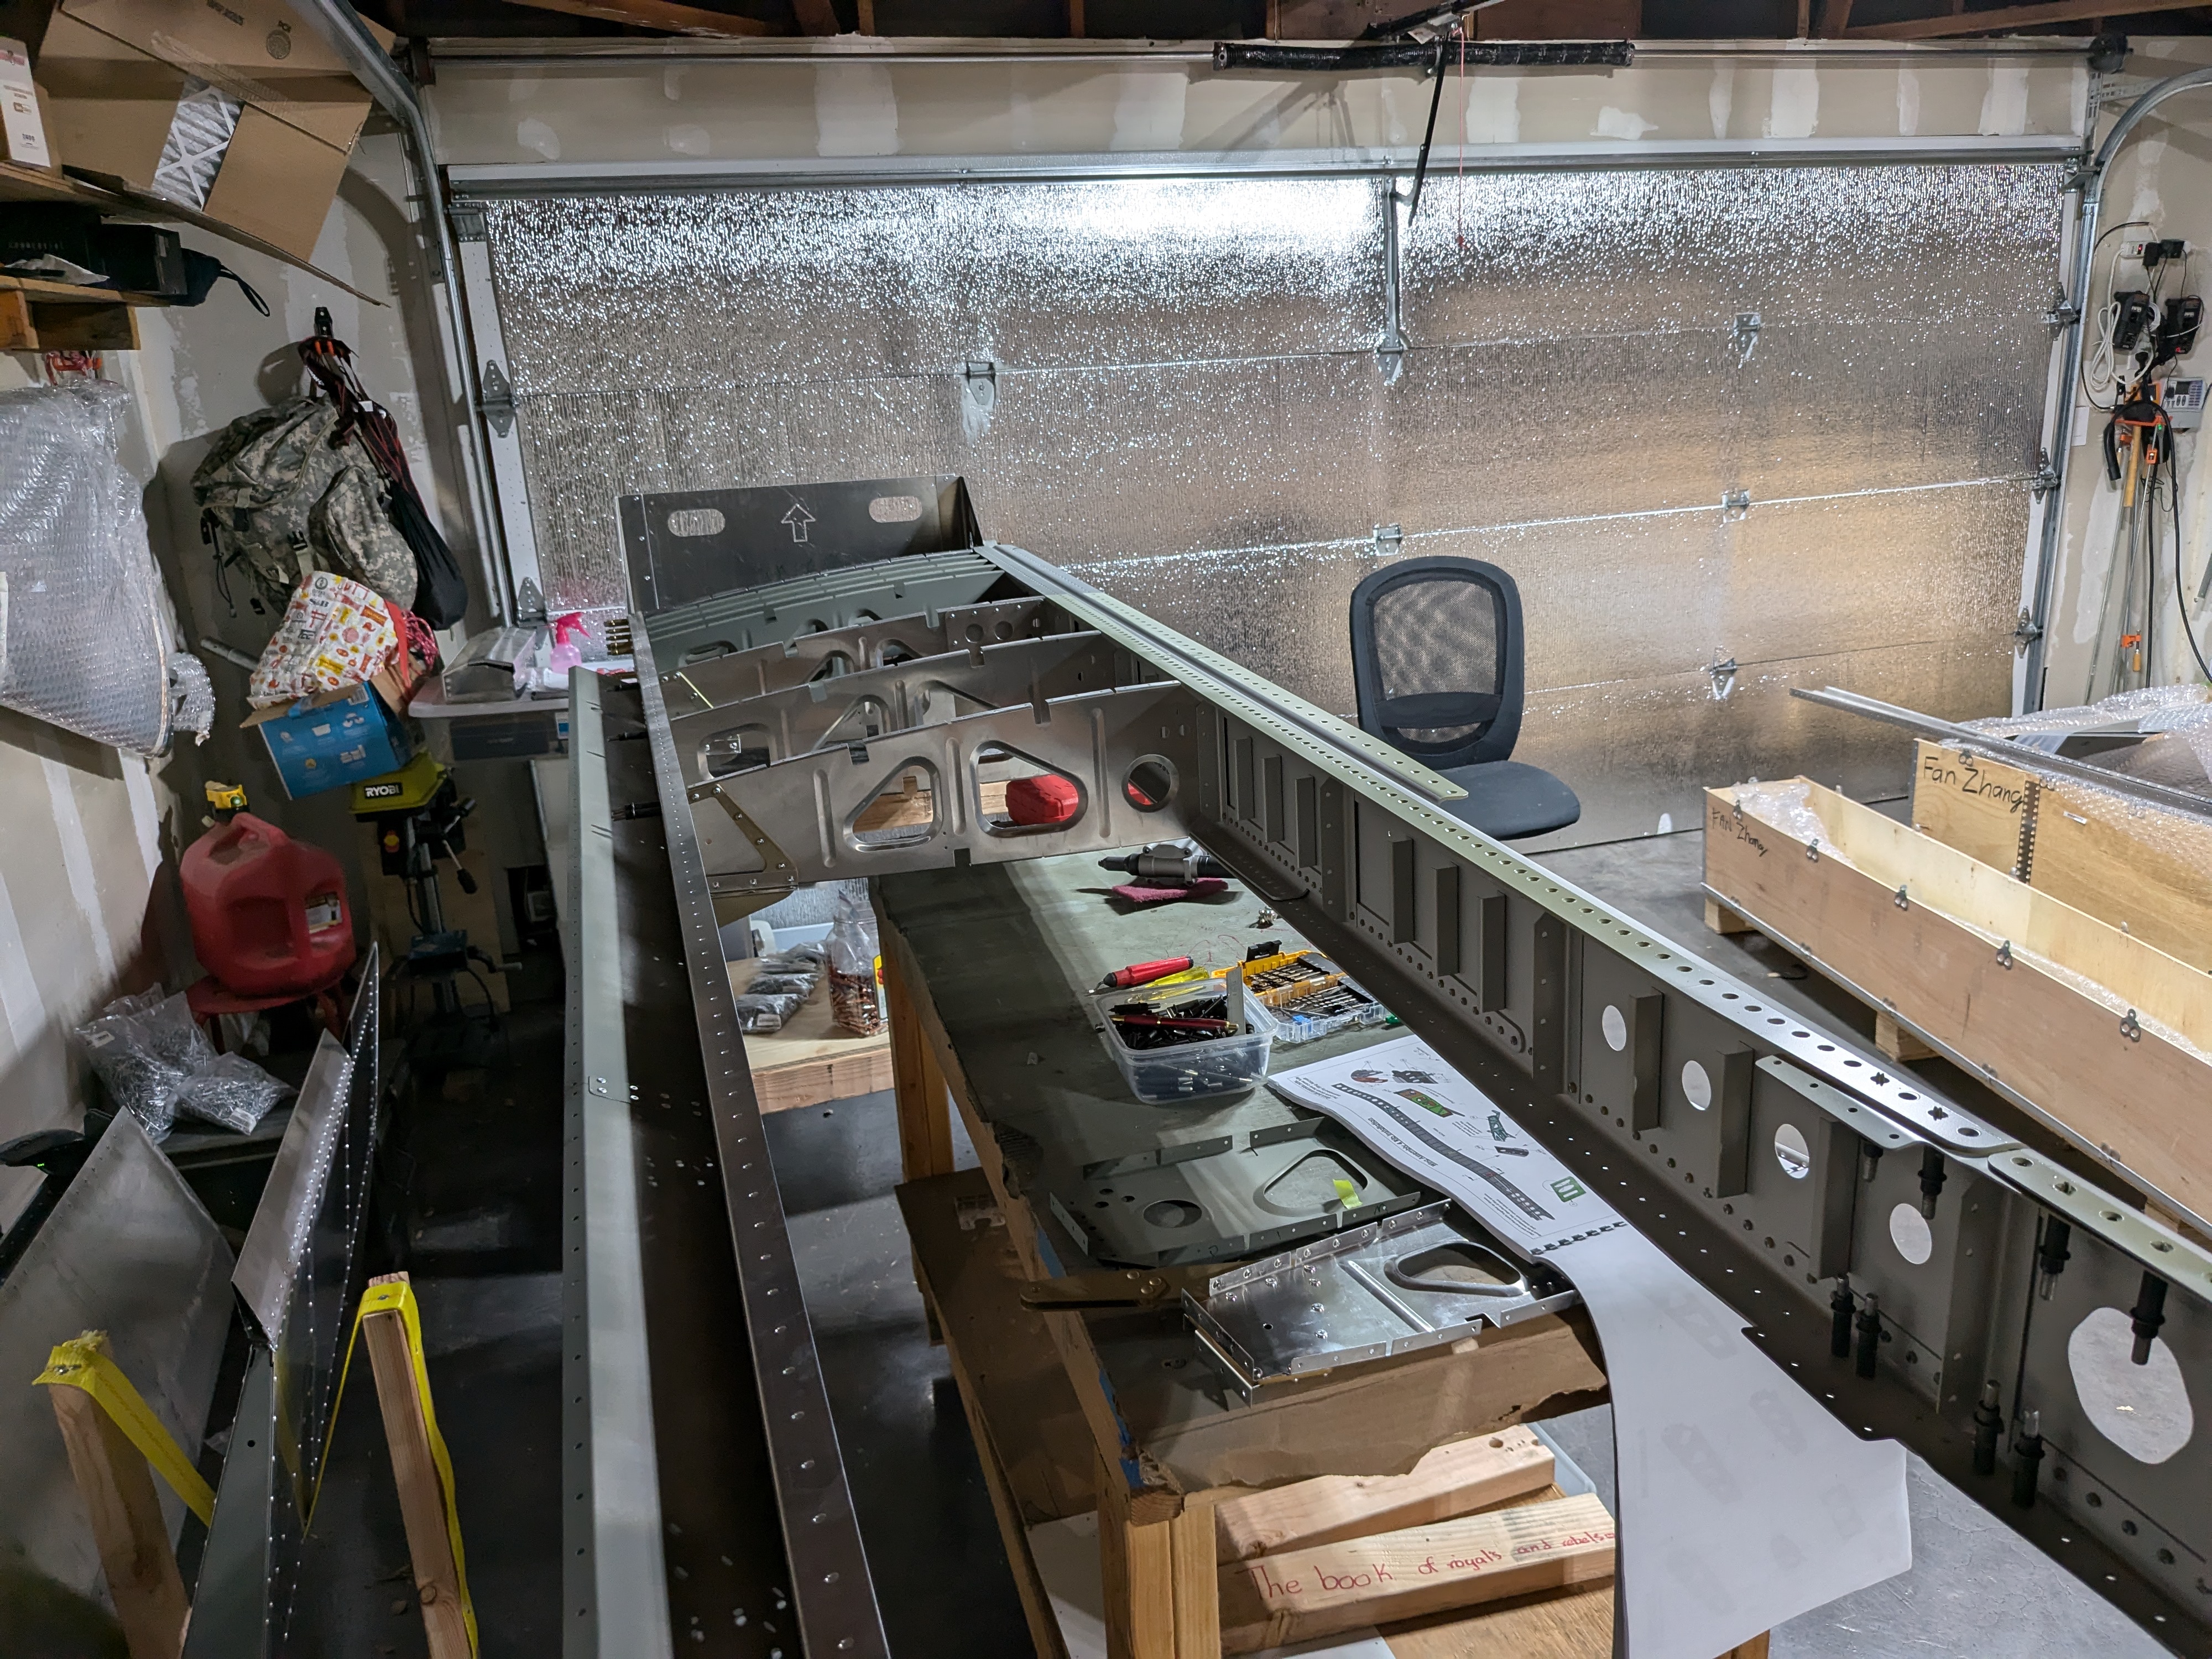
Starting to rivet ribs to spar
TLDR
- Ribs 1-8 riveted to spar
- Installed flap torque tube
Details
Spar onto jig
I forgot if I have mentioned this before, but I got the right sized bolt from Amazon and installed the main spar onto the jig, and I started to put ribs to spar.
Rib 1 to 6
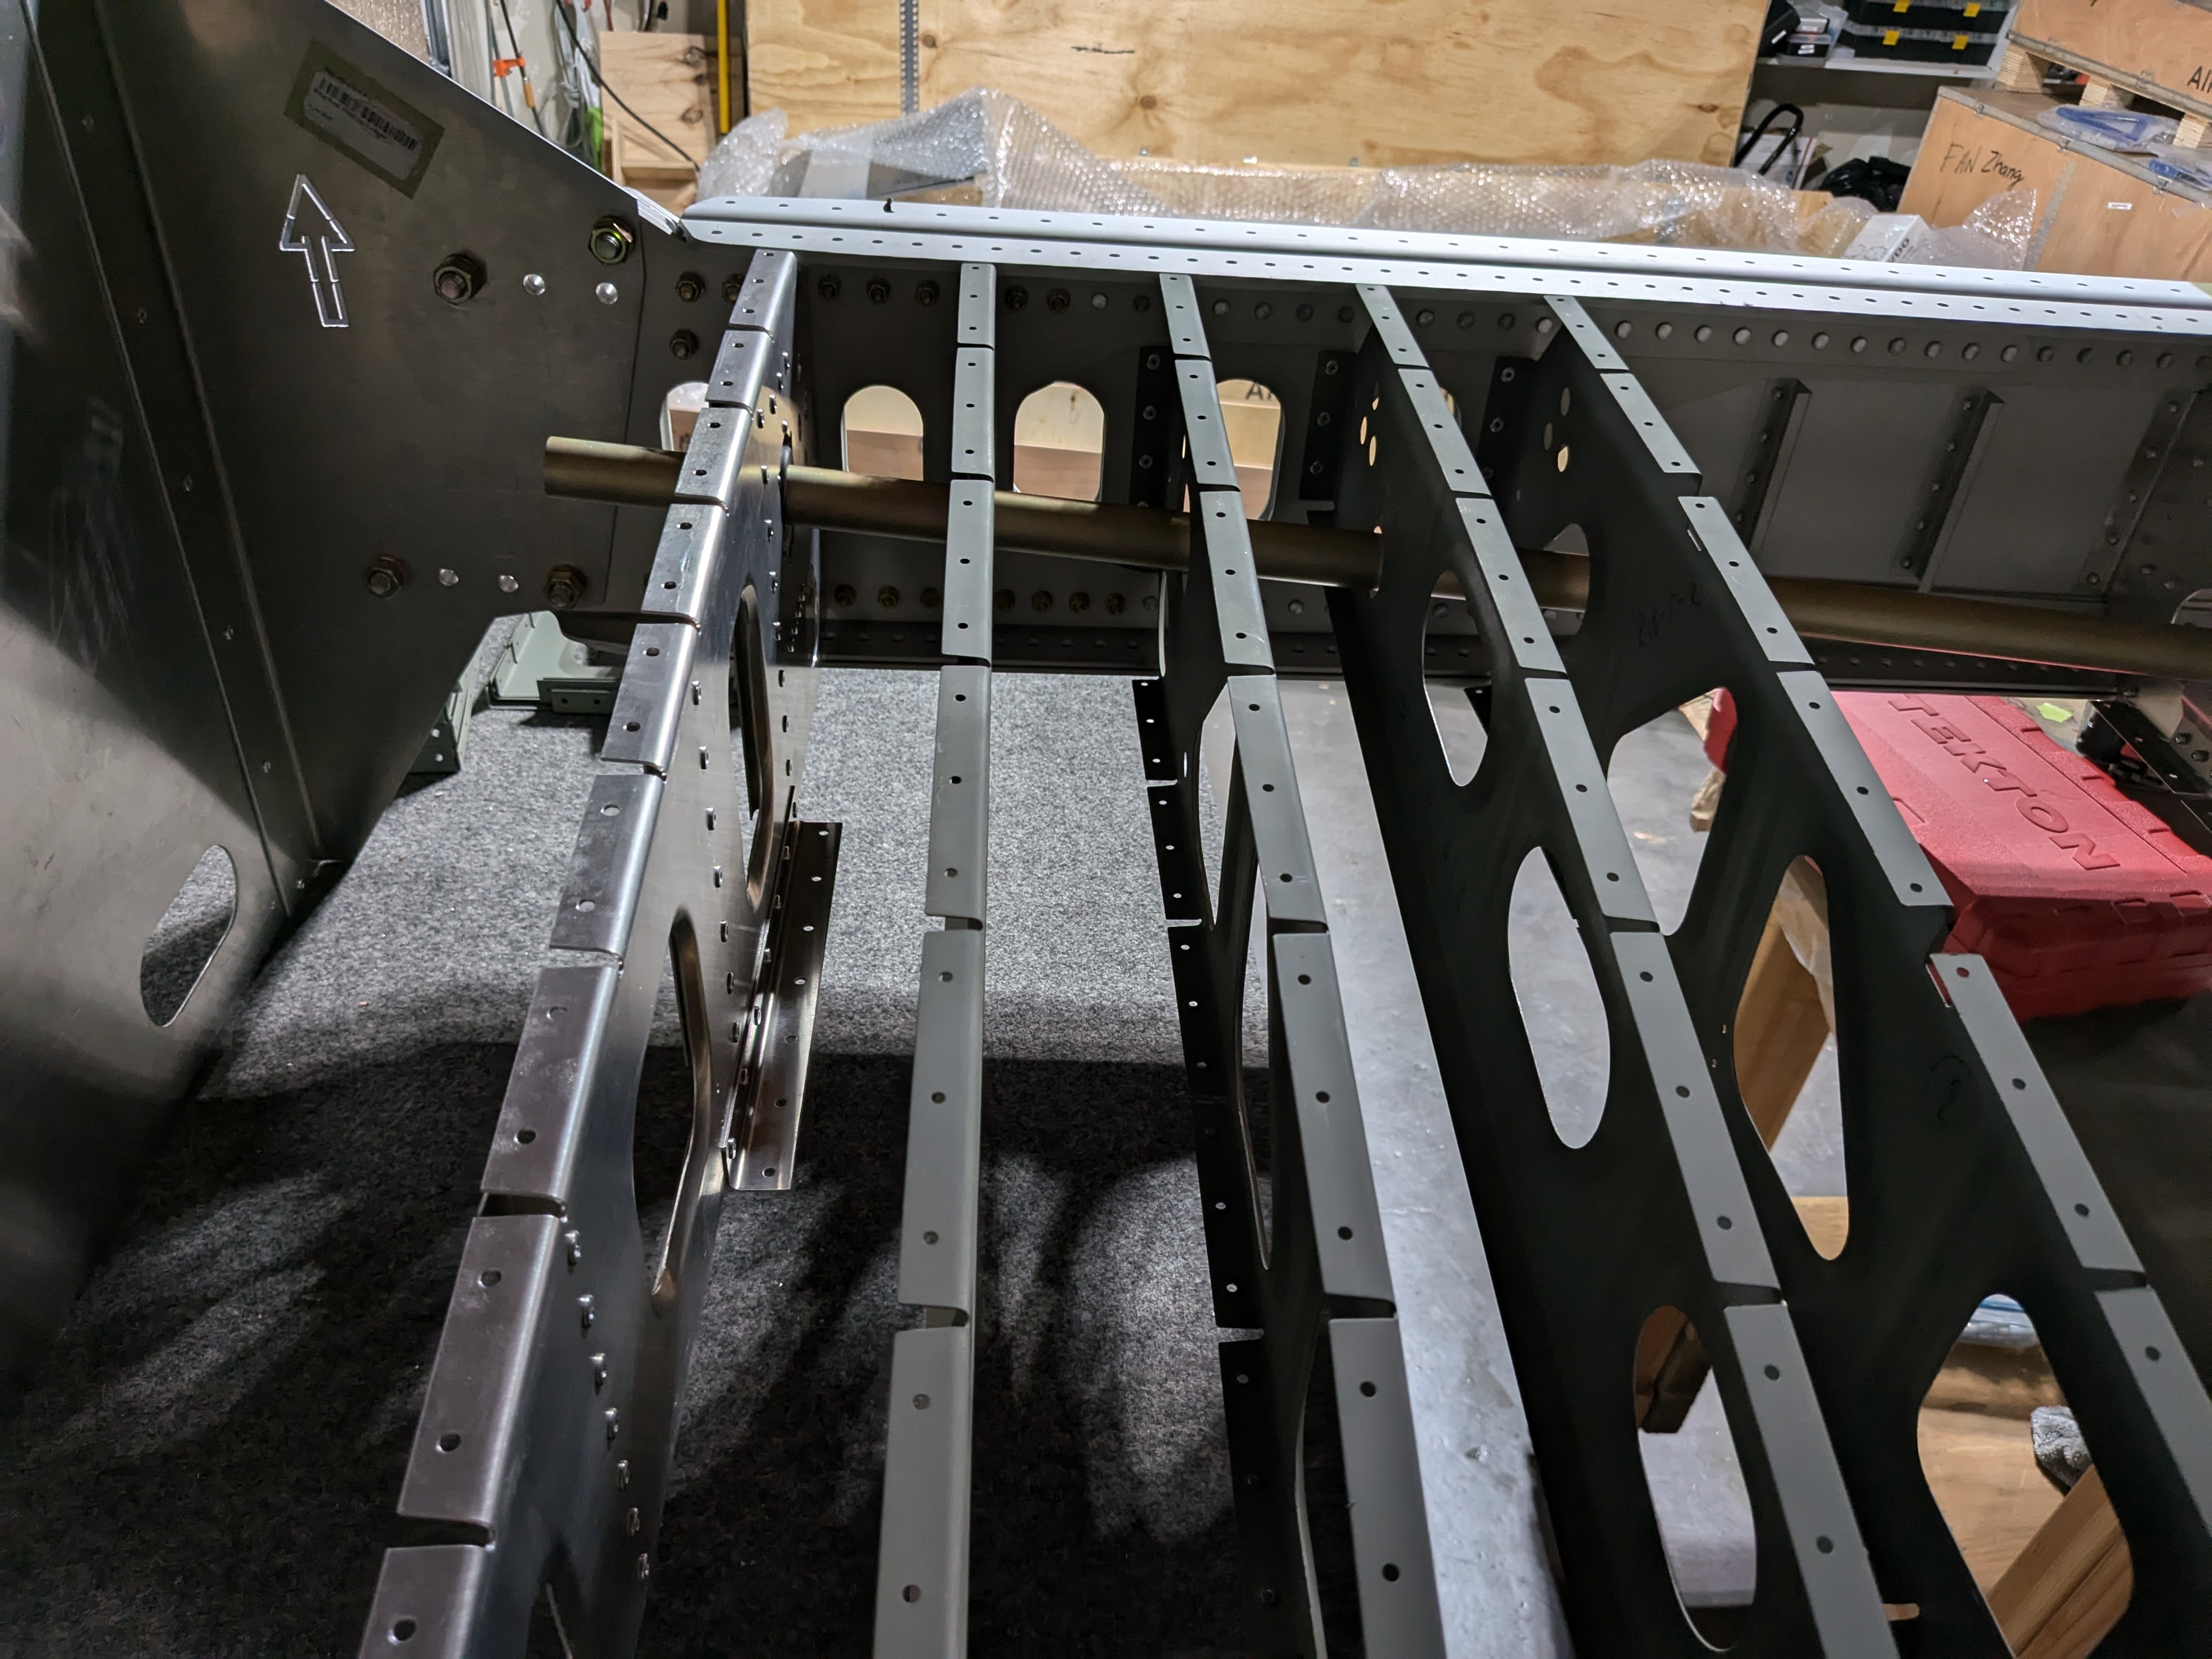
As Evan’s video suggested, I installed them in reversed order: 6 first, then 5, 4, 3, 2, and 1.
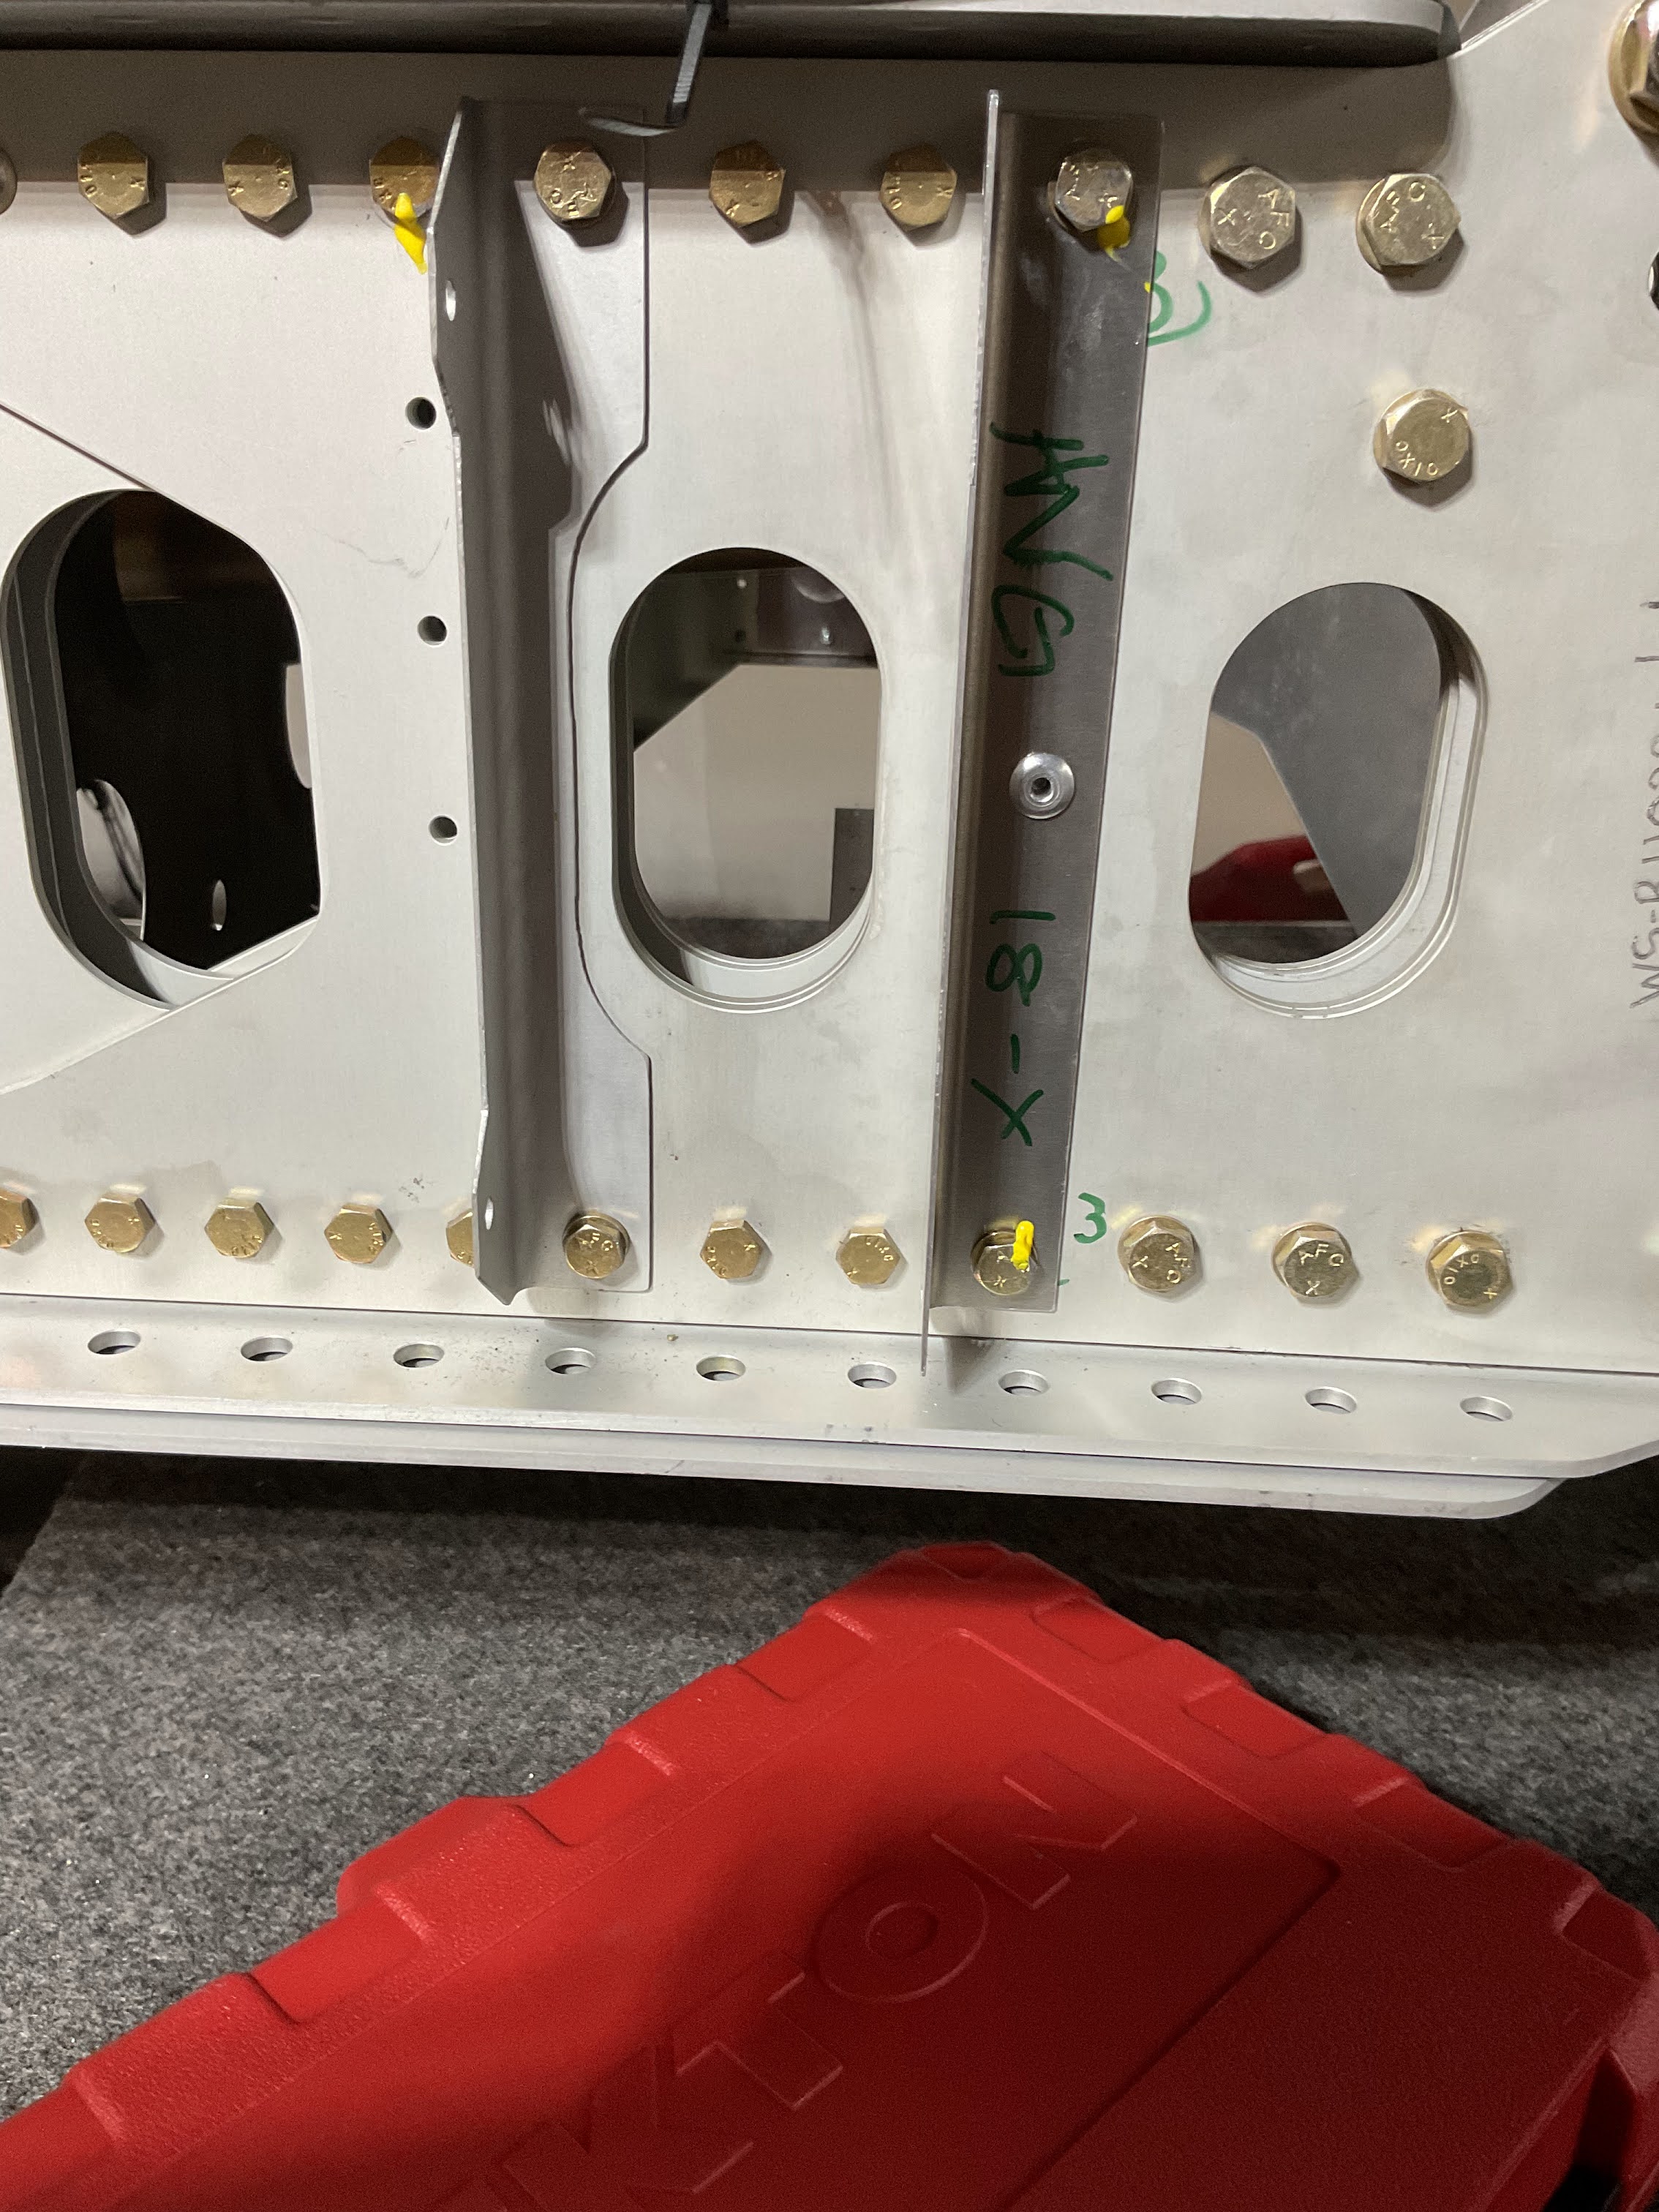
The first few go on no problem. I ran into a problem with Rib 2 and 1. A few holes sized to 4.8mm actually needed AN3 bolt. I almost missed it on the instruction. When using AN3 bolt, I immediately ran into a problem. The holes were all too small to fit. I do remember on the official build video Evan said the AN7 bolts were press fit and hammer would be required. I didn’t think it would also apply to AN3 bolts here. I tried the use a socket wrench to twist them in first. The bolt went in a little, but all eventually stopped going in. I them used a hammer to lightly tap on the shank. They all went in eventually.
The rest was easy - I torqued all screws to 29 in-lbs per spec, and marked them with torque seal.
Flap torque tube
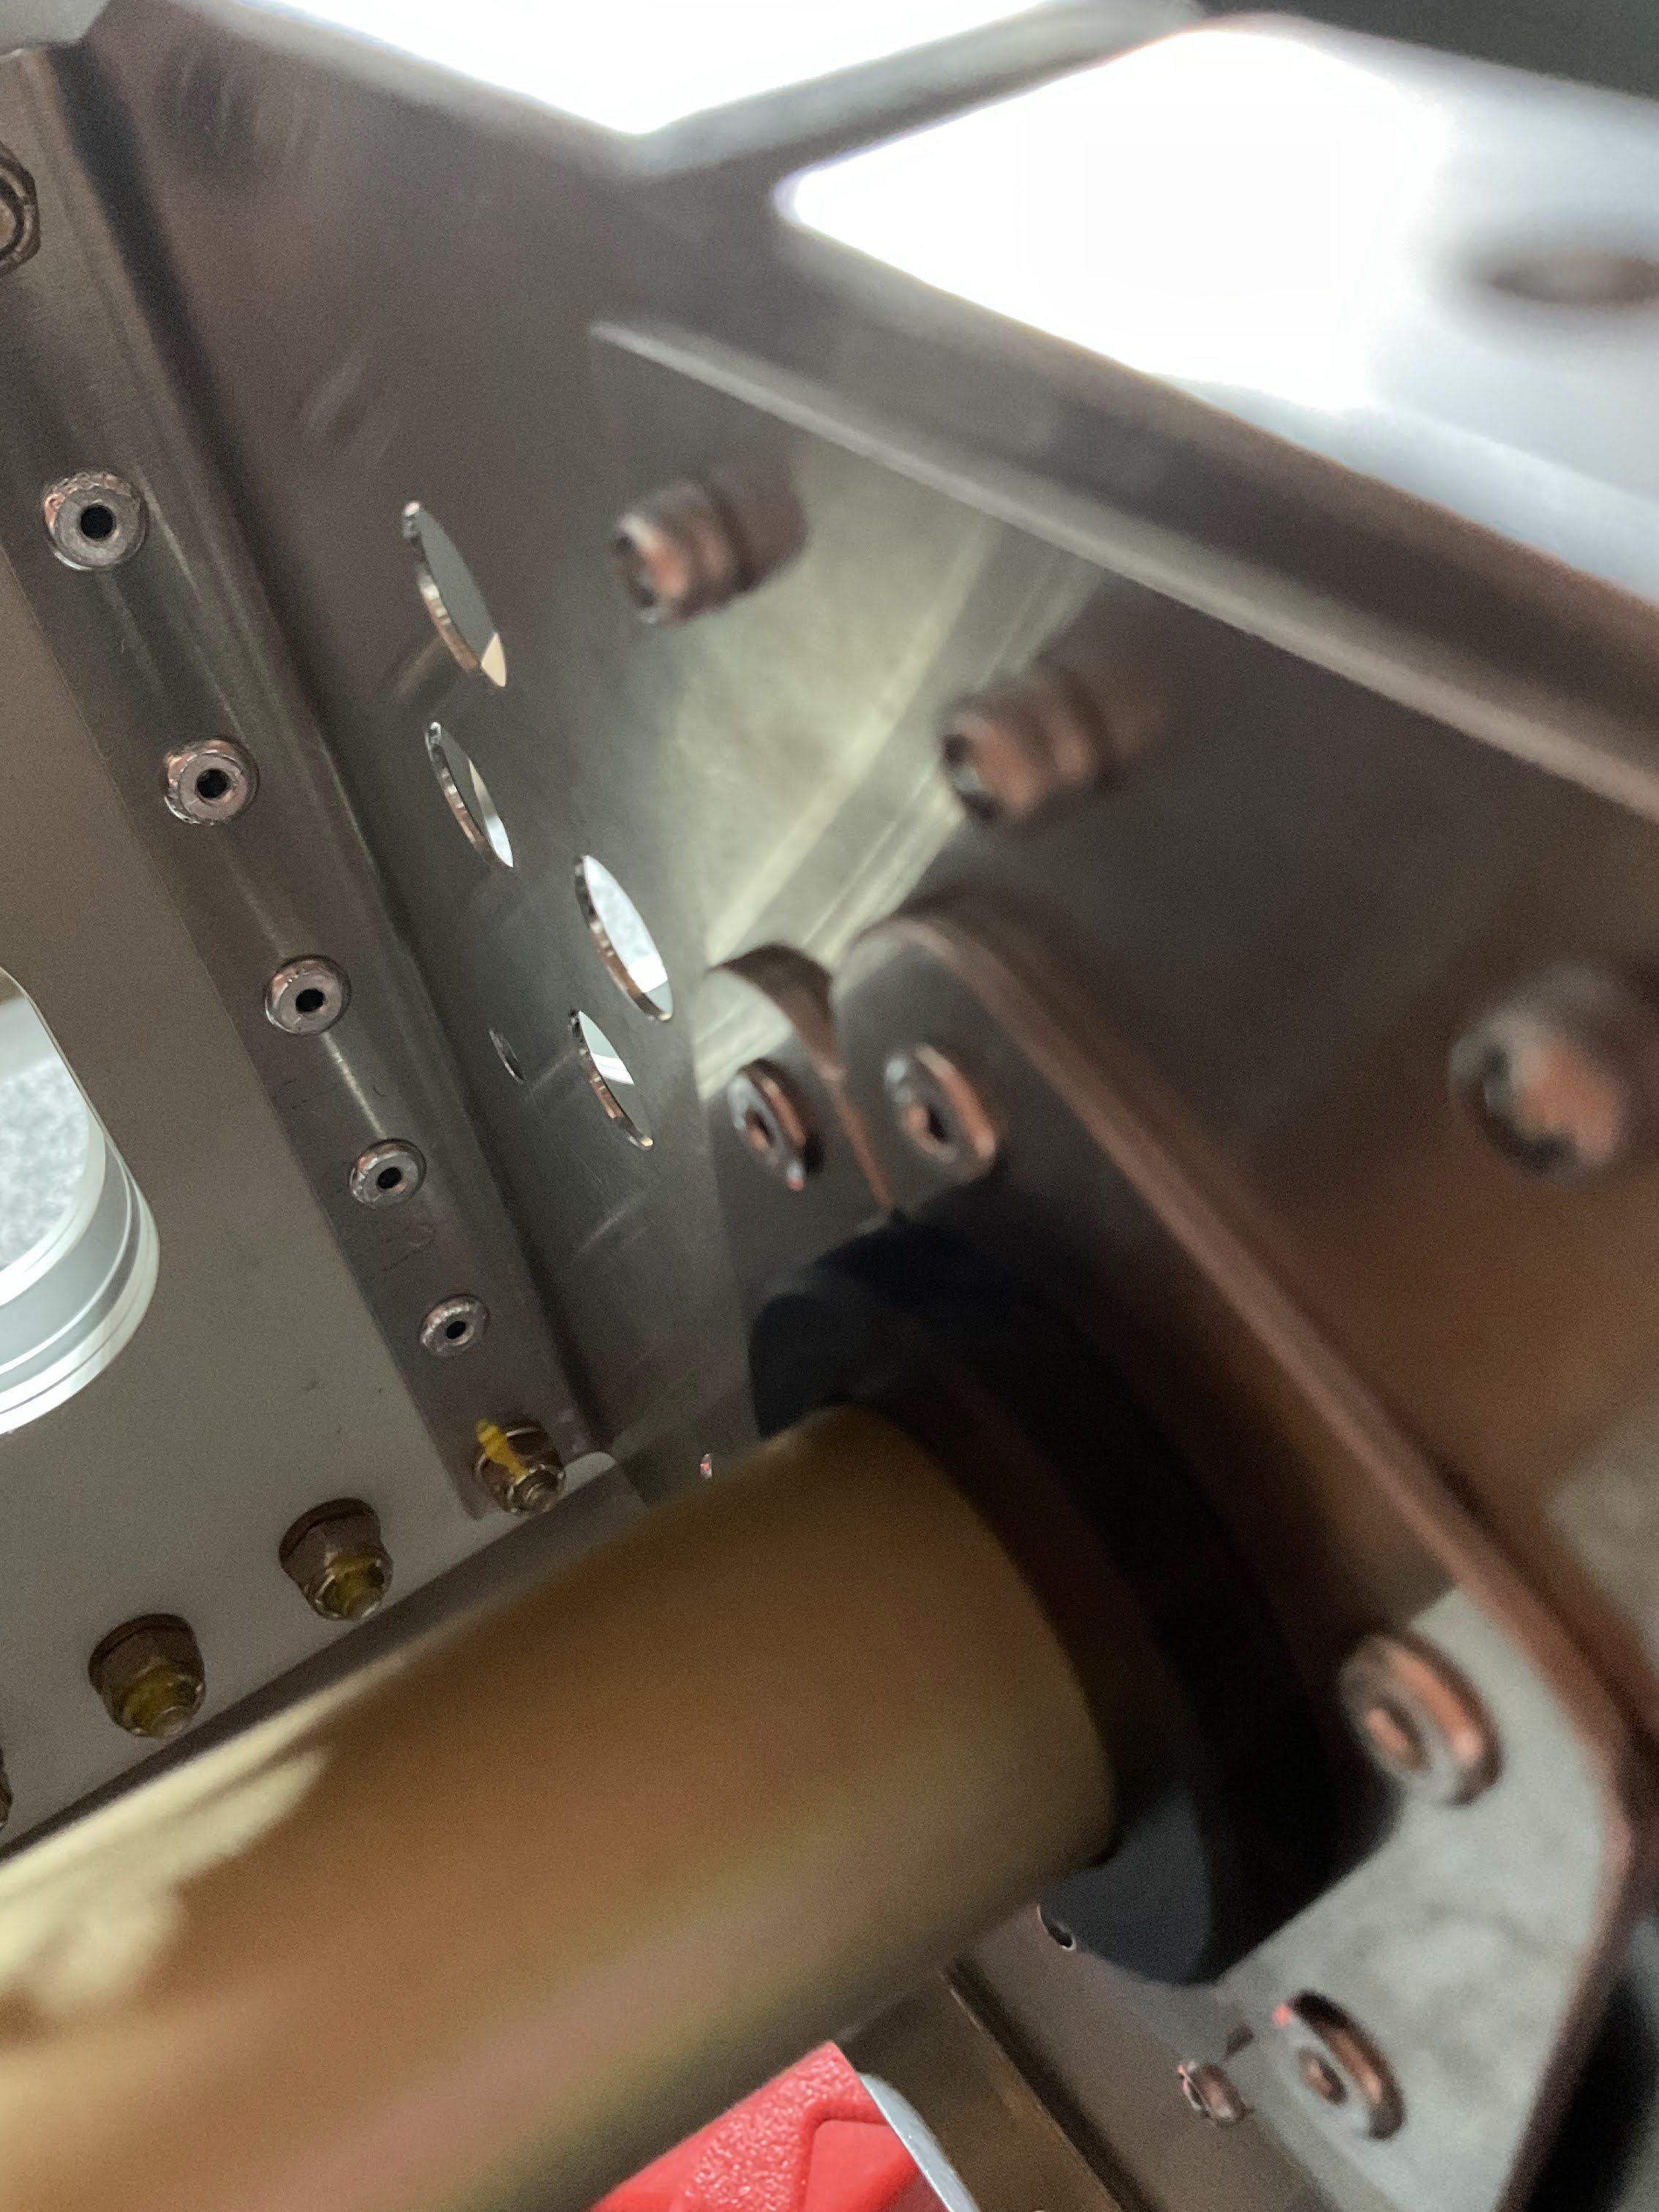
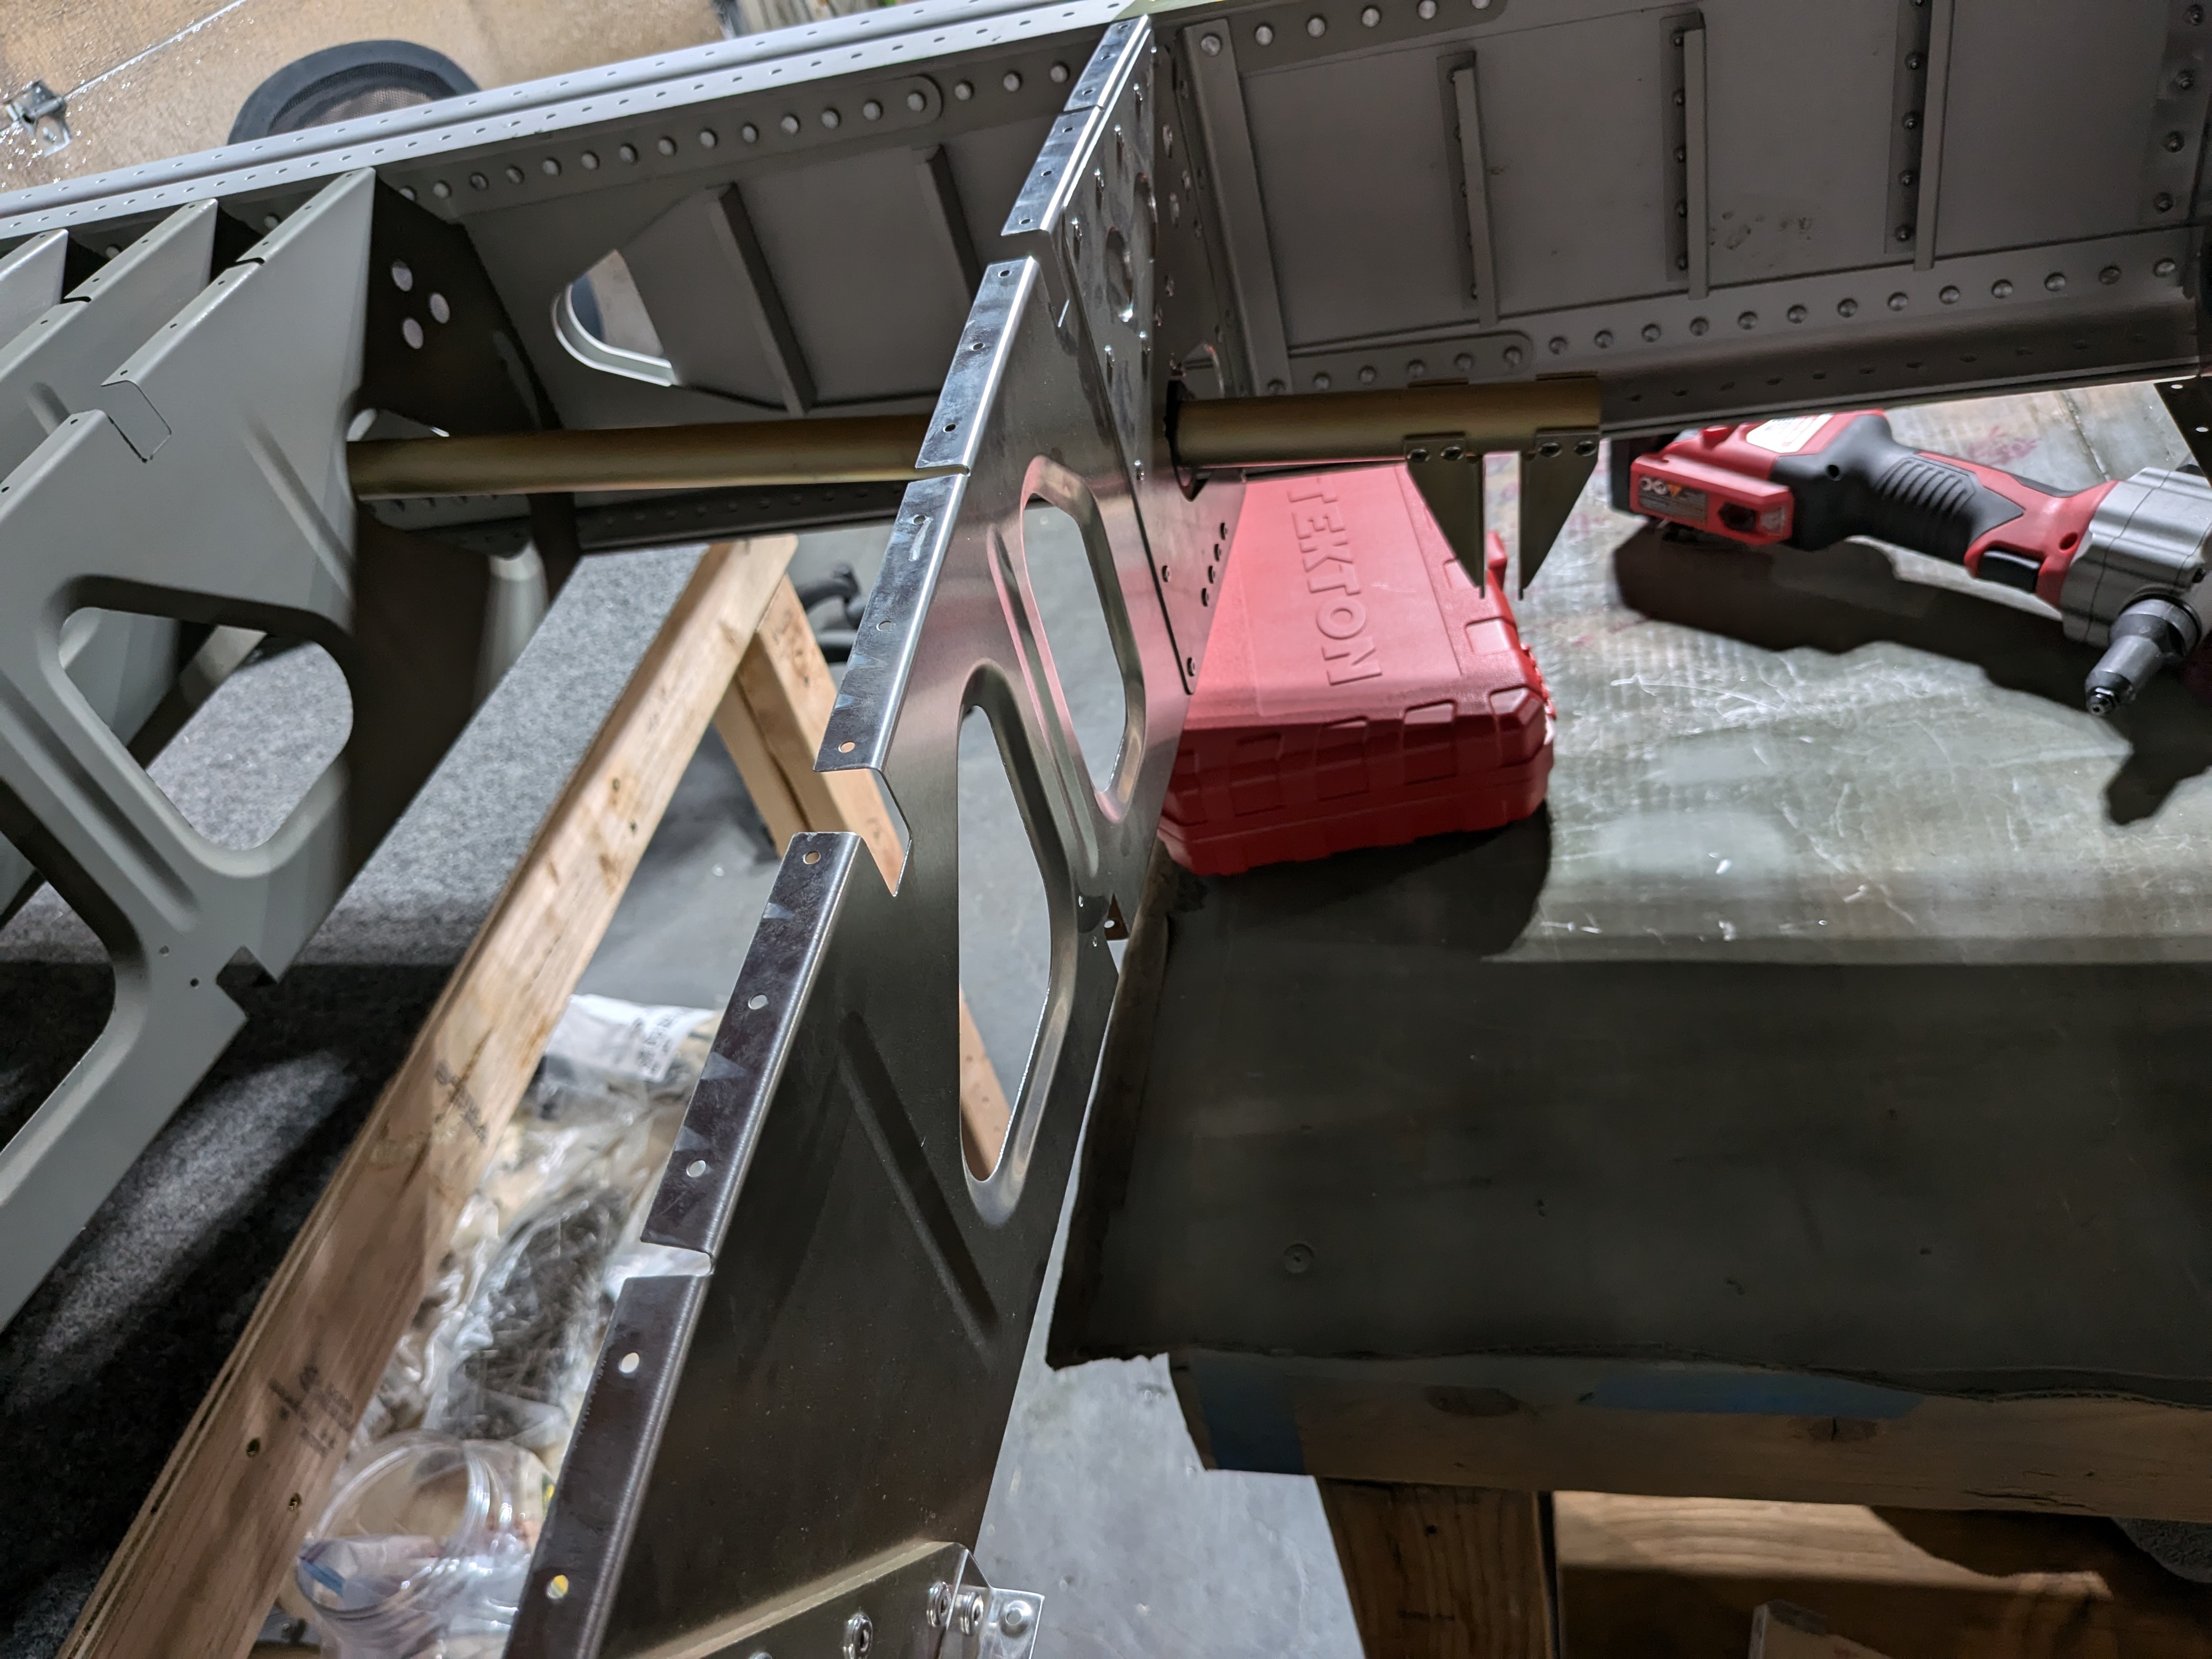
After ribs 1-6, I installed the torque tube and tried to rotate it to see how much friction I get when rotating. It’s got a tiny bit of friction, and I think it’s due to the fact that ribs are not secured to skin yet so they are still flexible. The friction should go away when I rivet the ribs and skin together. But for now, I’ll leave them as is. No epoxy or anything yet. Will re-evaluate when I have bottom skin on.
More ribs and rear spar
After 1-6, the other ribs are not as complex. I dimpled and installed a few more ribs. I had to stop at rib 8 because I started to notice the spar started to flex due to the added weight.
I called my wife to the rescue. She held one end of the rear spar and I installed the other end to the wing jig. I then clecoed her end to the jib and installed a few clecos between rear spar and the ribs.
The main spar stopped flexing and the wing skeleton immediately took shape.
