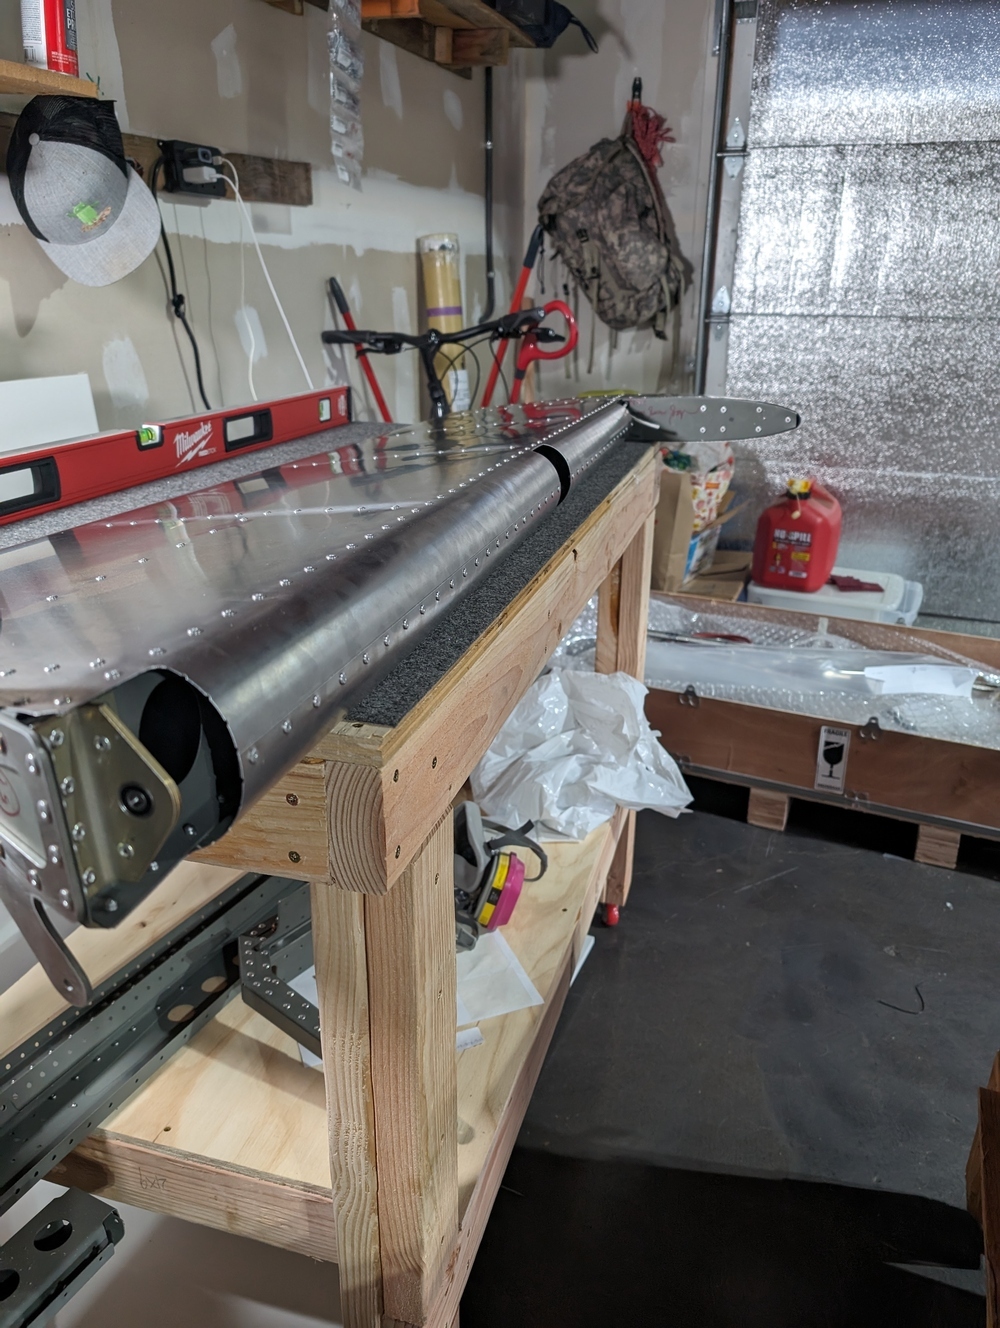
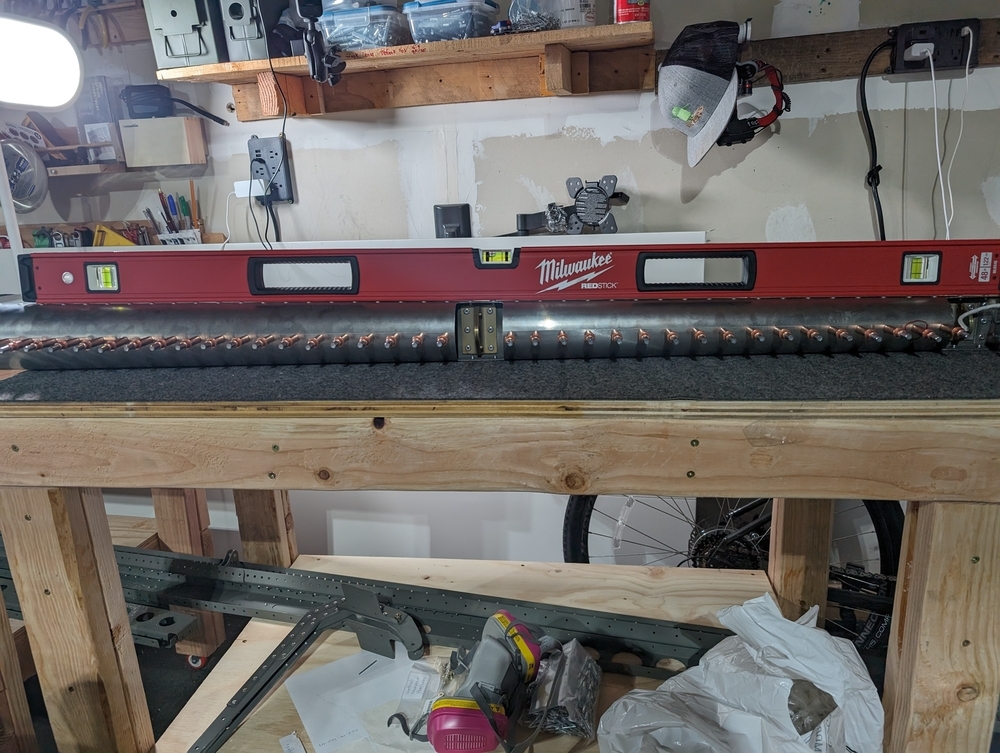
Rudder assembly
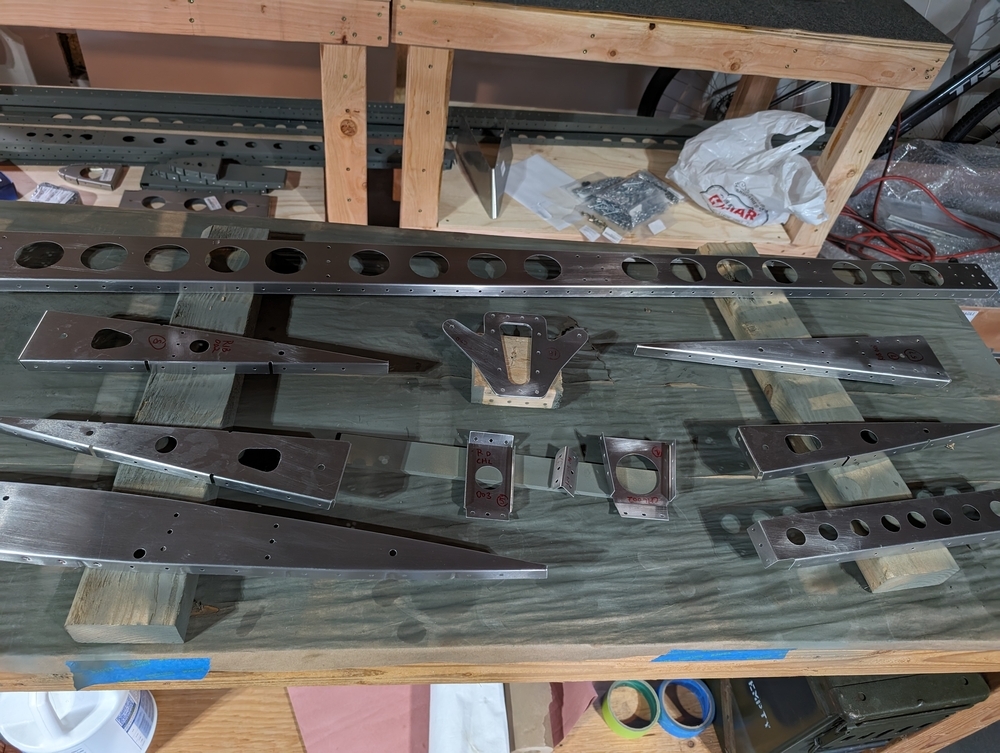
Happy holidays! Last couple of days I built the rudder assembly (RD-ASS-001-C-F-0-A-6 sheet 23, 24, 25, 26).
This is by far the biggest part and most complex part I have built in the kit. I spent so much time measuring and worrying about the rudder twist and making sure the skin is flat.
Instruction doesn’t provide the best sequence of build
So after cleaning, deburring and all that dance, I started on page 24, where it called for dimpling on part 1 and rivet part 20 with the counterweight (part 16).
Without giving it much thought, I happily did both. But when I clecoed everything together, I realized the load from the counterweight twists the whole assembly significantly and makes things so much harder.
And the dimple on part 20 makes it super hard to align the composite rudder tip for match drill :(
I re-watched the build video from Evan, and of course he noted both steps should wait until later for exactly these reasons.
Amy helps with the build
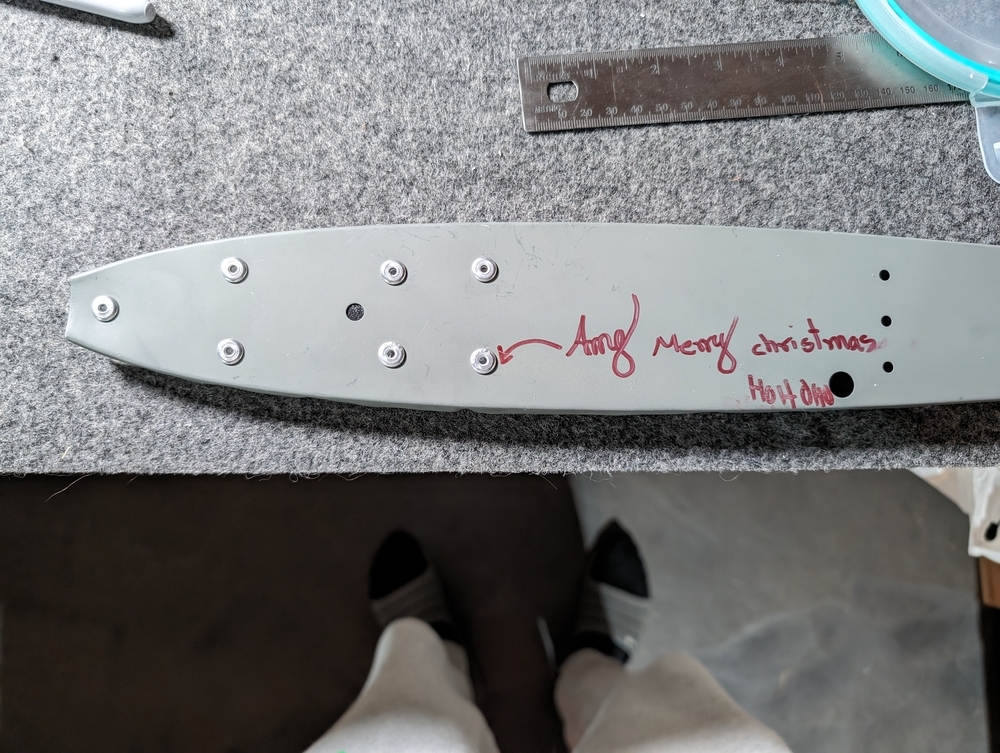
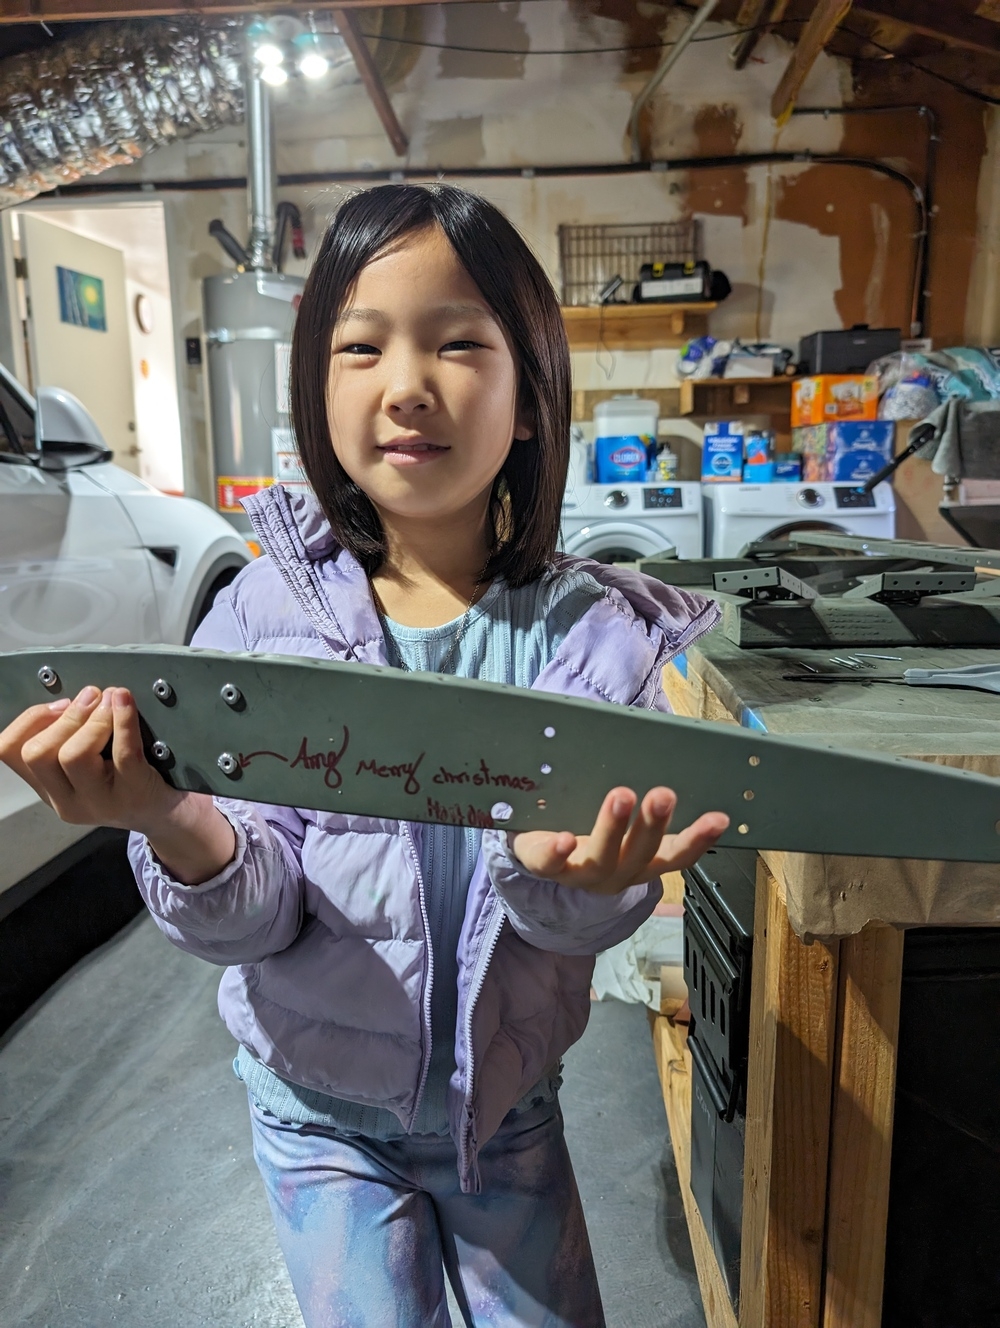
Amy (my 7-yo) decided to help when I was working on the counterweight! I showed her how to use the rivet gun, and she started to pulling rivets!
After she’s done I asked her to sign her autograph on the part like a pro :) And She wrote merry christmas hohoho.
Measuring
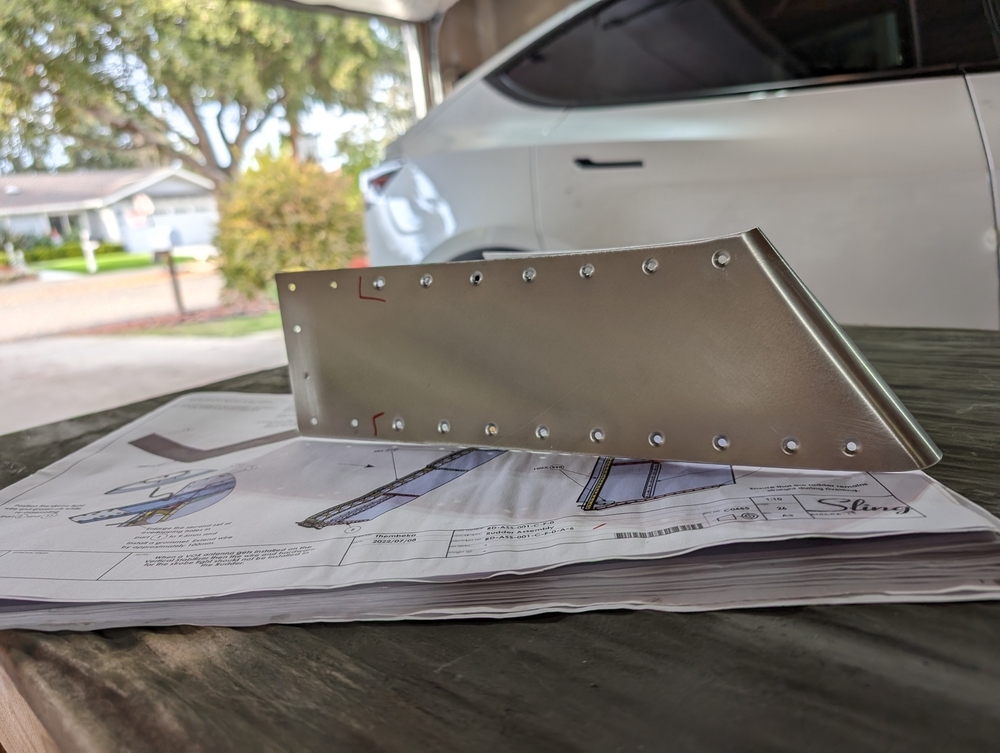
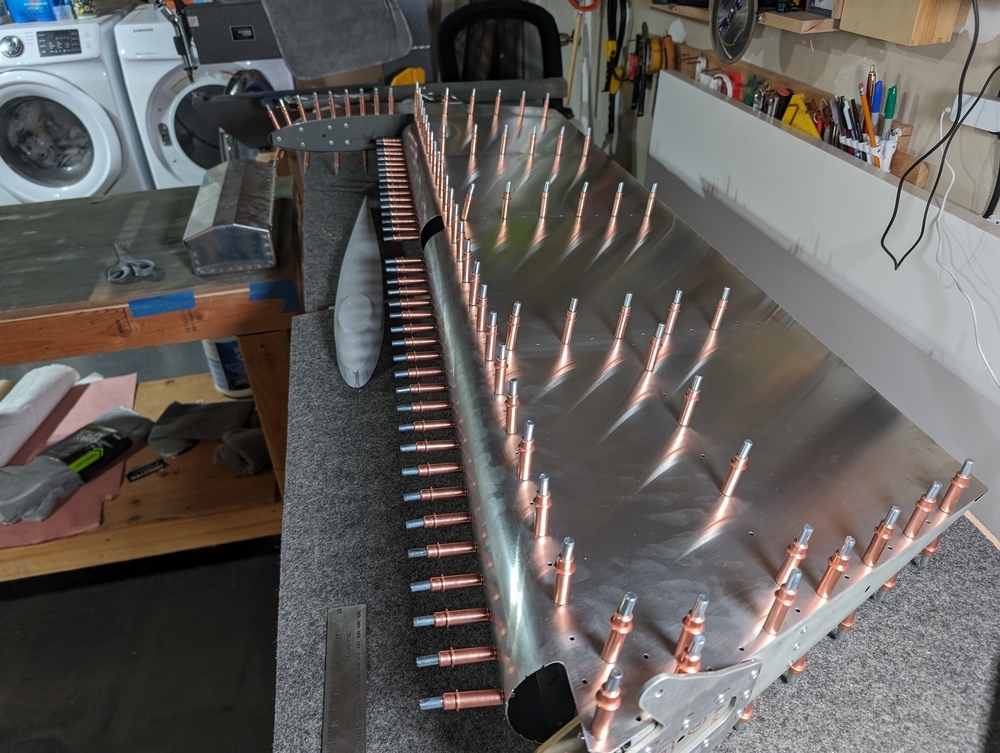
I clecoed everything together including the skin, and pulled out a straight edge to ensure both sides are flat. Then I tried to use a laser level to ensure the centerline lines up from top to bottom. But this was pretty difficult because I could make it stand up on the group without falling. So I gave up and used the method Evan suggested in the video: I marked a few dots on the edge of the rudder, set it in neutral position on a flat table, and measured the distance between the dots to table top. Then I flipped the rudder and measured the distance from the other side. The distance agrees with each other on both sides, so I am convinced the rudder has no twist. This whole process cost me a few nights of anxiety.
Rudder tip fitting
Never worked with composite before, this was a steep learning curve for me.
Because I already dimpled the skin on part 20, I didn’t want to set the rudder tip and start drilling. I worry once I countersink and let the skin sit, it will cause a slight movement to the rest of skin and make the other holes out of alignment. So I decided to drill and countersink the rudder tip holes one by one.
Once the first few holes are matched and drilled, cleco was super helpful to keep the assembly stable and speed up the process. But still it was a painfully long process. A few more heartburn may or may not have happened.
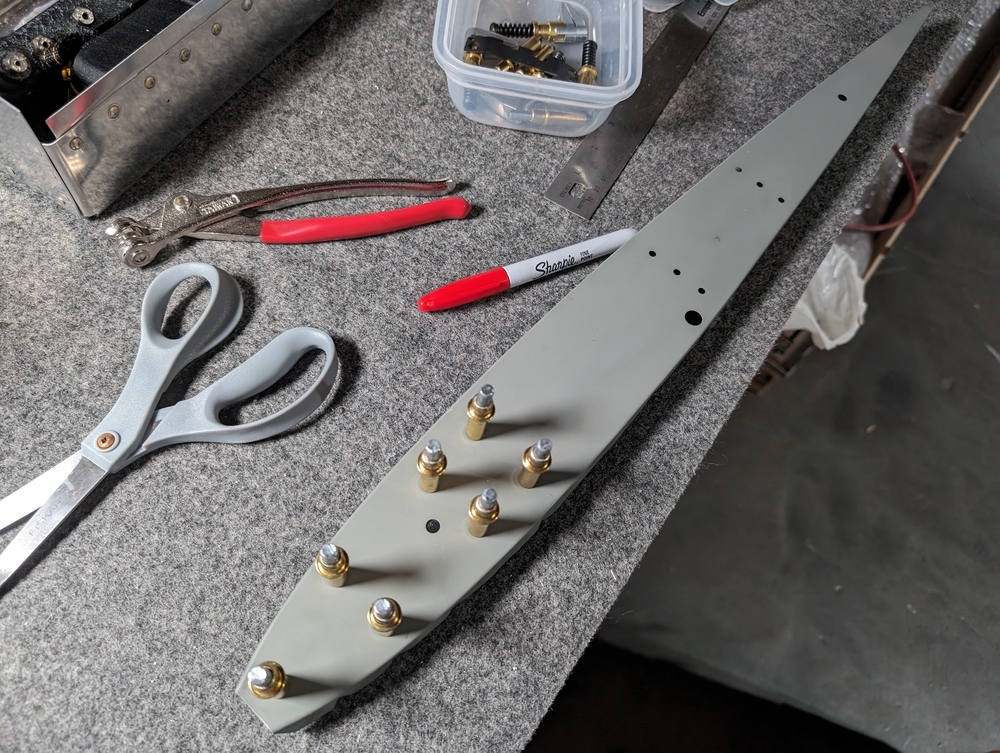
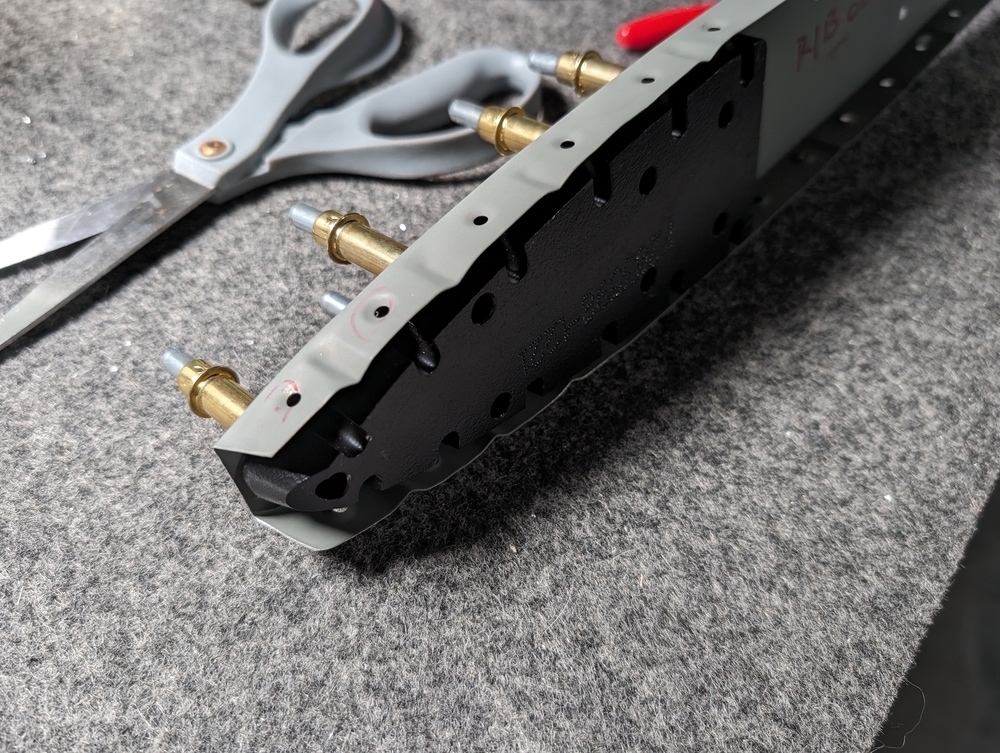
And I measured the screw distance for the Aveo Minimax Ariel tail light, and installed M3 rivnuts on top of the tip. That part was not too difficult. 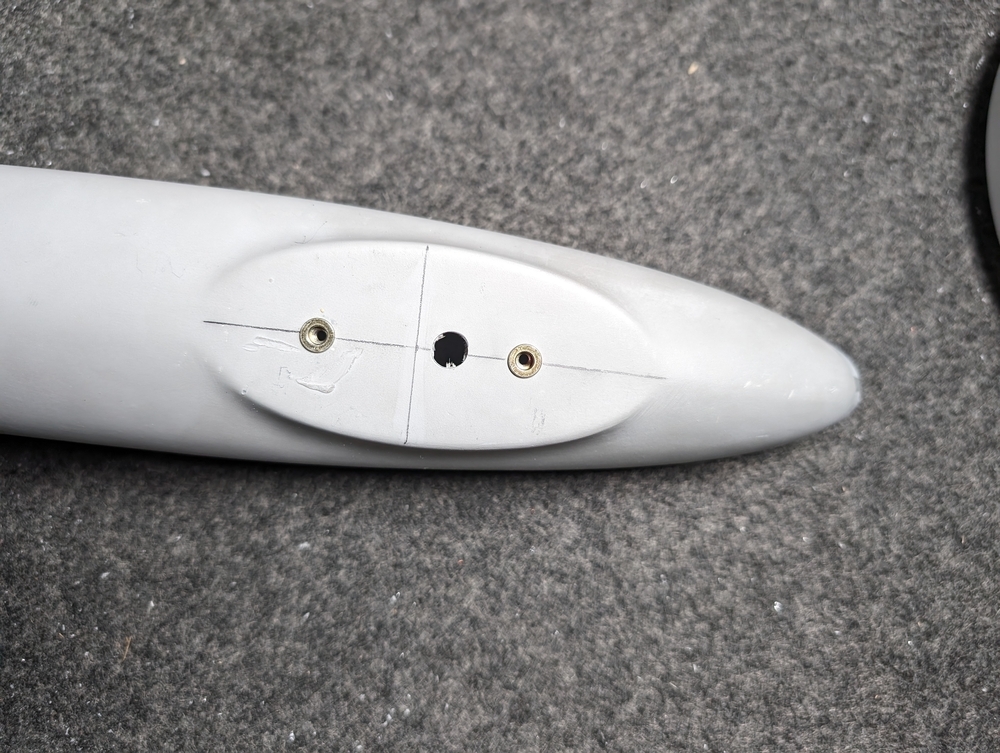
Rudder tip riveting
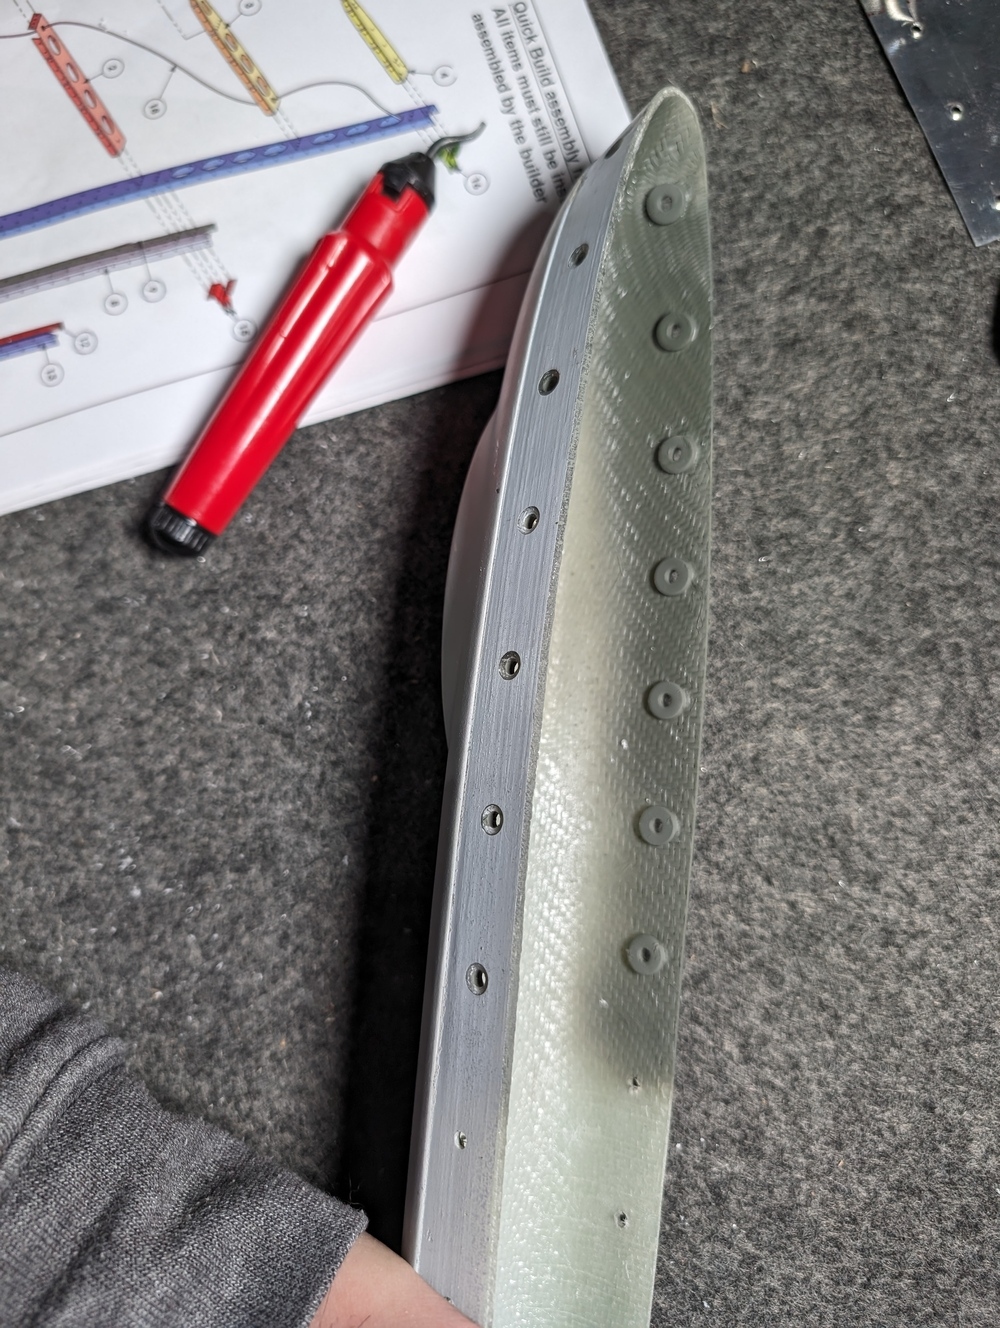
A few folks on their youtube channel said the composite material doesn’t bite the rivet and they all suggested to put washer behind the countersunk holes to strengthen the material. I did the same. In addition, I also put washers behind the normal holes. I found that my Milwaukee M12 rivet gun does not pull the rivet hard enough when I don’t have washers behind the composite. So I will do the same for all future composite riveting work.
On the picture I didn’t install washers on all the holes yet. I did that later.
Measure twice
Just to satisfy my OCD, I kept measuring twist and flatness throughout the riveting process. A few holes were not perfectly aligned and I had to match drill. The whole assembly finally came together after 10-ish hours of anxiety :)
