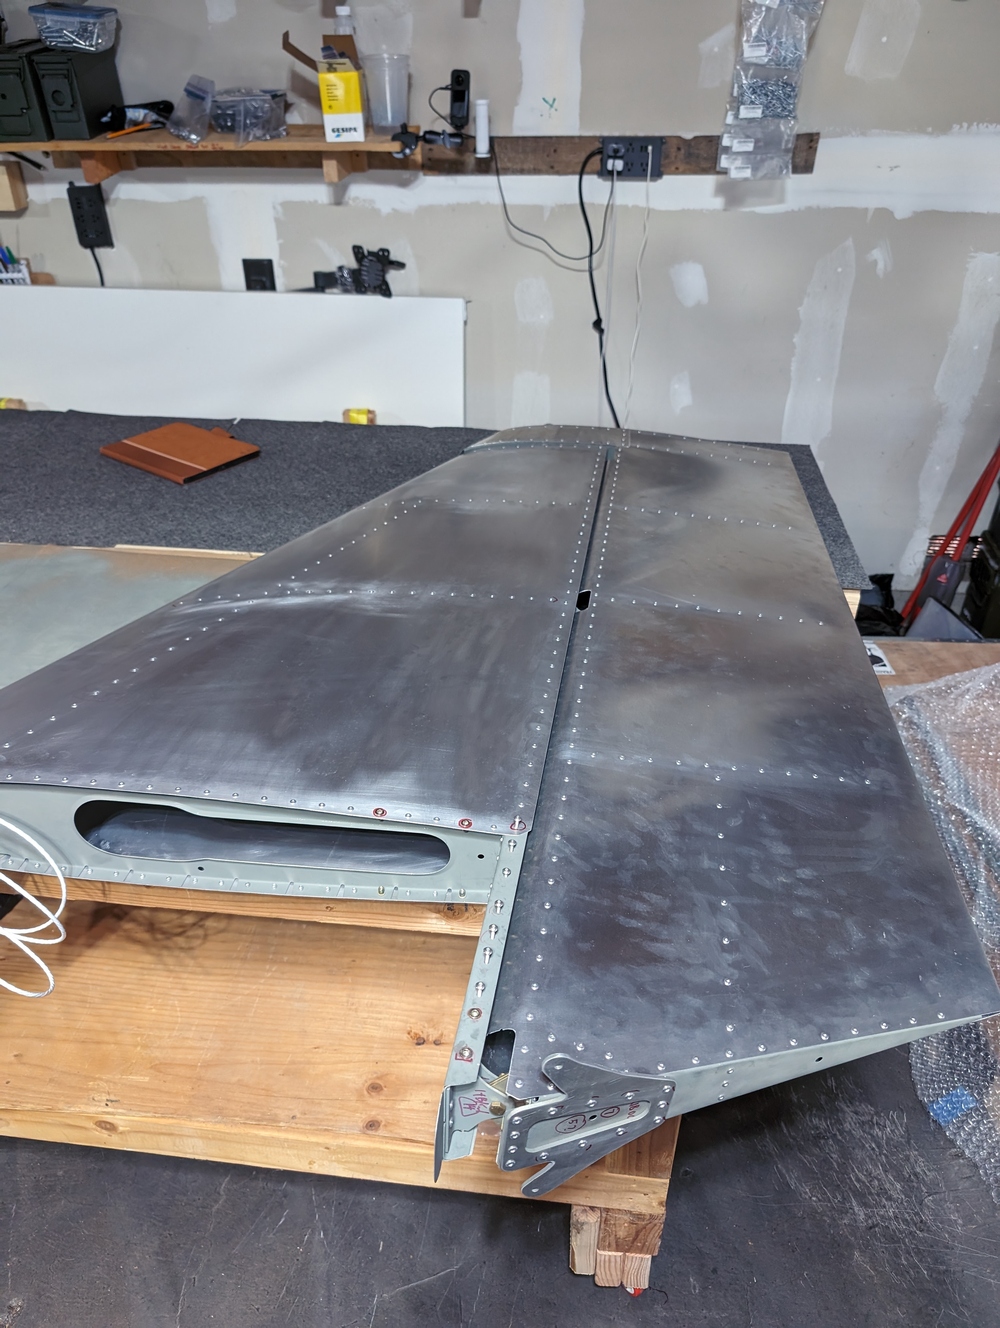
Vertical stabilizer complete
TLDR
- Test twist
- Riveting
- Rivnuts
- Test fit with rudder
Details
After the wiring is laid into the VS assembly, I was able to install the skin and complete the vertical stabilizer.
Test twist
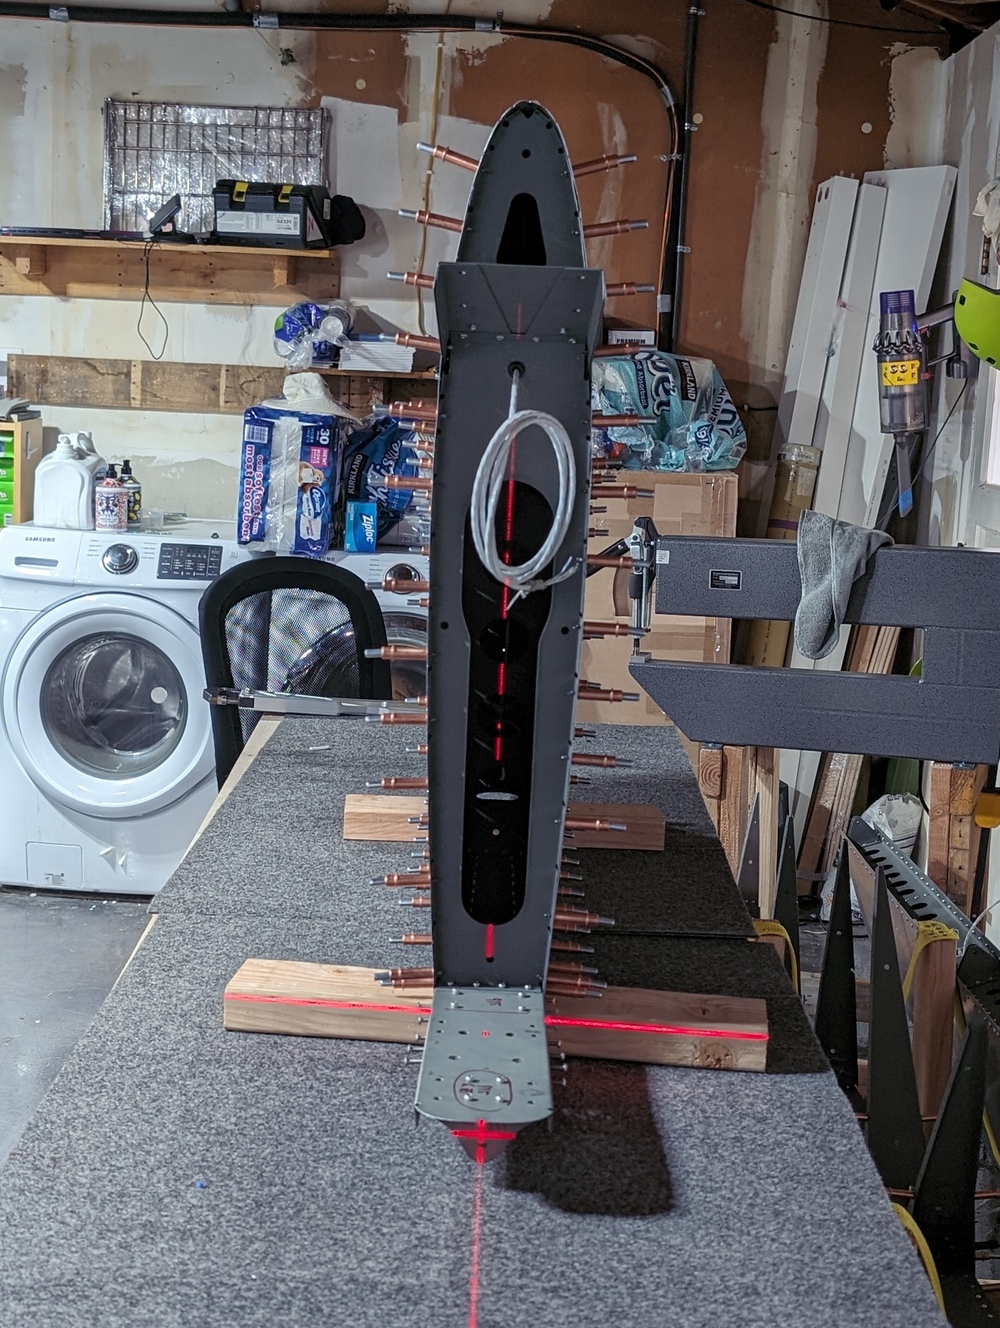
Before riveting for real, I did one more test on the twist. I took the laser level and measured on both ends without moving the VS. The line looks straight enough.
Riveting
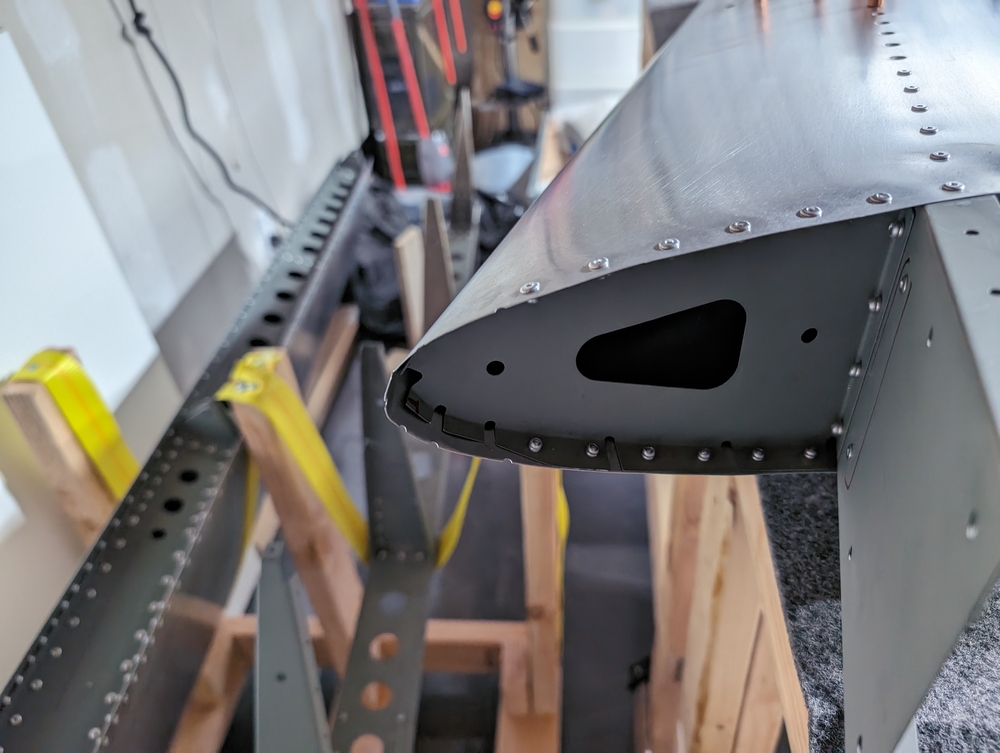
Riveting went by fast. Most holes aligned perfectly. I needed to ream a handful of holes again. I think it’s expected since I had to remove cleco and re-cleco to clean the aluminum dust. So the holes couldn’t align perfectly/exactly as last time.
Here are some WIP pics during this process.
Rivnuts
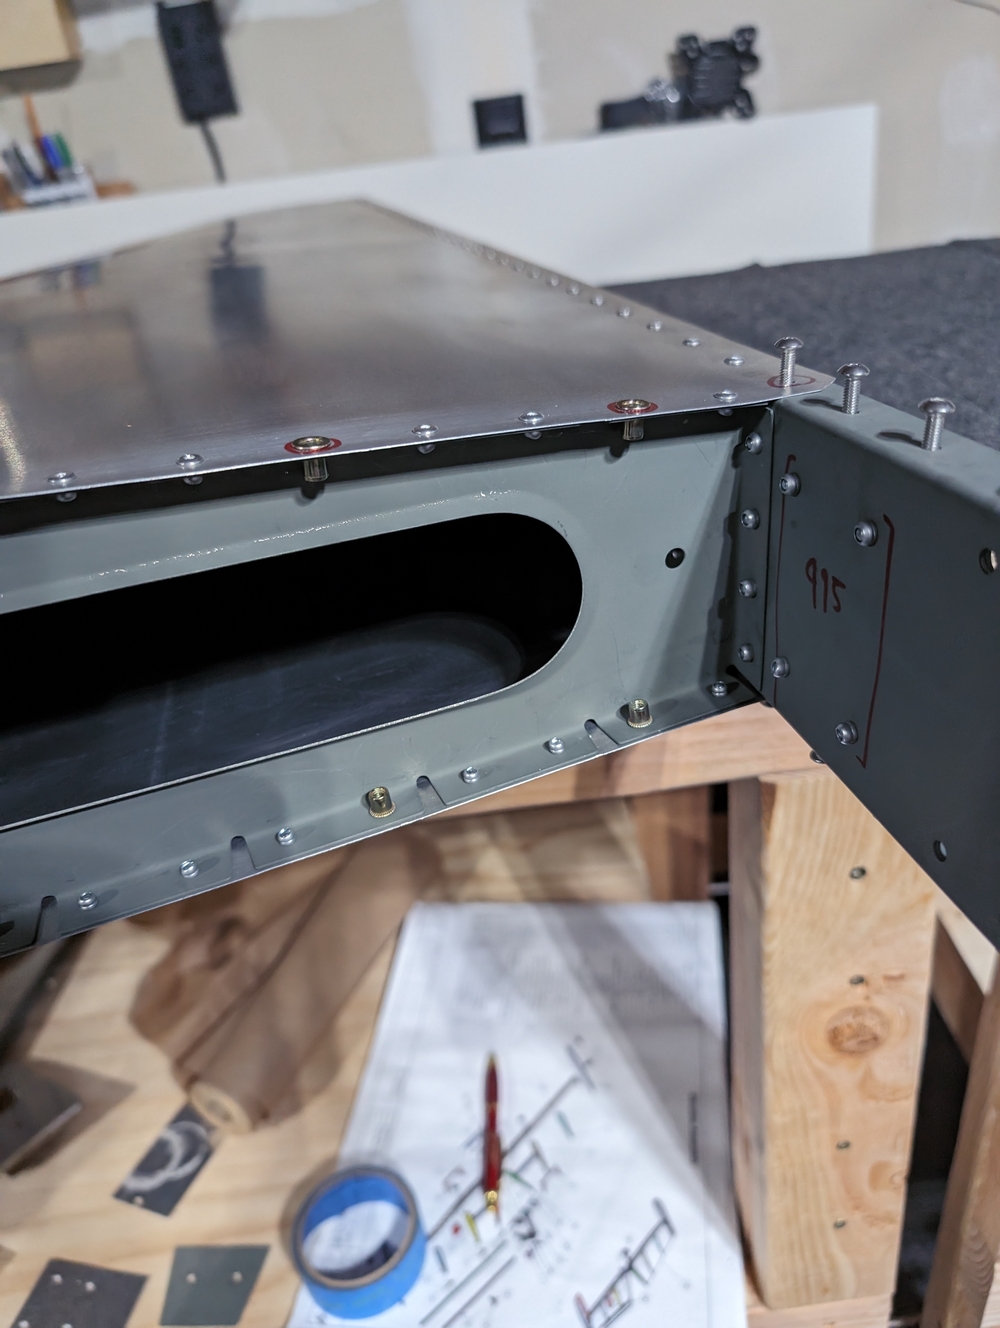
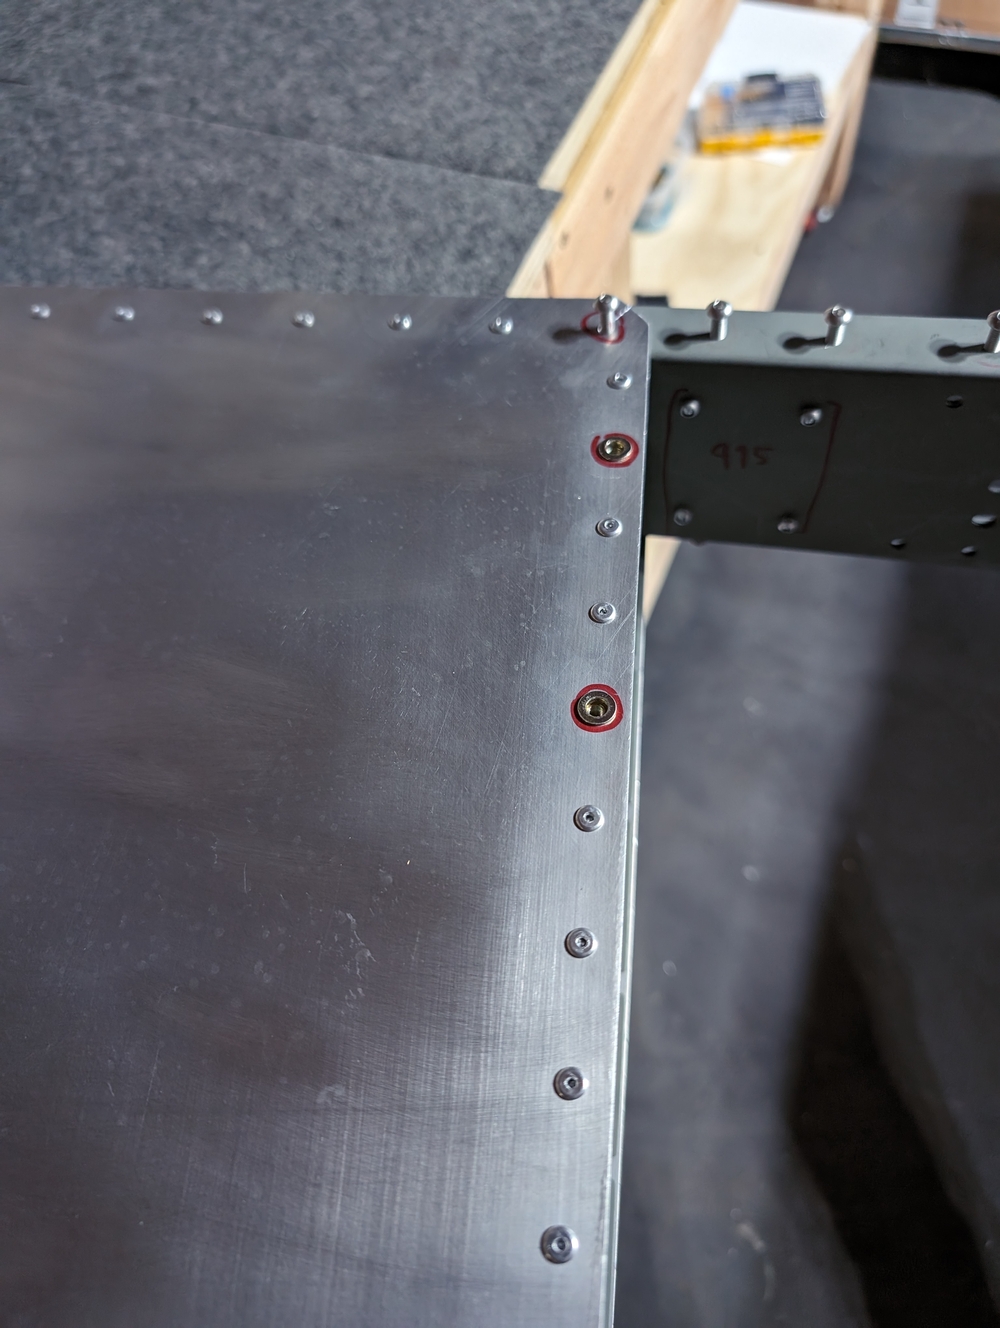
On the bottom side towards the trailing edge, I needed to enlarge the 2nd and 5th hole to fit 2 M4 rivnuts.
I used step drill-bit to create 4 6mm holes, 2 on each side. Then squeezed M4 rivnuts to fill the hole.
Test fit with rudder
With the completed VS and Rudder, I temporarily connected them using 4 M4 bolts to test movement and bind. They came together very easily, and I did not notice any issue with movement. I did not hear or feel any binding either. I am extremely happy about the result.

