Vertical stabilizer rib1 and skin work
TLDR
- Replaced rib 1 on vertical stabilizer
- Dimpled and test-fit skin on VS
Details
I received 3 replacement parts from Sling this week, unblocking my work on both vertical stabilizer and the elevator. I worked on both in parallel this week.
Part prep
I cleaned the 3 pieces and gave them a light layer of Rustoleum primer and let them sit overnight to harden. On the next day I started the real work.
Vertical stabilizer
Work item: VS-ASS-001-C-F-0-A-6 sheet 18 and 20
Rib 1
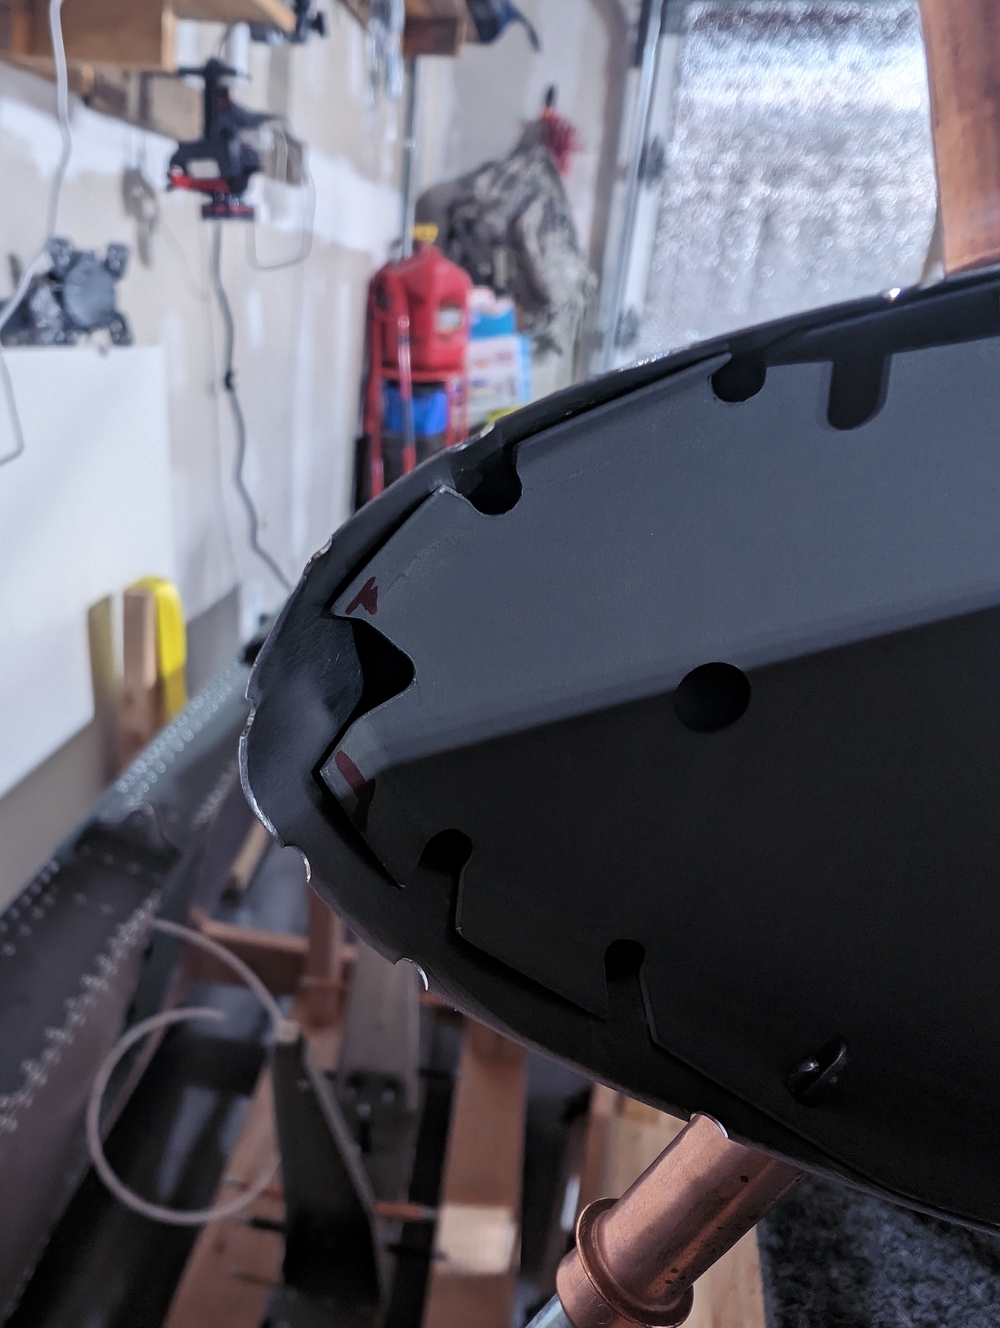
As previously noted, the rib 1 was defective when I received the kit so I ordered an replacement. The replacement looks great, so I clecoed it onto the VS spar assembly and made sure the holes matched. Then I put the rivets through to permanently secure it on the spar.
Skin
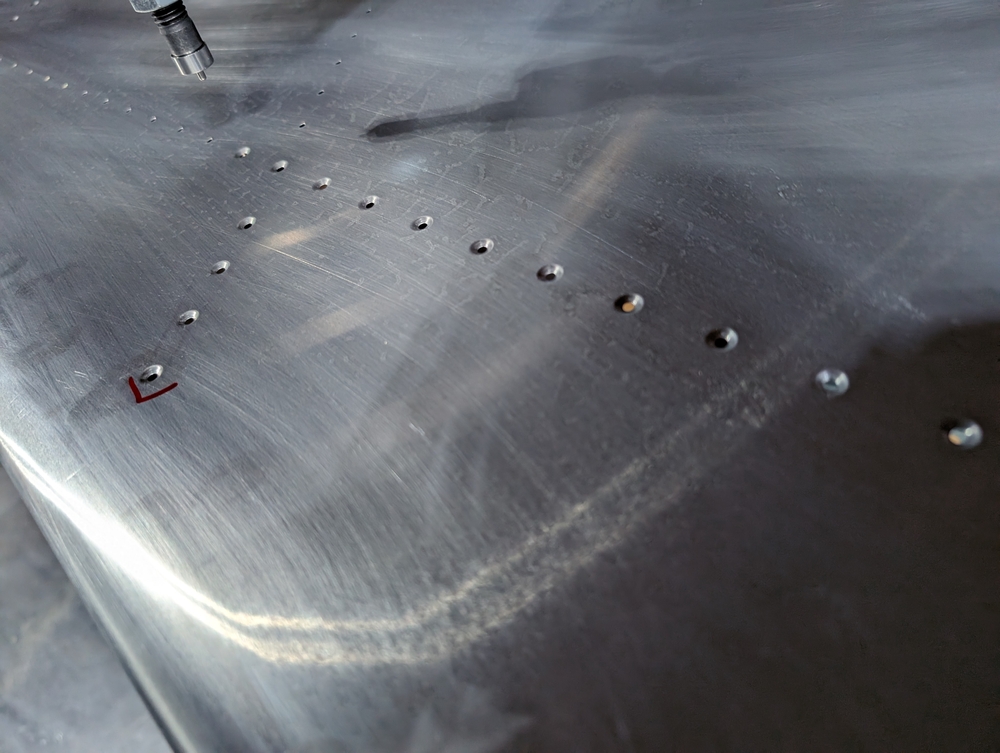
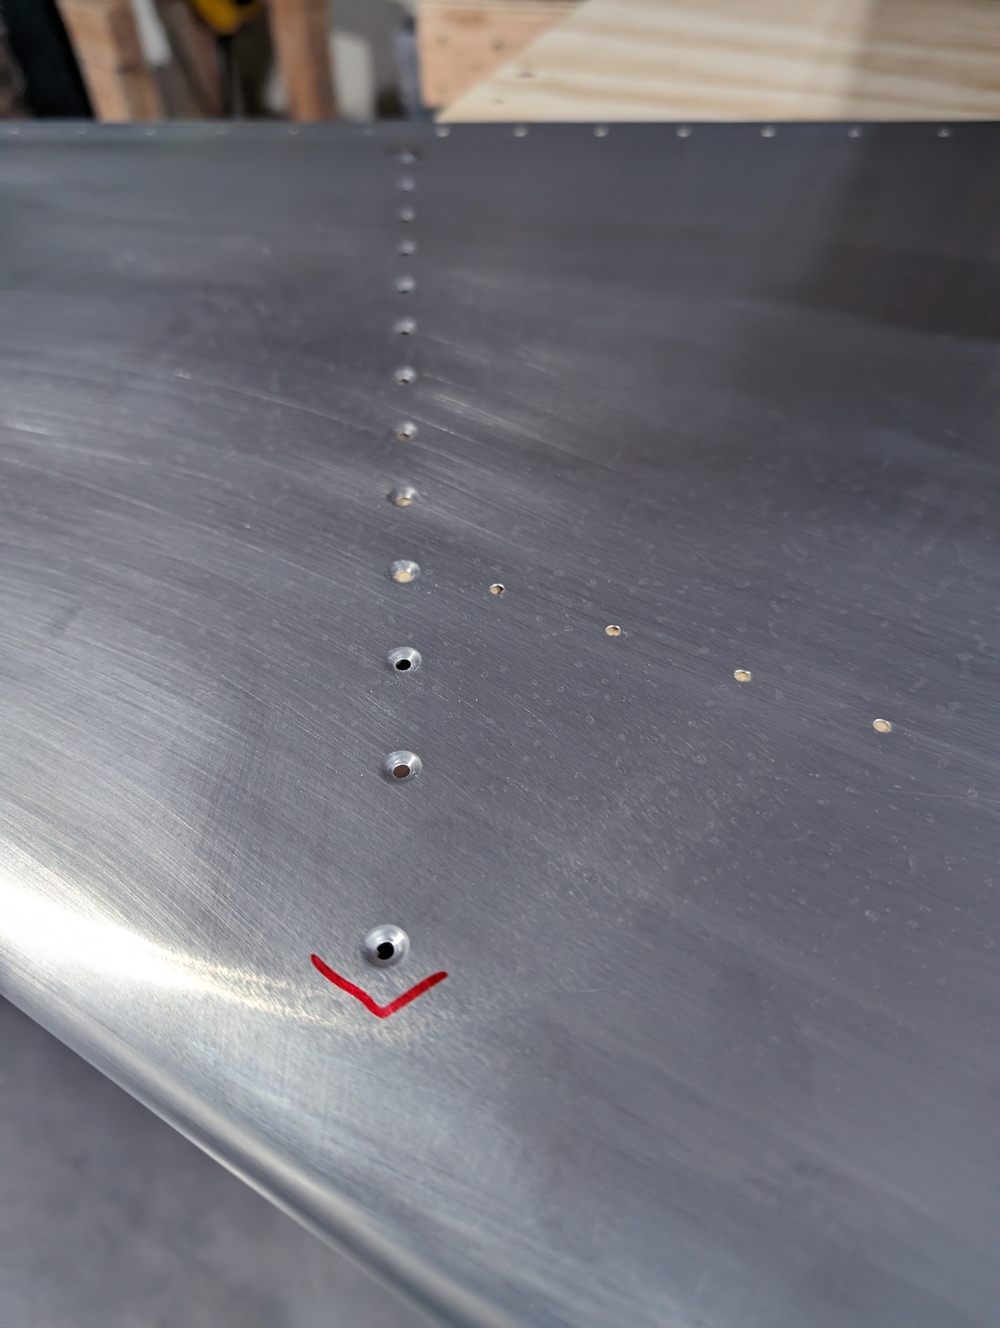
I dimpled the skin per sheet 18 on the instruction. With the experience from doing the HS skin, I felt way more comfortable handling large piece flat surface. I marked the dimple positions and it went by quickly.
Then I clecoed the skin on the spar assembly to match drill/ream all countersink holes before removing the skin to vacuum the space.
I did not put the skin back after vacuuming because the wire that’s supposed to go through the VS spar is too short. I have an order in-flight from aircraft spruce. So I will wait for the wire before closing the skin.
While the skin is clecoed together, I measured the twist and straightness using a laser. It looks good to me. Once I install the wire and cleco the skin back I will do another measure one last time before riveting. Hopefully this will happen next week.
 The leading edge of the VS has a little bit of space between rib and skin. Not a big deal since the VS is straight and no twist, and this part will be covered by the fairing later.


