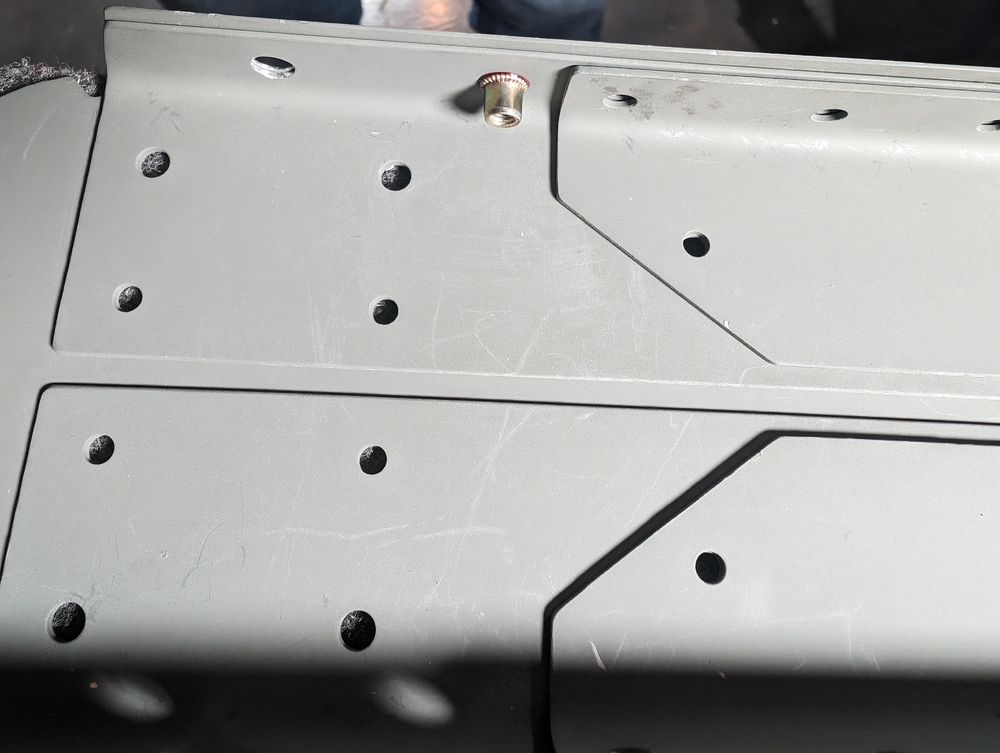
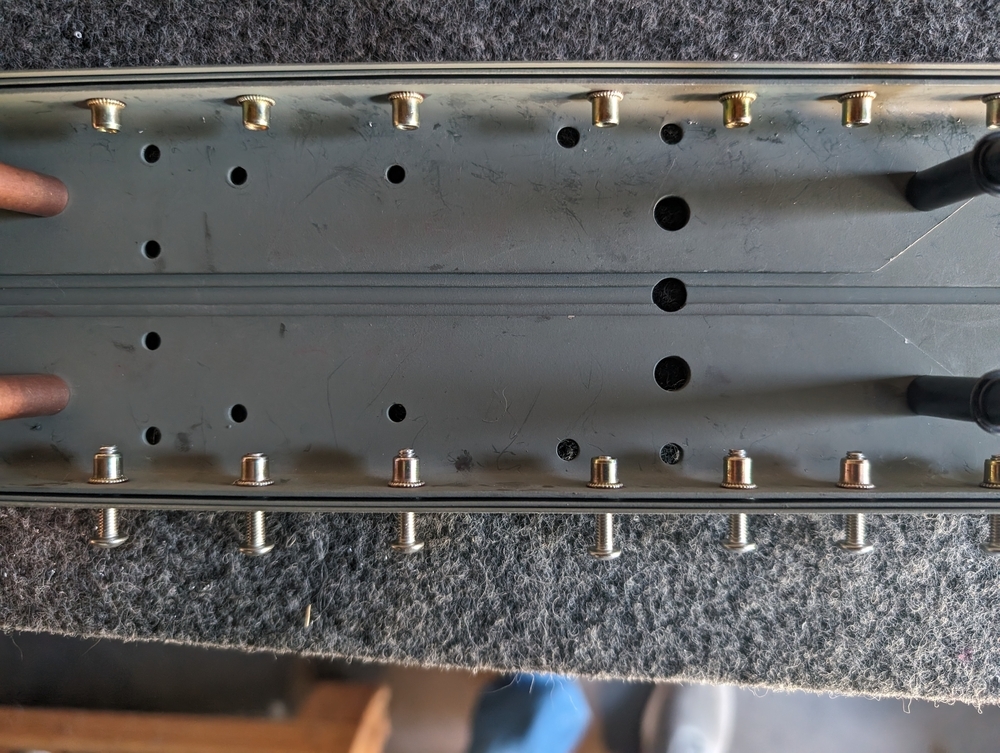
Starting on vertical stabilizer
I started on vertical stabilizer (VS-ASS-001-C-F-0-A-6 sheet 18, 19) before the new year and continuced this week.
First I identified the parts, dimpled, cleaned and primed everything as instructed on sheet 18.
A small hiccup on defective part
I found that VS-RIB-001-X-F-2 was not flat. It wobbled quite a bit when I put it on the ground. I sent an email to Sling Technical and unfortunately they told me I’d need a new part. So that means I won’t be able to finish the part quickly.
Rear channel
Even without VS-RIB-001-X-F-2, I was still able to do everything in sheet 19 so I moved to build the rear channel assembly.
This was again a learning experience. I learned a lot about rivnuts and loctite :-/
The first challenge is that they want me to layer 3 channels together and the inner 2 channels are supposed to have rivnuts on them. Essentially the rivnuts are sandwiched by multiple layers of channels. But the flange of rivnuts introduced some spacing between the channel layers, so I was really worried the rivet holes would not align. I took extra time in this whole process and clecoed everything like 3 times before having the courage to start drilling.
Rivnuts
So to install the rivnuts, I needed to first updrill the hole sizes. The instruction asks for M4 rivnuts, so the first thing I Googled was what drill size I needed to use. The answer is 6mm.
I drilled first 2 holes to make sure I was doing this right. The rivnut was installed fine.
I started to drill and install the rest. There are 9 rivnuts on each side, so 18 total.
Matching the holes
After putting on rivnuts on both sides, I clecoed them back together and tried to fit a screws to the newly installed rivnuts.
A few didn’t not fit. They can screw a few turns, then they would be stuck. Visually inspected the issue, it’s because the screws were touching one side of the holes before fully went into the rivnut. I had to take them apart of ream way just a smidge and try again. I did this like 10 times and finally was able to screw all test screws.
Retrospectively, I think the issue is that after I measured and match drilled the rivnut holes, I installed the rivnut in isolation. As in, I took the innermost channel out and installed rivnuts. What I should have done: put the rivnut on but don’t squeeze, cleco it back to the assembly, squeeze with a hand rivnut tool. The screw from the tool would have been a perfect guide to align all holes AND the nut. I drilled out one of the nuts that was particularly hard to align, and did it this way. And voila it lined up easily.
Riveting the sandwich together
After the rivnut craziness, I riveted all 3 layers of the rear channel together to make it permanent. The riveting was fine but I was still worried the riveting might cause more misalignment on the rivet holes or introduce twist to the whole assembly.
I tool 14 screws and put them about 50% on to the rivnut. It hopefully ensured all rivnut holes are aligned perfectly.
Throughout riveting, I tried to turn the screws when I drove a few rivets each time. The screws were always turnable so I think I am good so far.
A side note about primer
I threw a lot of tools to the parts this time to adjust the rivnut and rivet positions when working on this section. To my surprise the primer held extremely well. If I remember I applied primer 12/30, and it’s about 10 days after that when I started to work on the component. It agrees with what some people said on the internet: after 7 days of curing, Rustoleum is tough as rock. I think I will keep a few bottles of rustoleum going forward, the question is if I can wait for 7 days each time I apply primer …


