Right wing ribs, and lots of debur
Last couple of days I tried to spend a few hours each day after kids are sleep on the build, and I feel like I’ve made pretty good progress.
TLDR
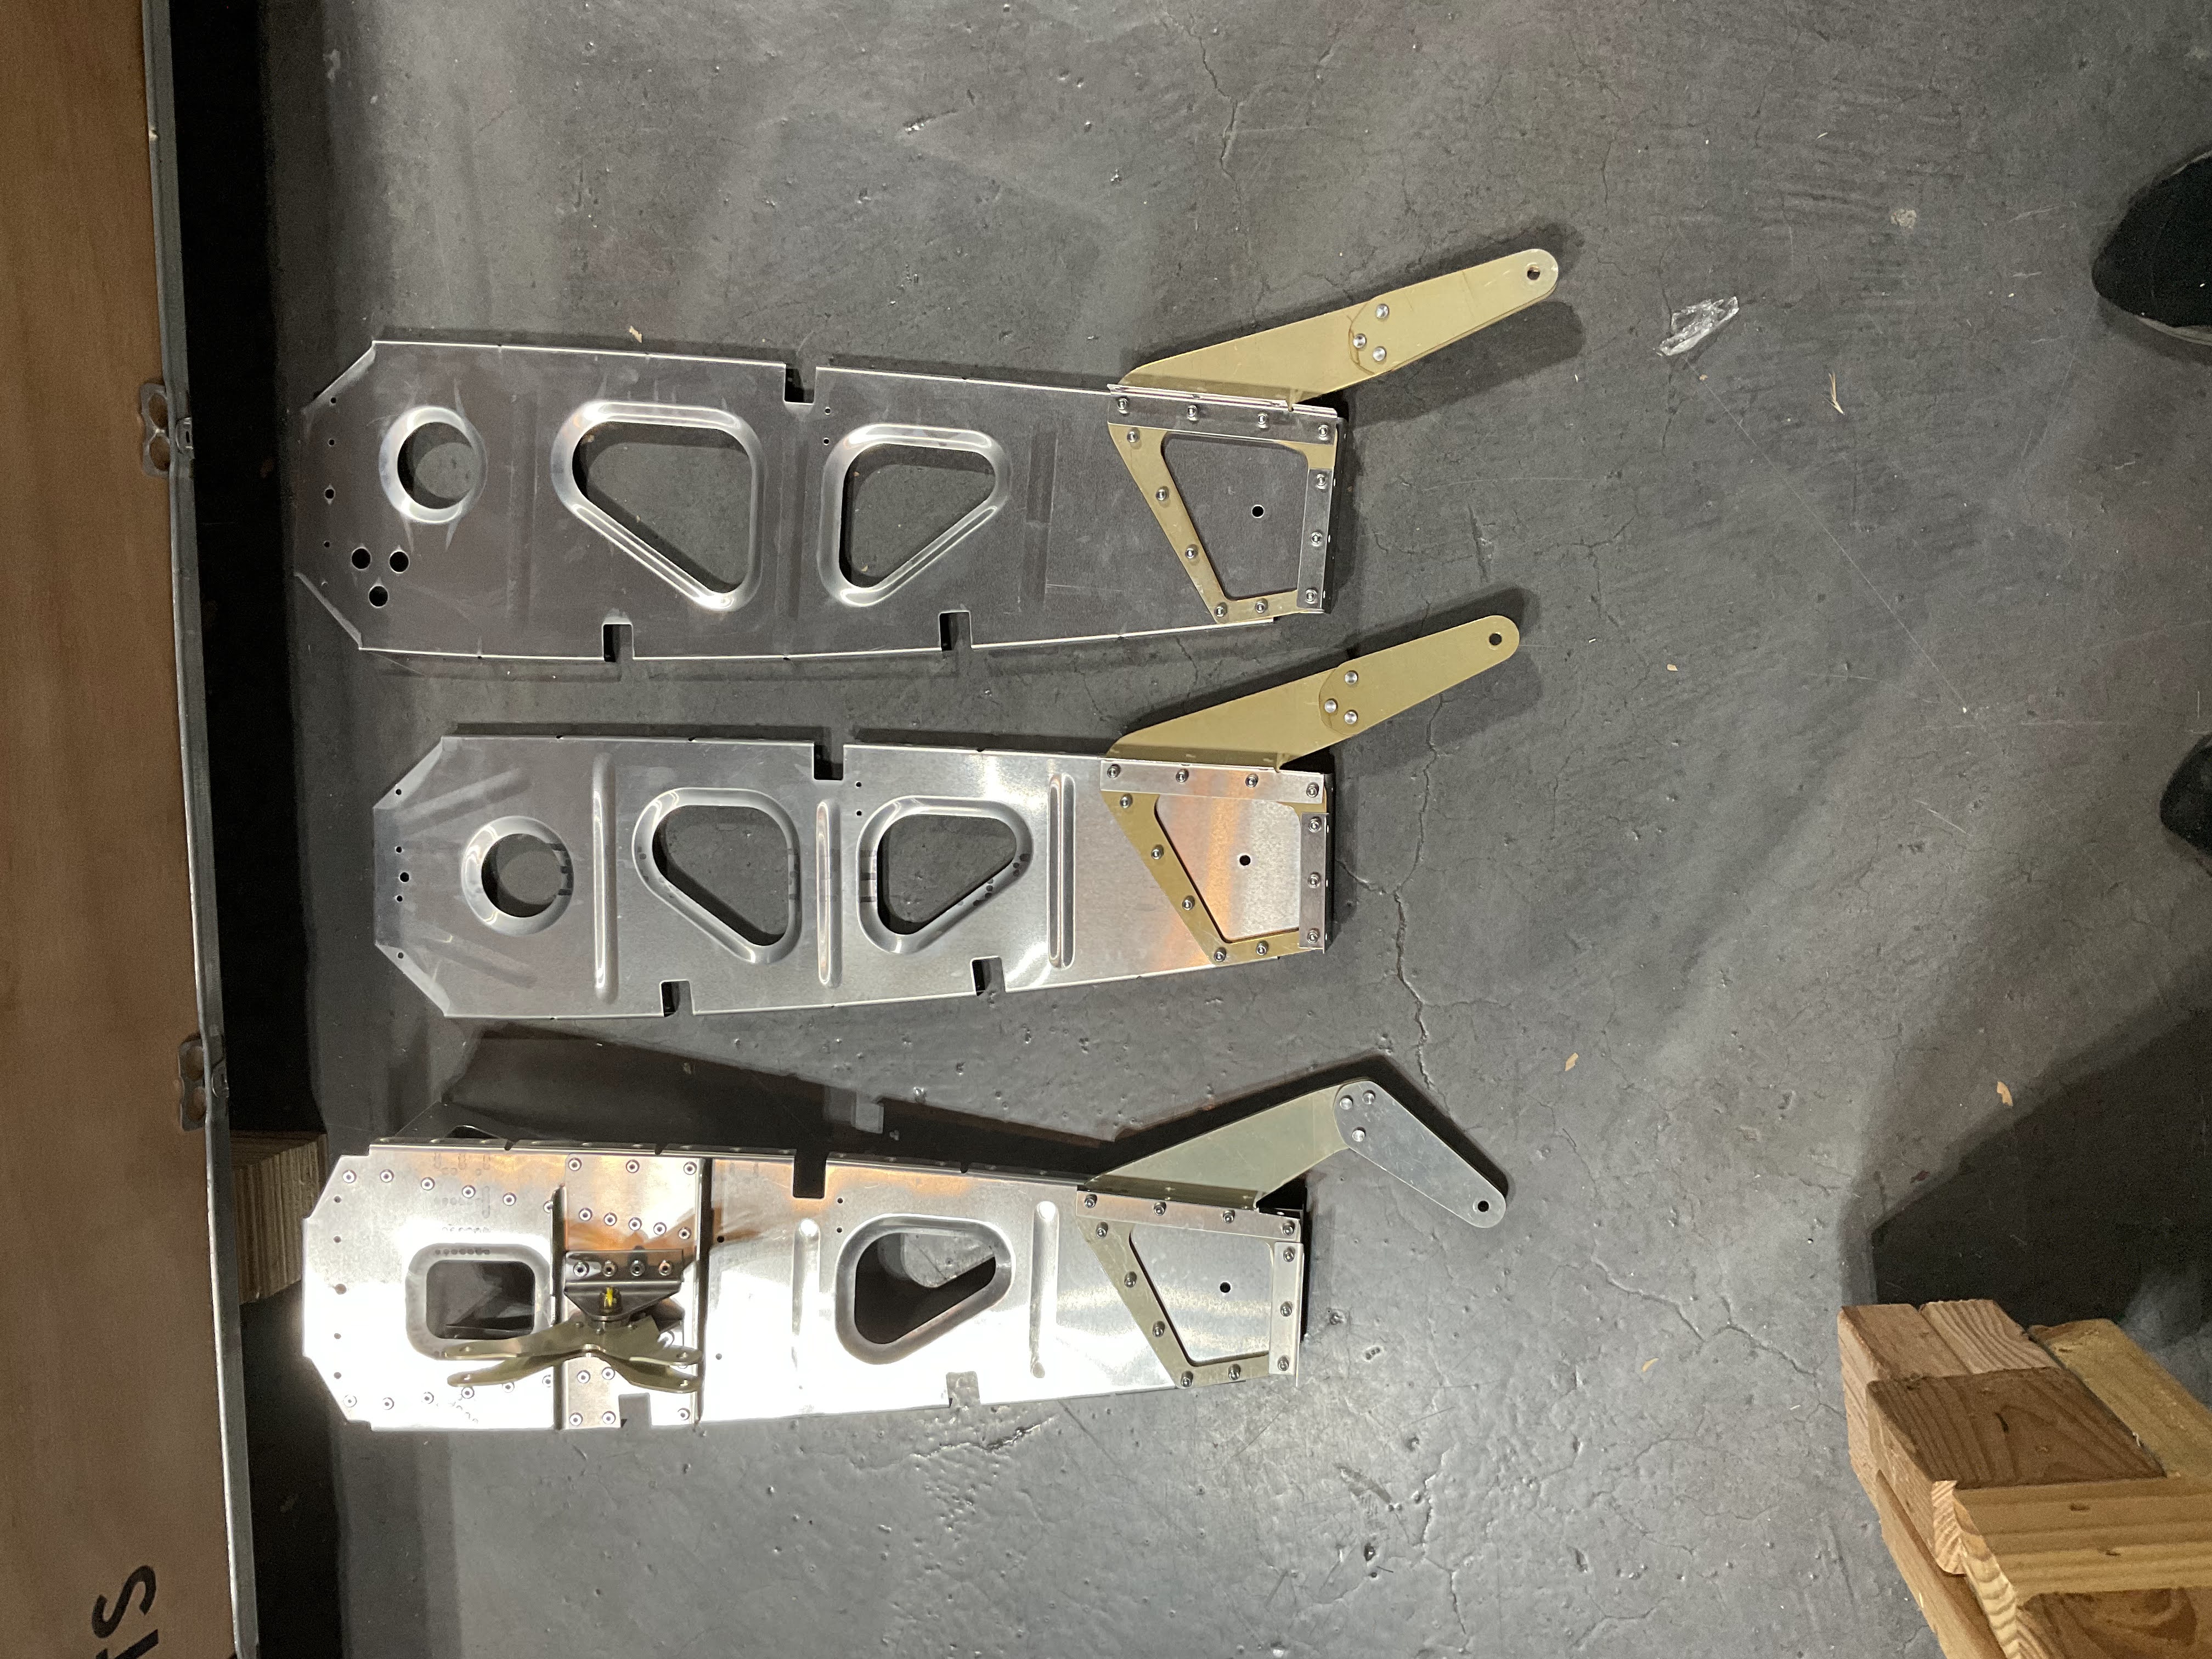
- Rib 8, 10, 11, 14
- Deburred, cleaned, primed all remaining right wing ribs
- Deburred, cleaned a few left wing ribs
Details
Ribs 8 & 10 & 14
Pretty standard work. After deburring and cleaning the parts, I riveted them together. Note the bend direction of the hinges, they are away from the rib.
Rib 11
Slightly complex but nothing too difficult. There are more parts on this assembly, and I made the mistake of riveting the square piece (WG-CHL-012-R-F-2) to the rib first. This piece blocks access of 2 rivets that connects the brackets to the rib on the back side. So I had to drill out a few rivets to do the bracket first, then put the square piece back.
Another thing is the bell crank is secured by an AN4 bolt. I looked up my reference and the torque is 76 in-lbs. So I set my torque wrench and got it done.
Wing spars to twist jig (didn’t happen)
I was hoping by this step I could attach the spars to the twist jig. I didn’t want to use the AN7 bolt and I bought 7/26 screws as suggested by several other builders. It turns out the screws I bought was slight too short. I didn’t feel comfortable risking the spar falling off, so I held off attaching the spars to jig and bought a few new screws from Amazon. It’s supposed to arrived tomorrow so hopefully I get to do that some time this weekend.
More deburring
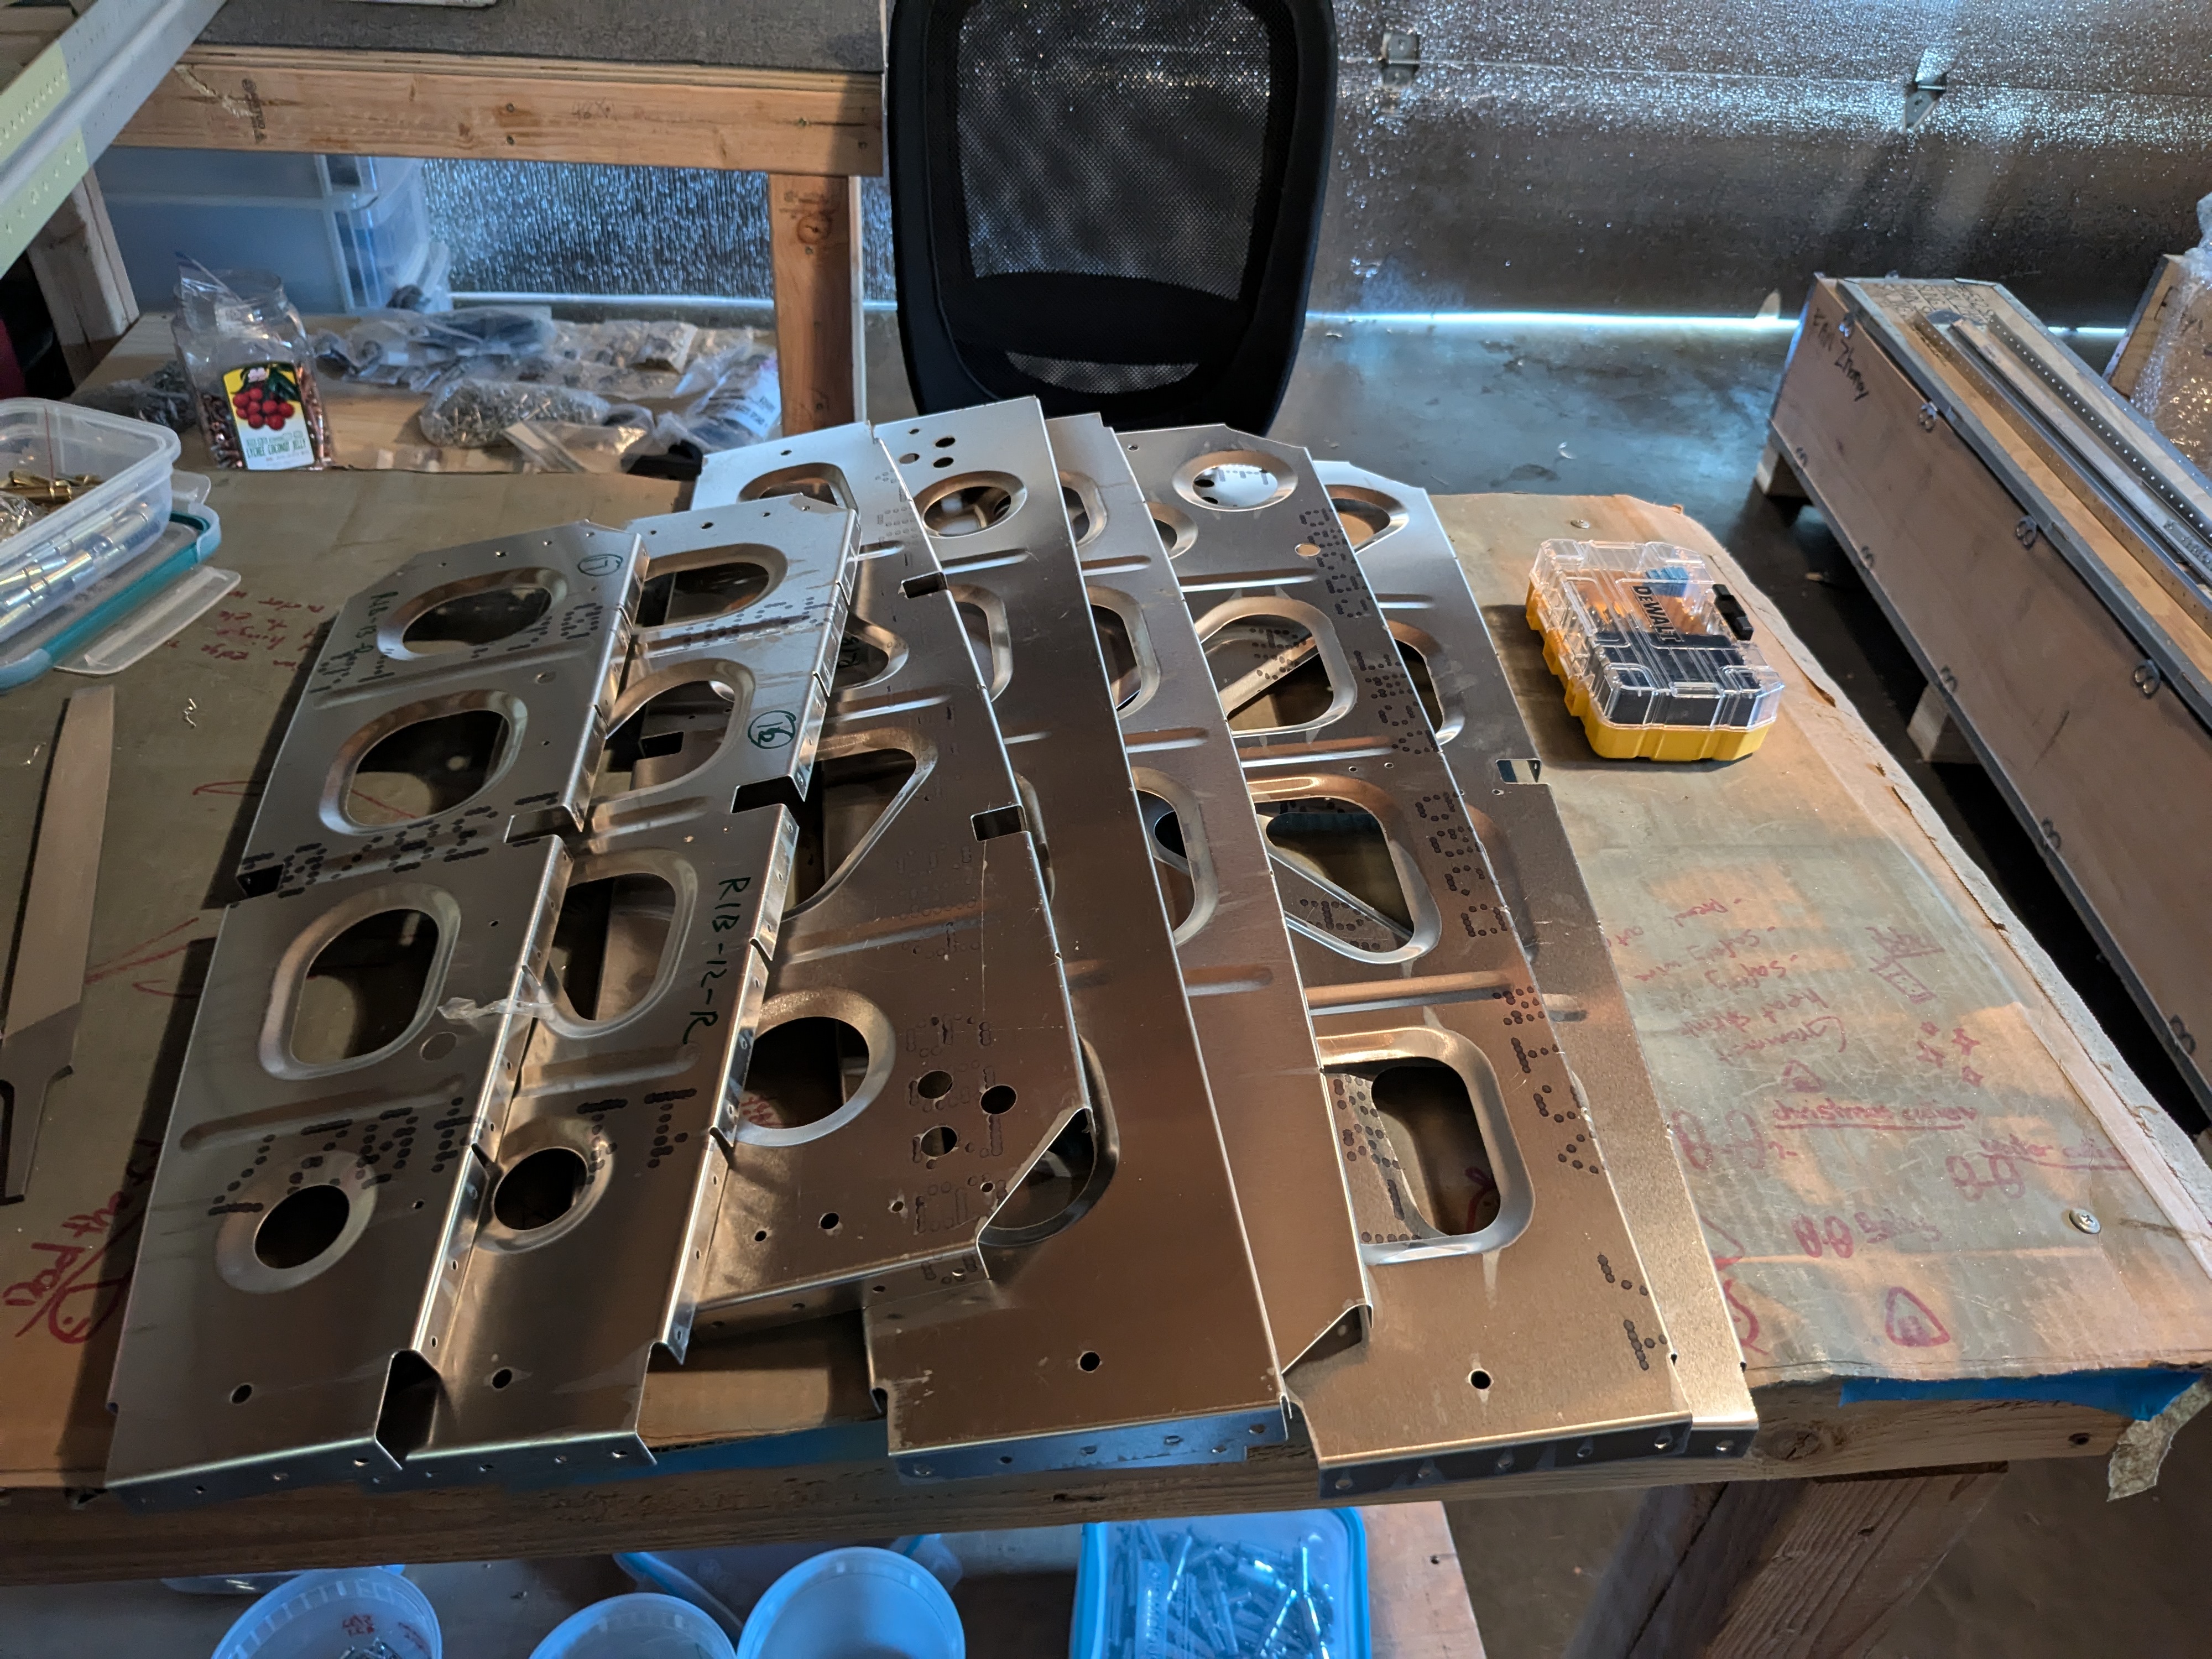
Right ribs
In the mean time, I started part prep so I can quickly attach ribs to the spar when the spar stands up.
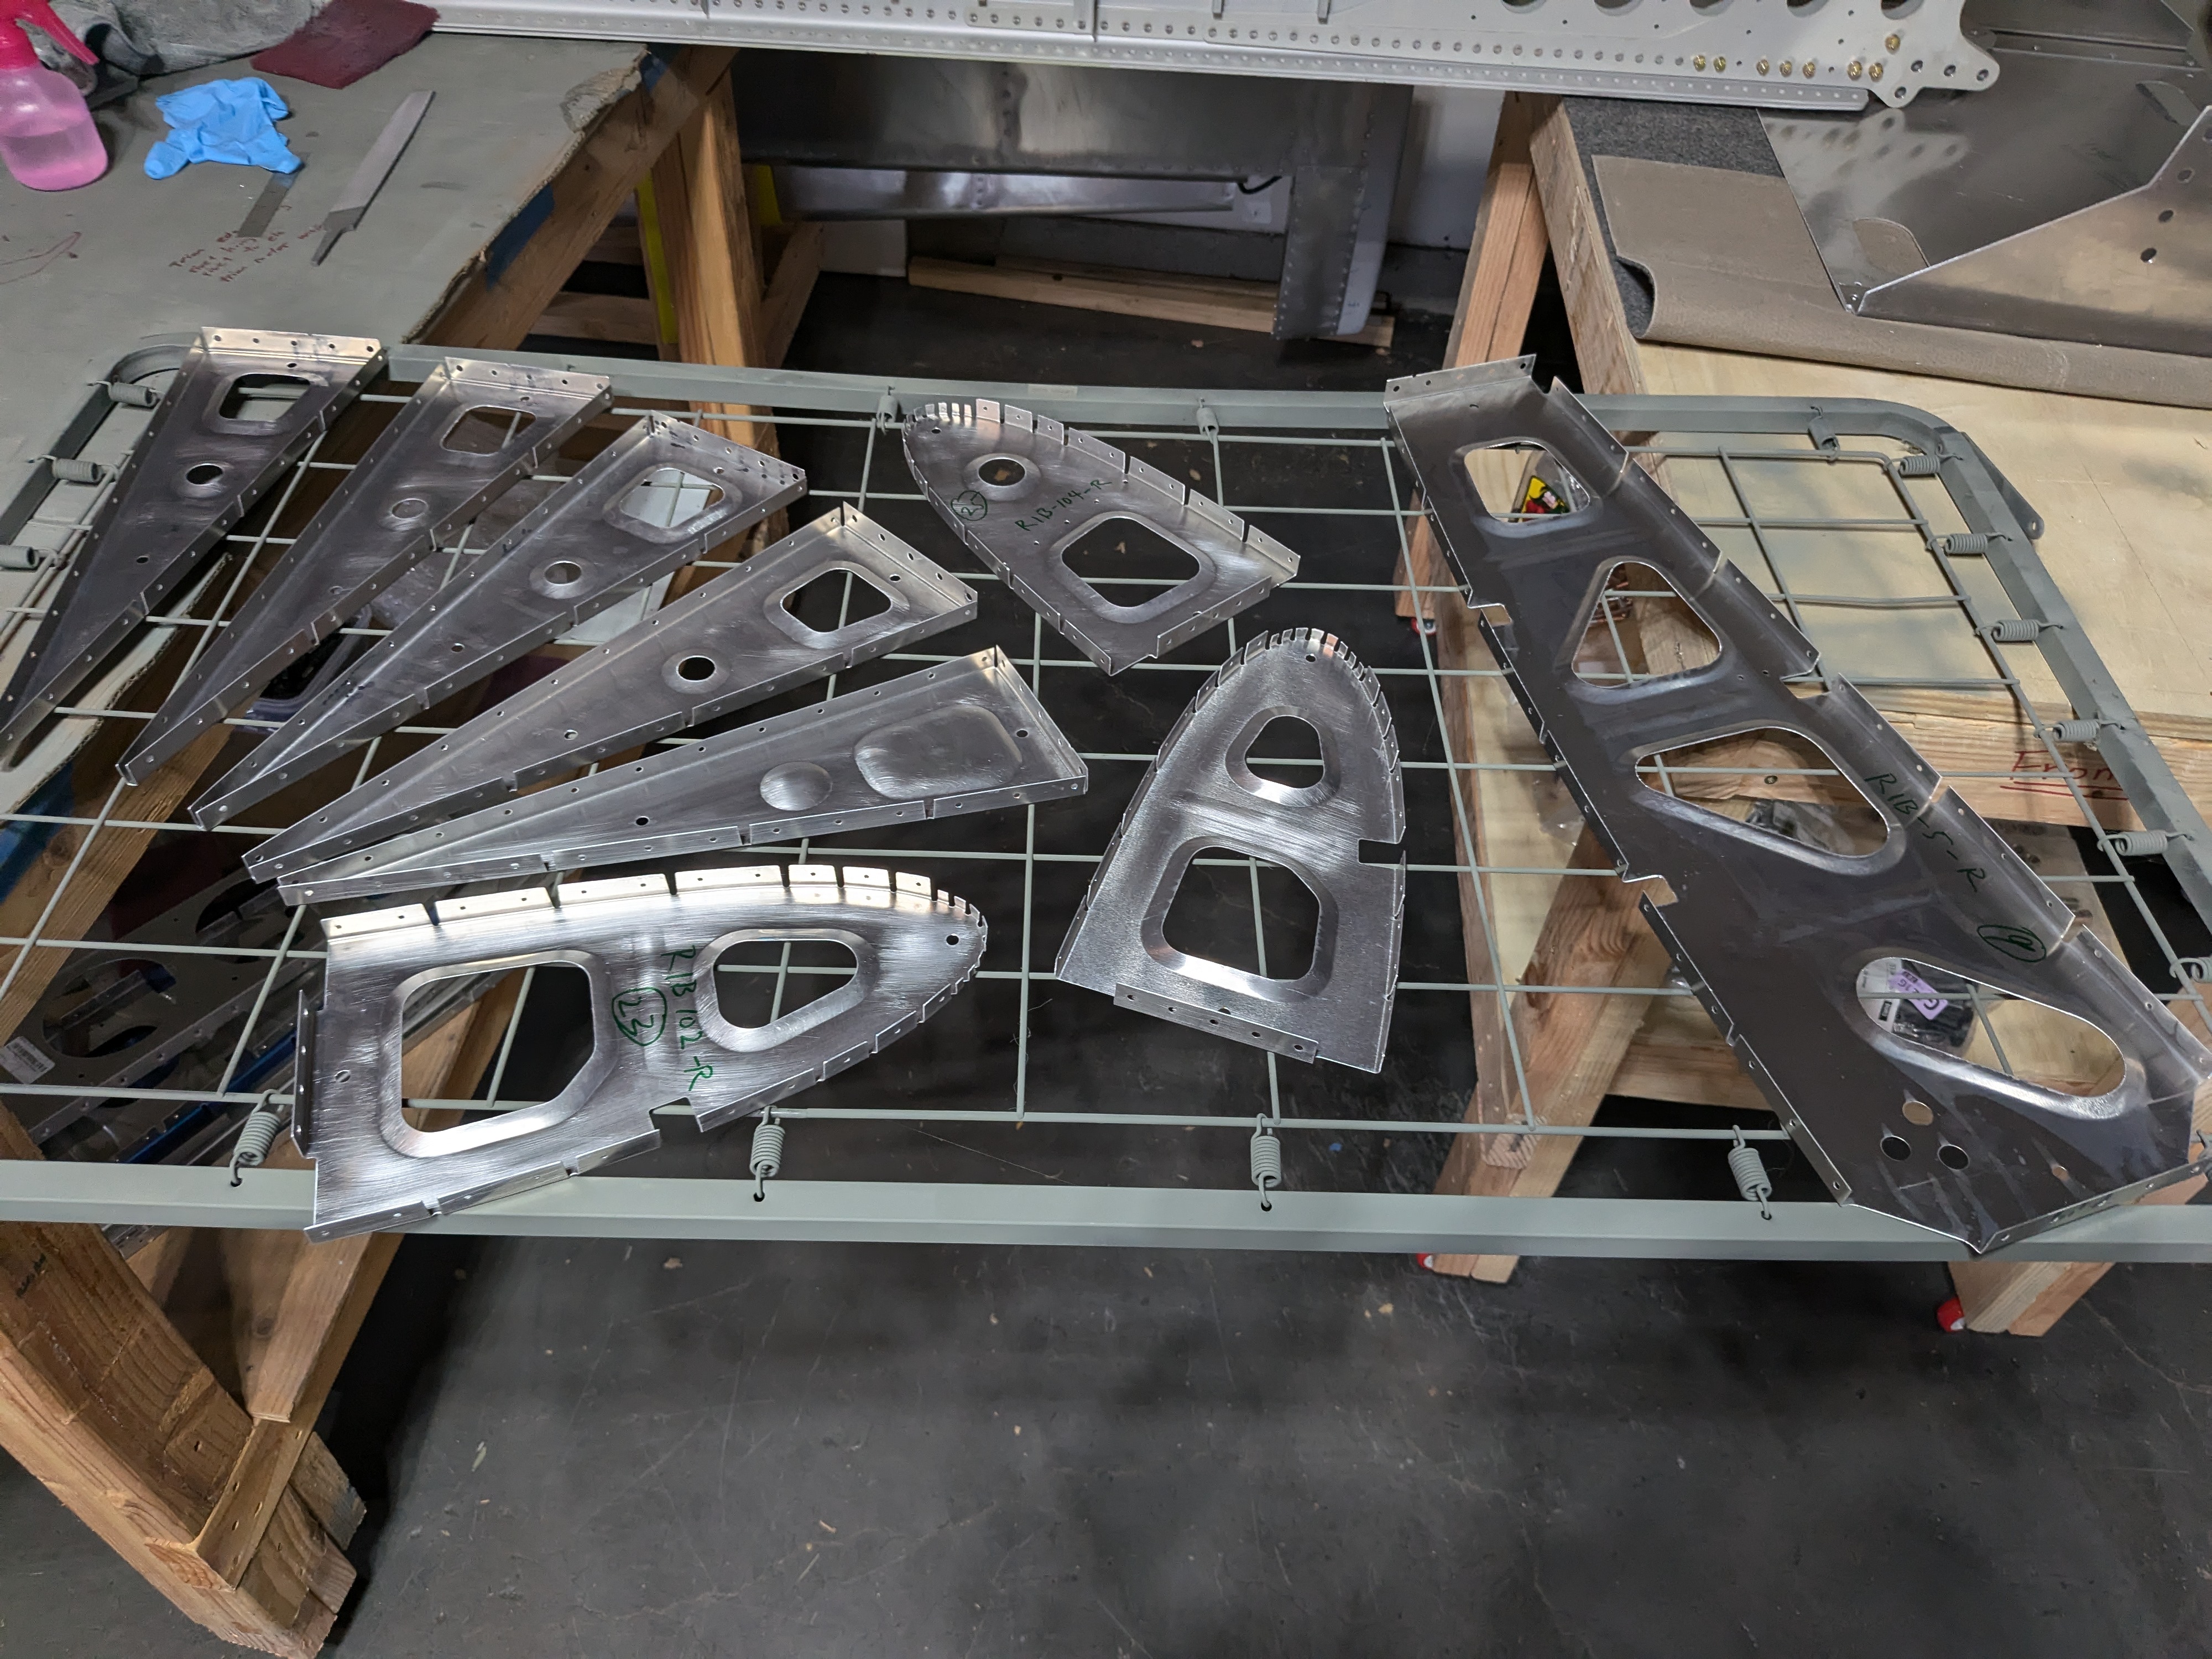
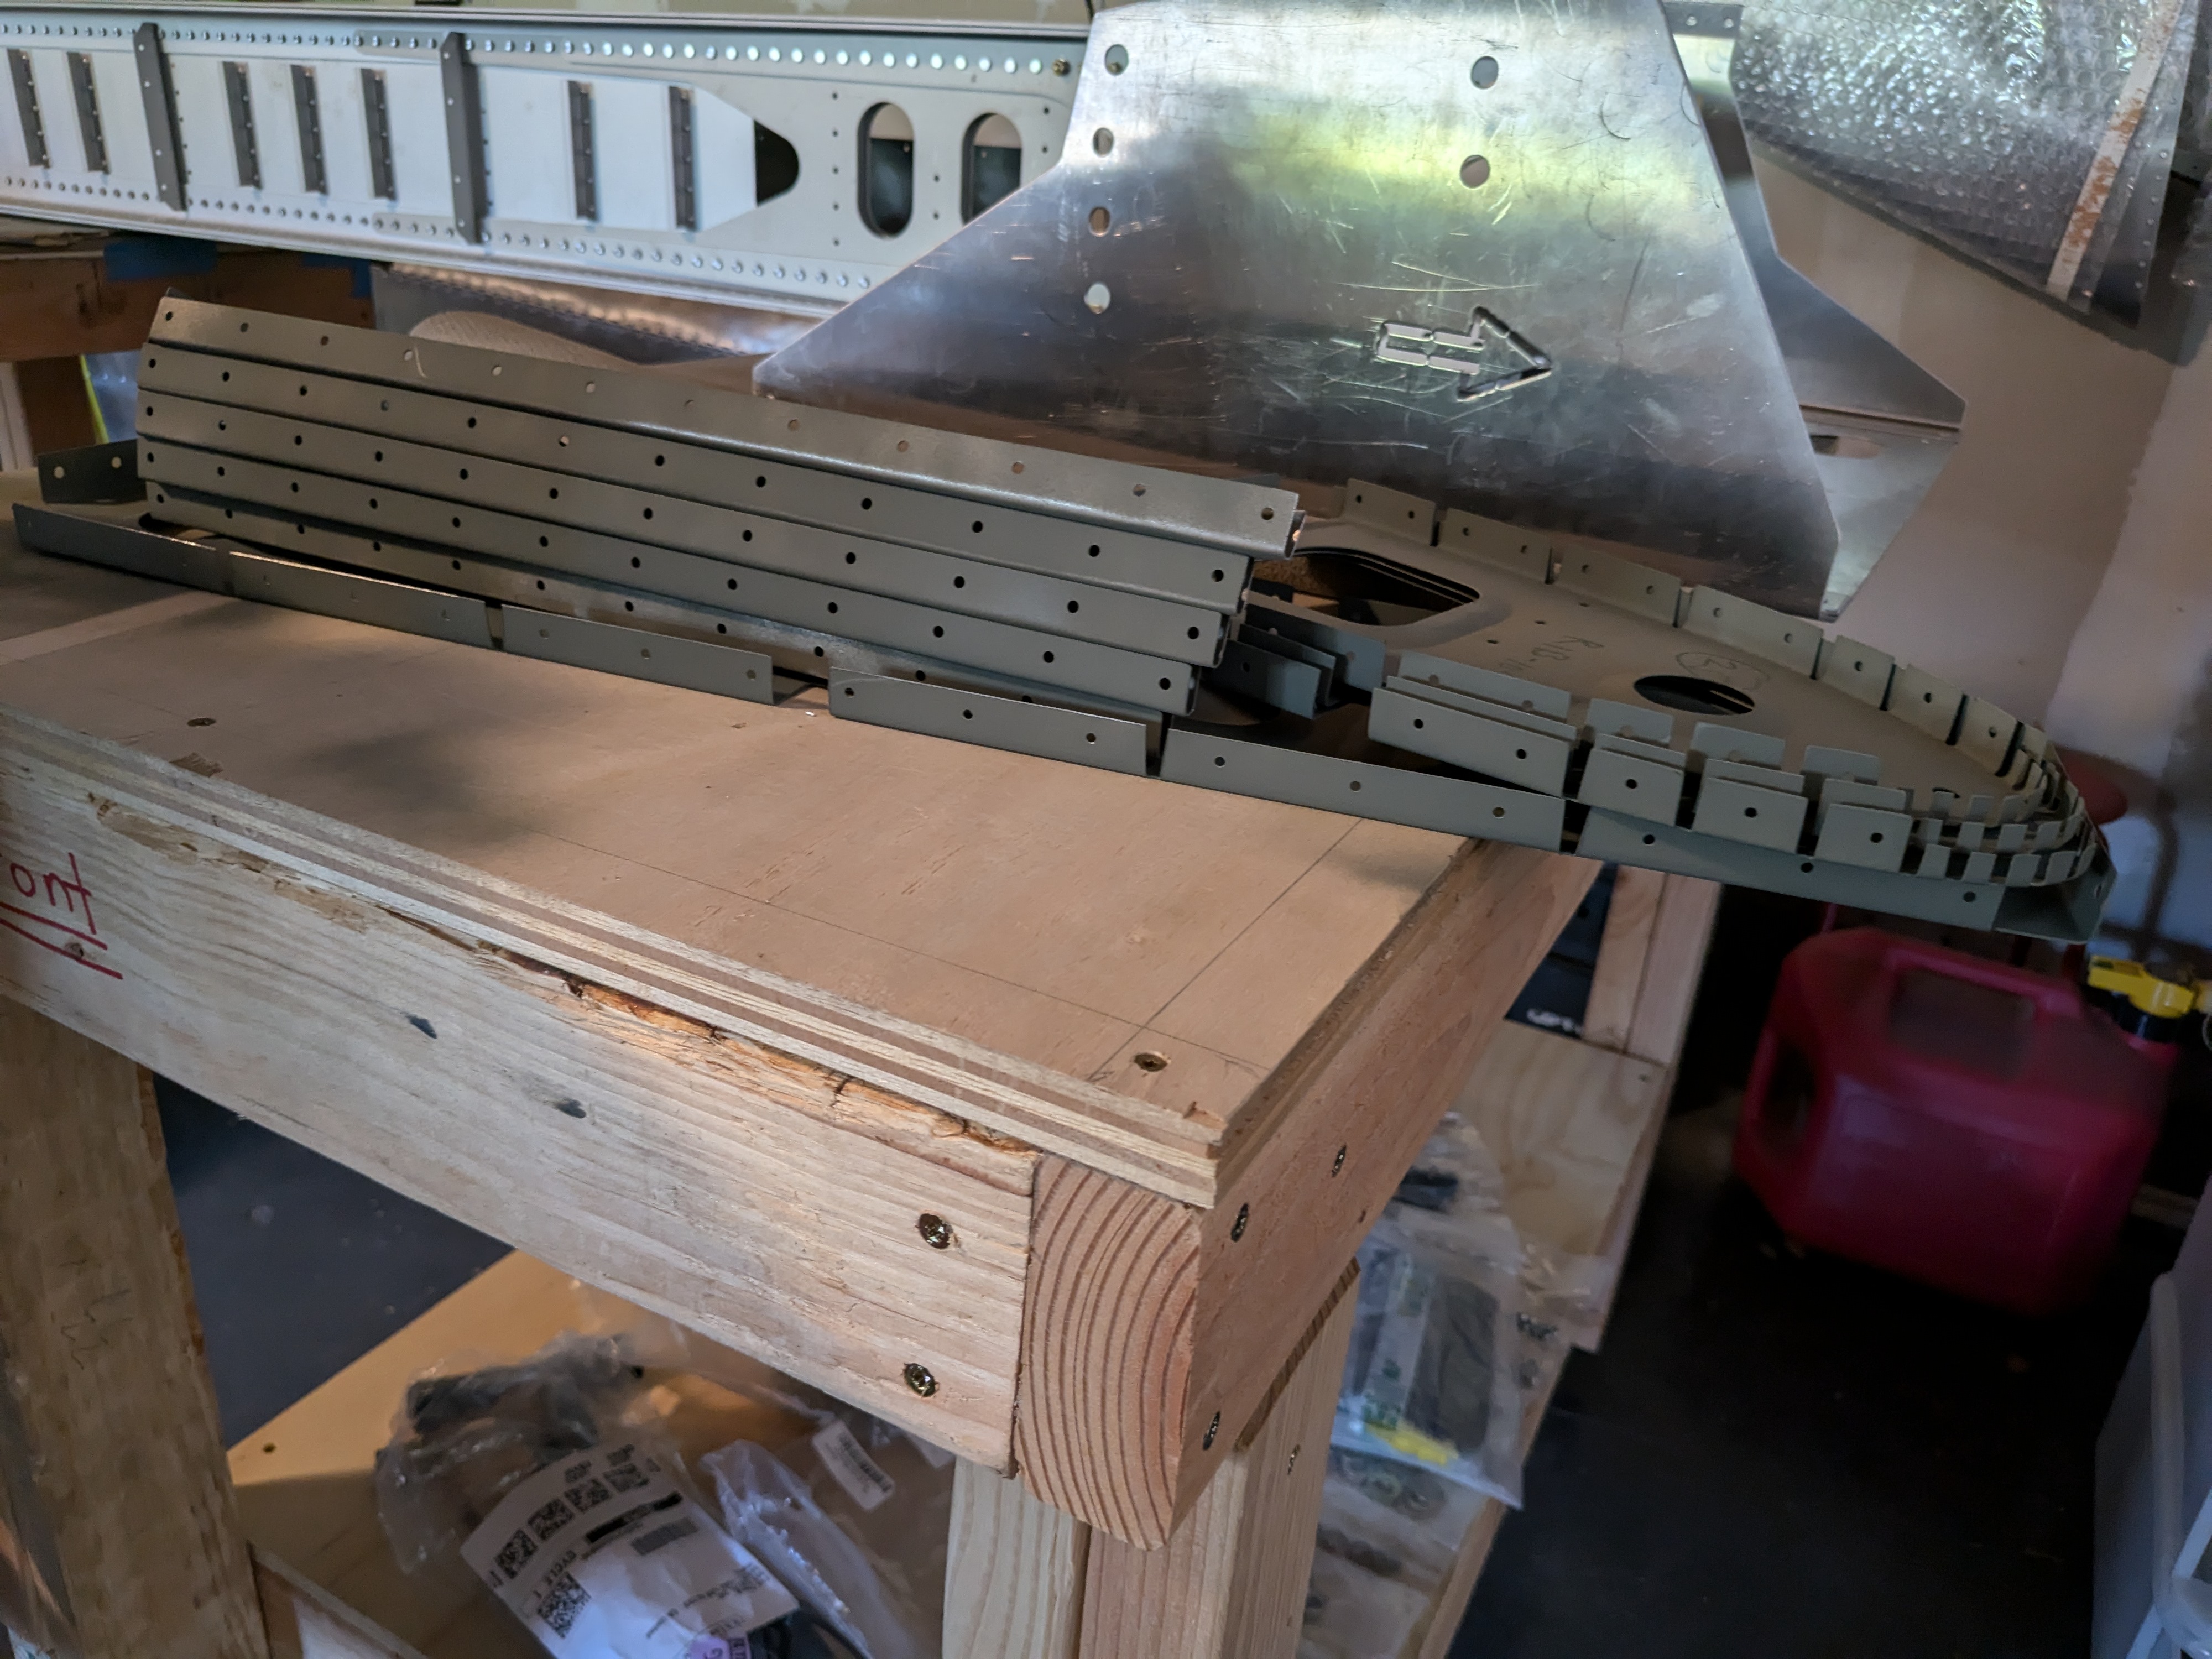
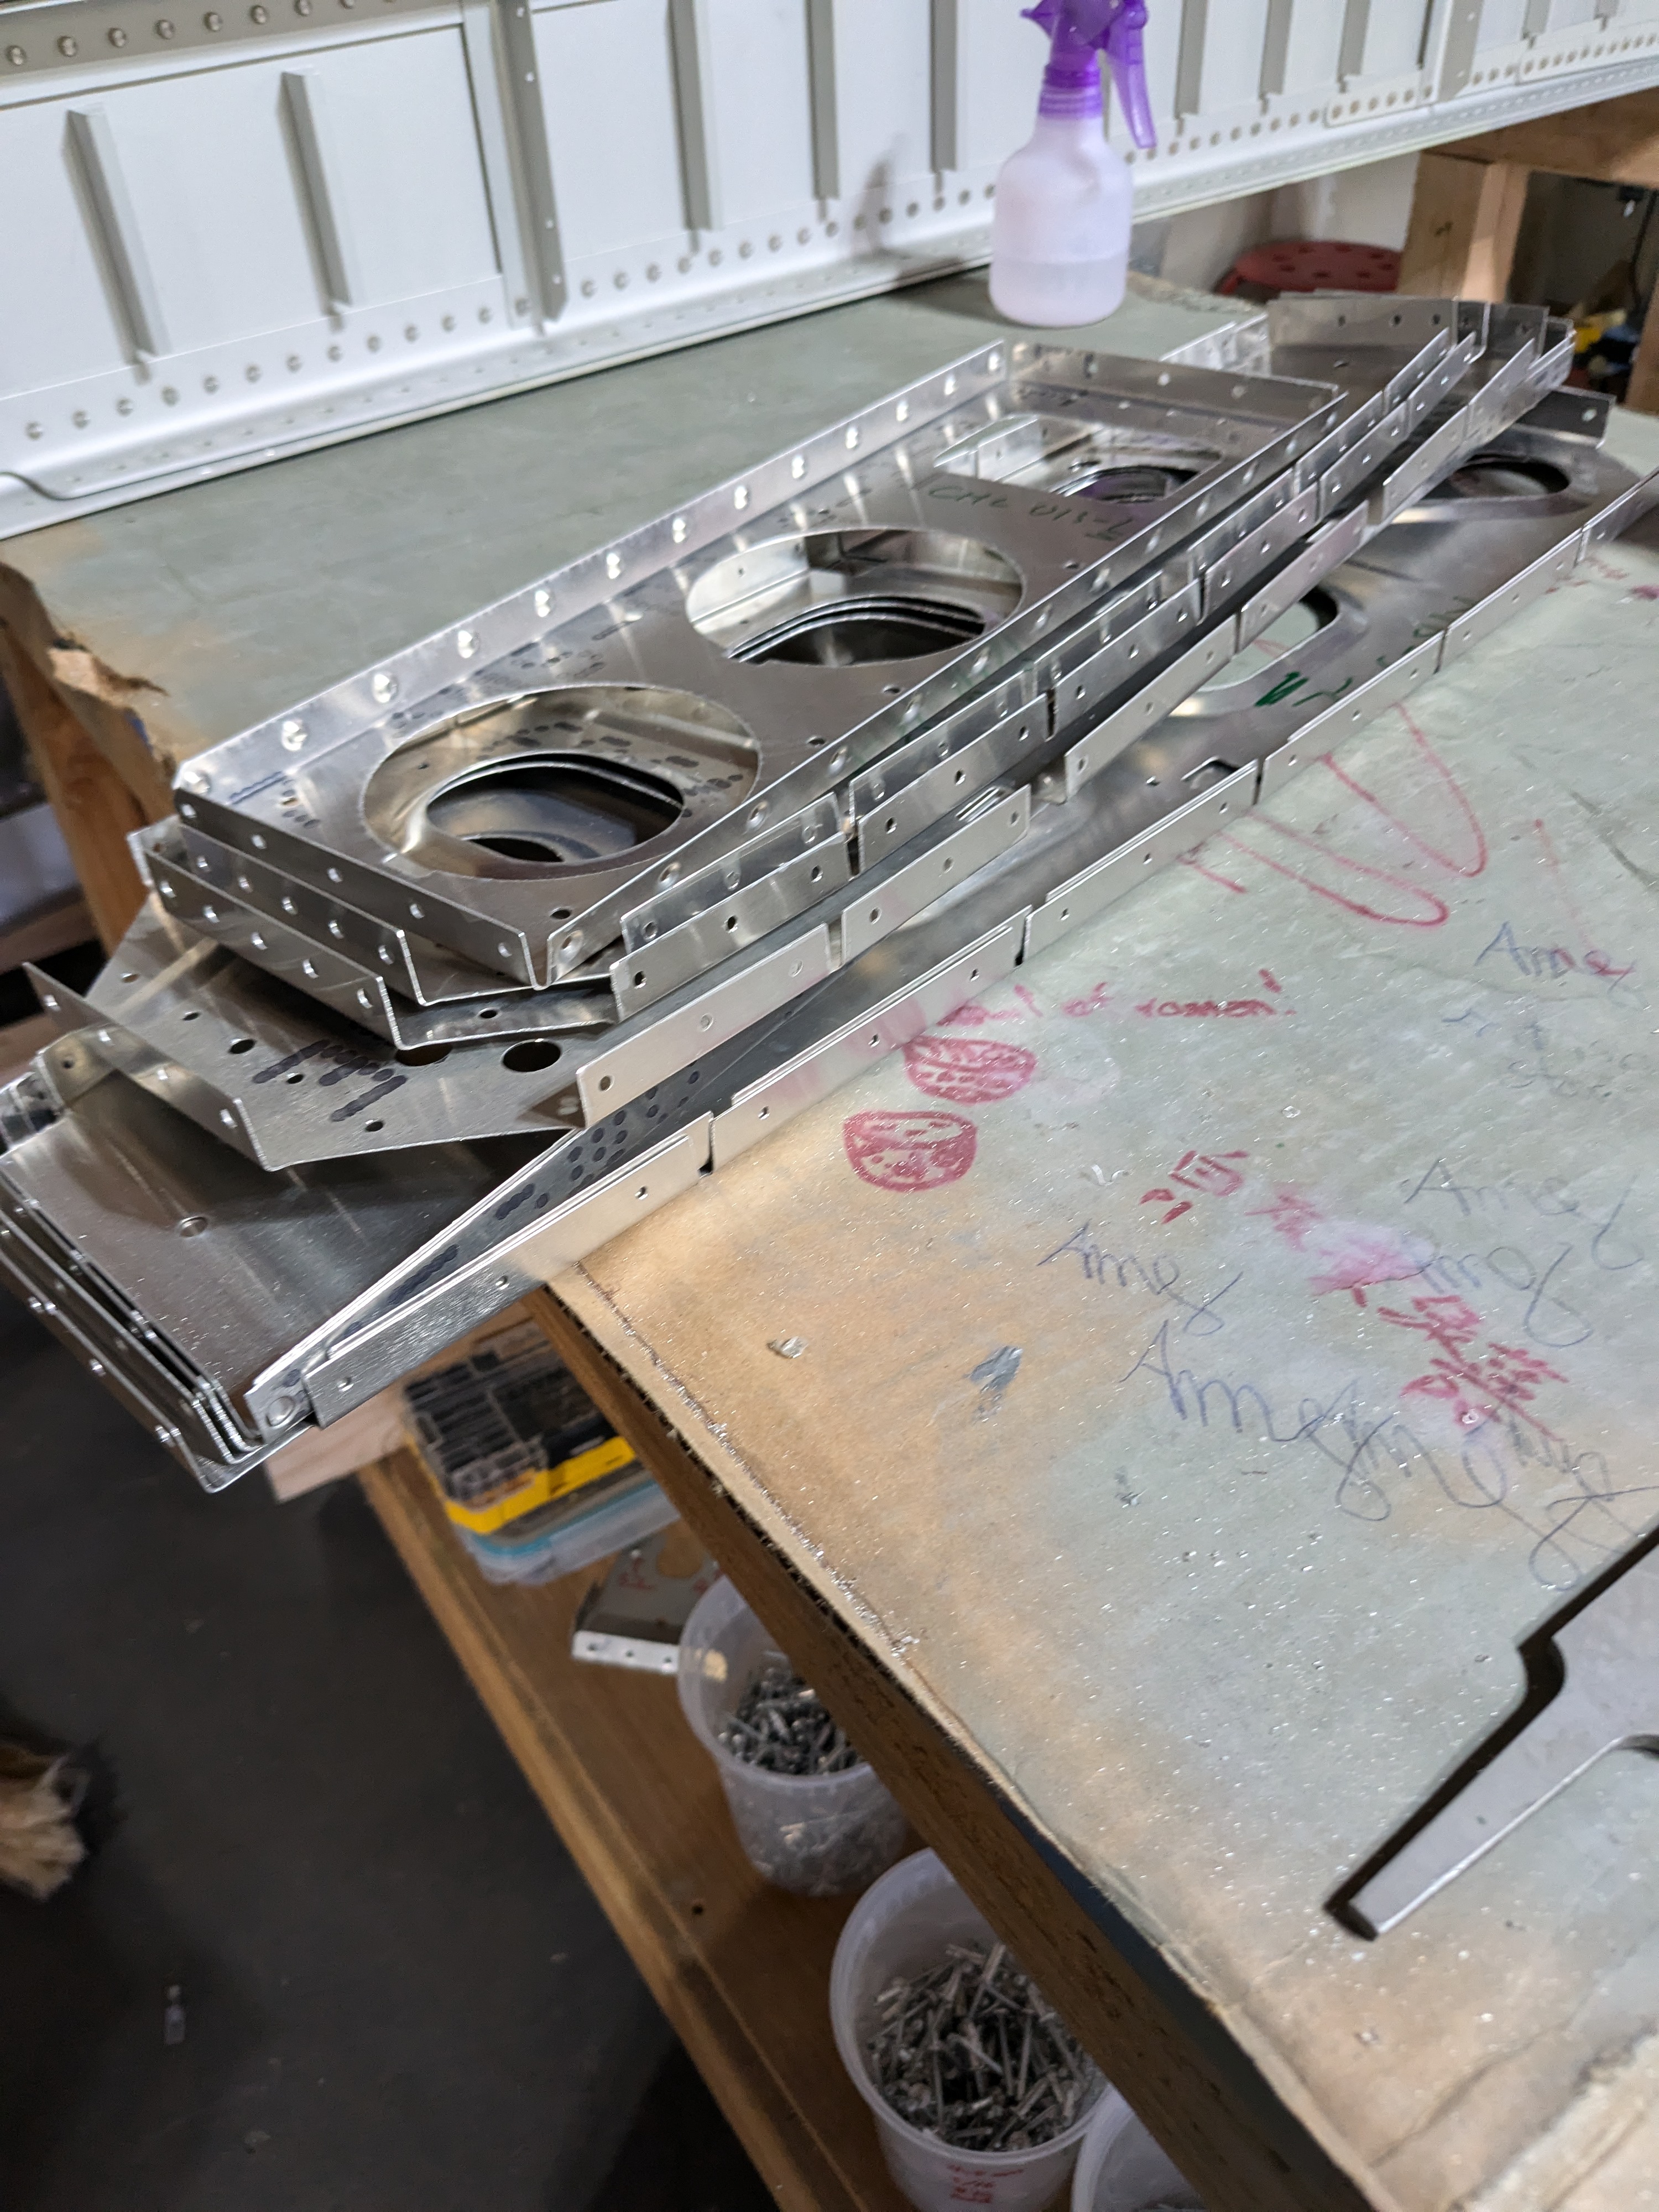
I picked out the remaining right wing ribs, leading ribs, trailing ribs and started the cleaning process. Boy That’s a lot of mundane work!
1
2
3
4
5
6
7
8
9
10
11
    loop a million times:
        peel plastic
        mark part number with sharpie
        hole debur
        edge debur
        file square corners to round
        clean with isopropyl alcohol
        scuff with maroon pad
        clean with clear water
        dry it
        prime
I know I decided to not prime, but since I’m prepping 10+ parts at the same time, the cost of priming isn’t that high when done in batch. So I went ahead and primed those ribs. My table wasn’t big enough, so I primed all parts in 2 batches.
Batch 1:
I haven’t dimpled any of the parts yet. I am going wait for the prime to fully cure, then put them through my DRDT right before riveting them up to the wing spar.
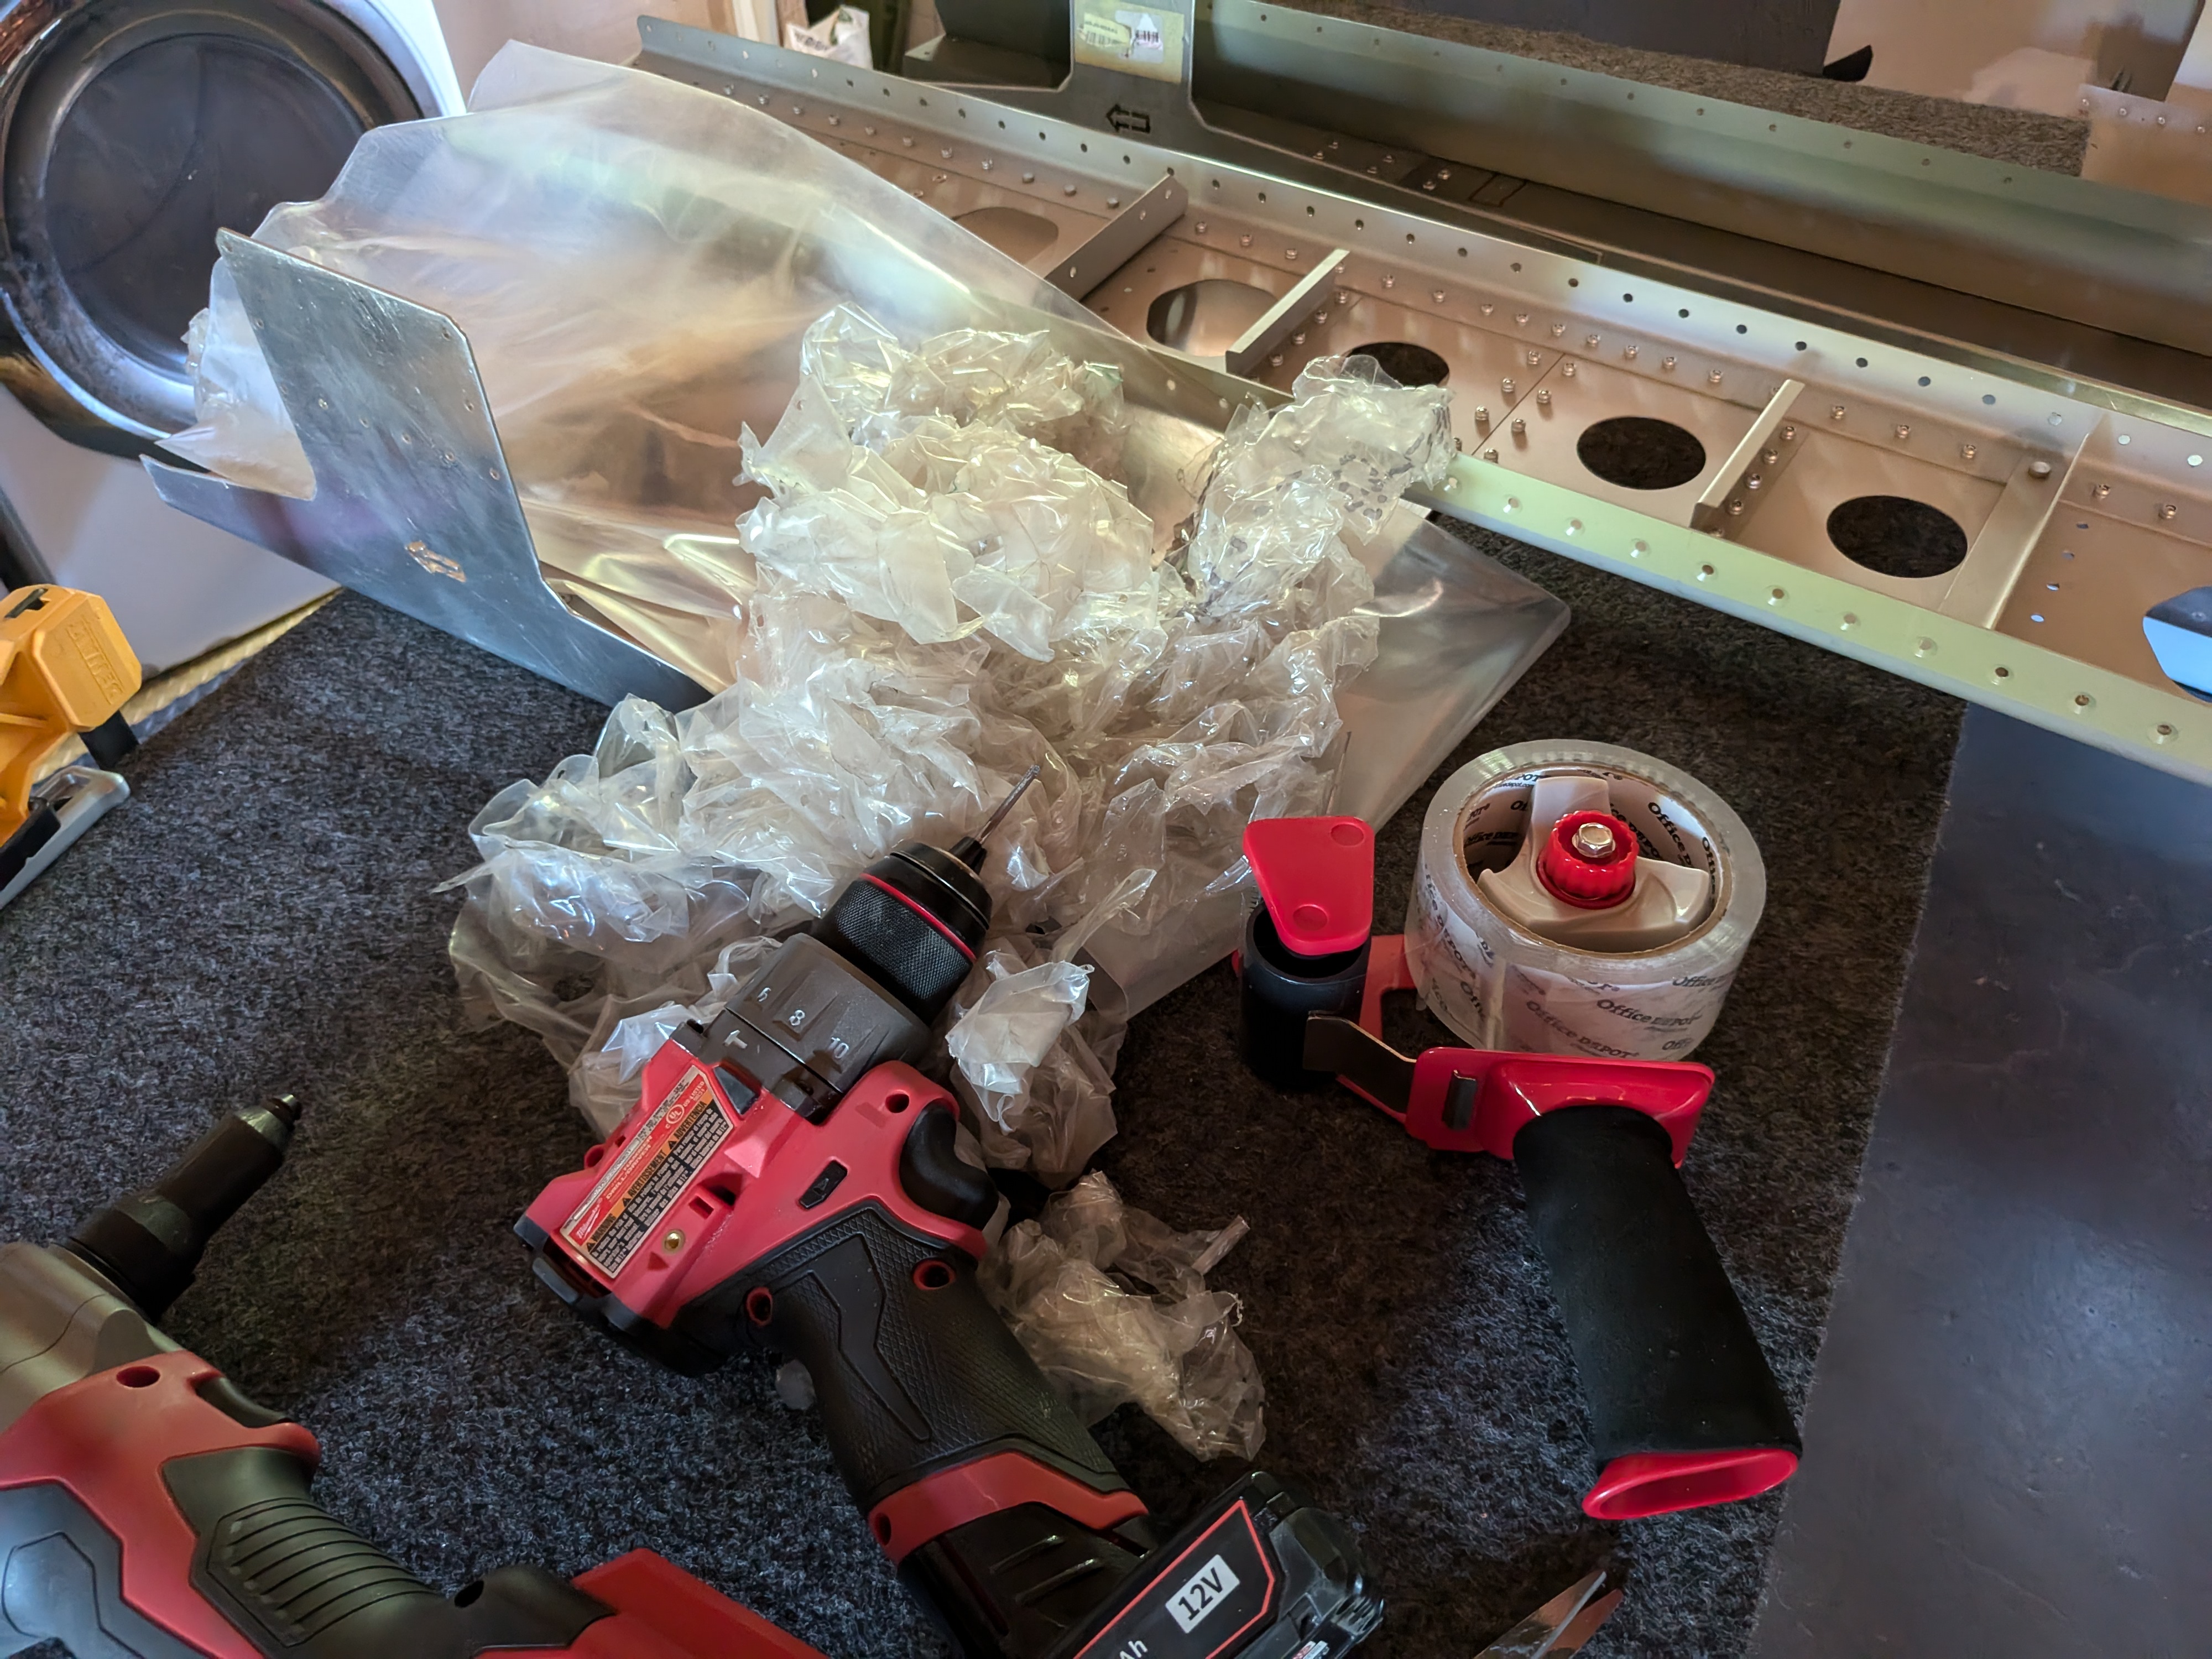
By the way, a by-product of all this mundane work is that my garage can fills out quickly! I must spent about half of the entire prep time battling these plastic wraps. They are super well attached to the aluminum parts, and highly unfriendly to my fingers :(
Left ribs
As I finished cleaning right ribs (5/29), I still had some time before receiving the screws needed to attach the wing. So I decided to prep as many left ribs as I can to fill the time.
I started with all the ribs that don’t need the hinge on the left. There are maybe 7 of them in my first batch (Rib 2,3,4,5,9,12,13). I started to time myself. It took me exactly 10 minutes for each piece to peel plastic, and debur. I haven’t started cleaning them yet. I might do the leading and trailing ribs next, then clean them all up.
