Getting started on the right wing (rear spar and a few ribs)
TLDR
- Built the wing jigs for both left and right
- Built right wing rear spar
- Built right rib-1, rib-6
- Started rib-7
Details
Inventory and priming decision
After close to 3 month long pause, I finally received the wing kit along with canopy and finishing kit. While fuselage and upholstery are still on the way, I have more than enough to start building again.
The crates came in good shape. I opened the wing spar and wing skin kits to start with.
While cleaning the parts, I decided that the right rear wing spar will be the last part that receives primer in this build. This is because I still have a bottle rustoleum left. Otherwise I would have just stopped priming altogether.
The reason for not priming has been iterated by many other builders and blogs. The TLDR is that 6061-T6 (the material Sling uses) is not prone to corrosion, and that I will be storing the airplane in an hangar. I think occasion CorrosionX will give me sufficient protection. So I will just save some time on priming.
Jigs
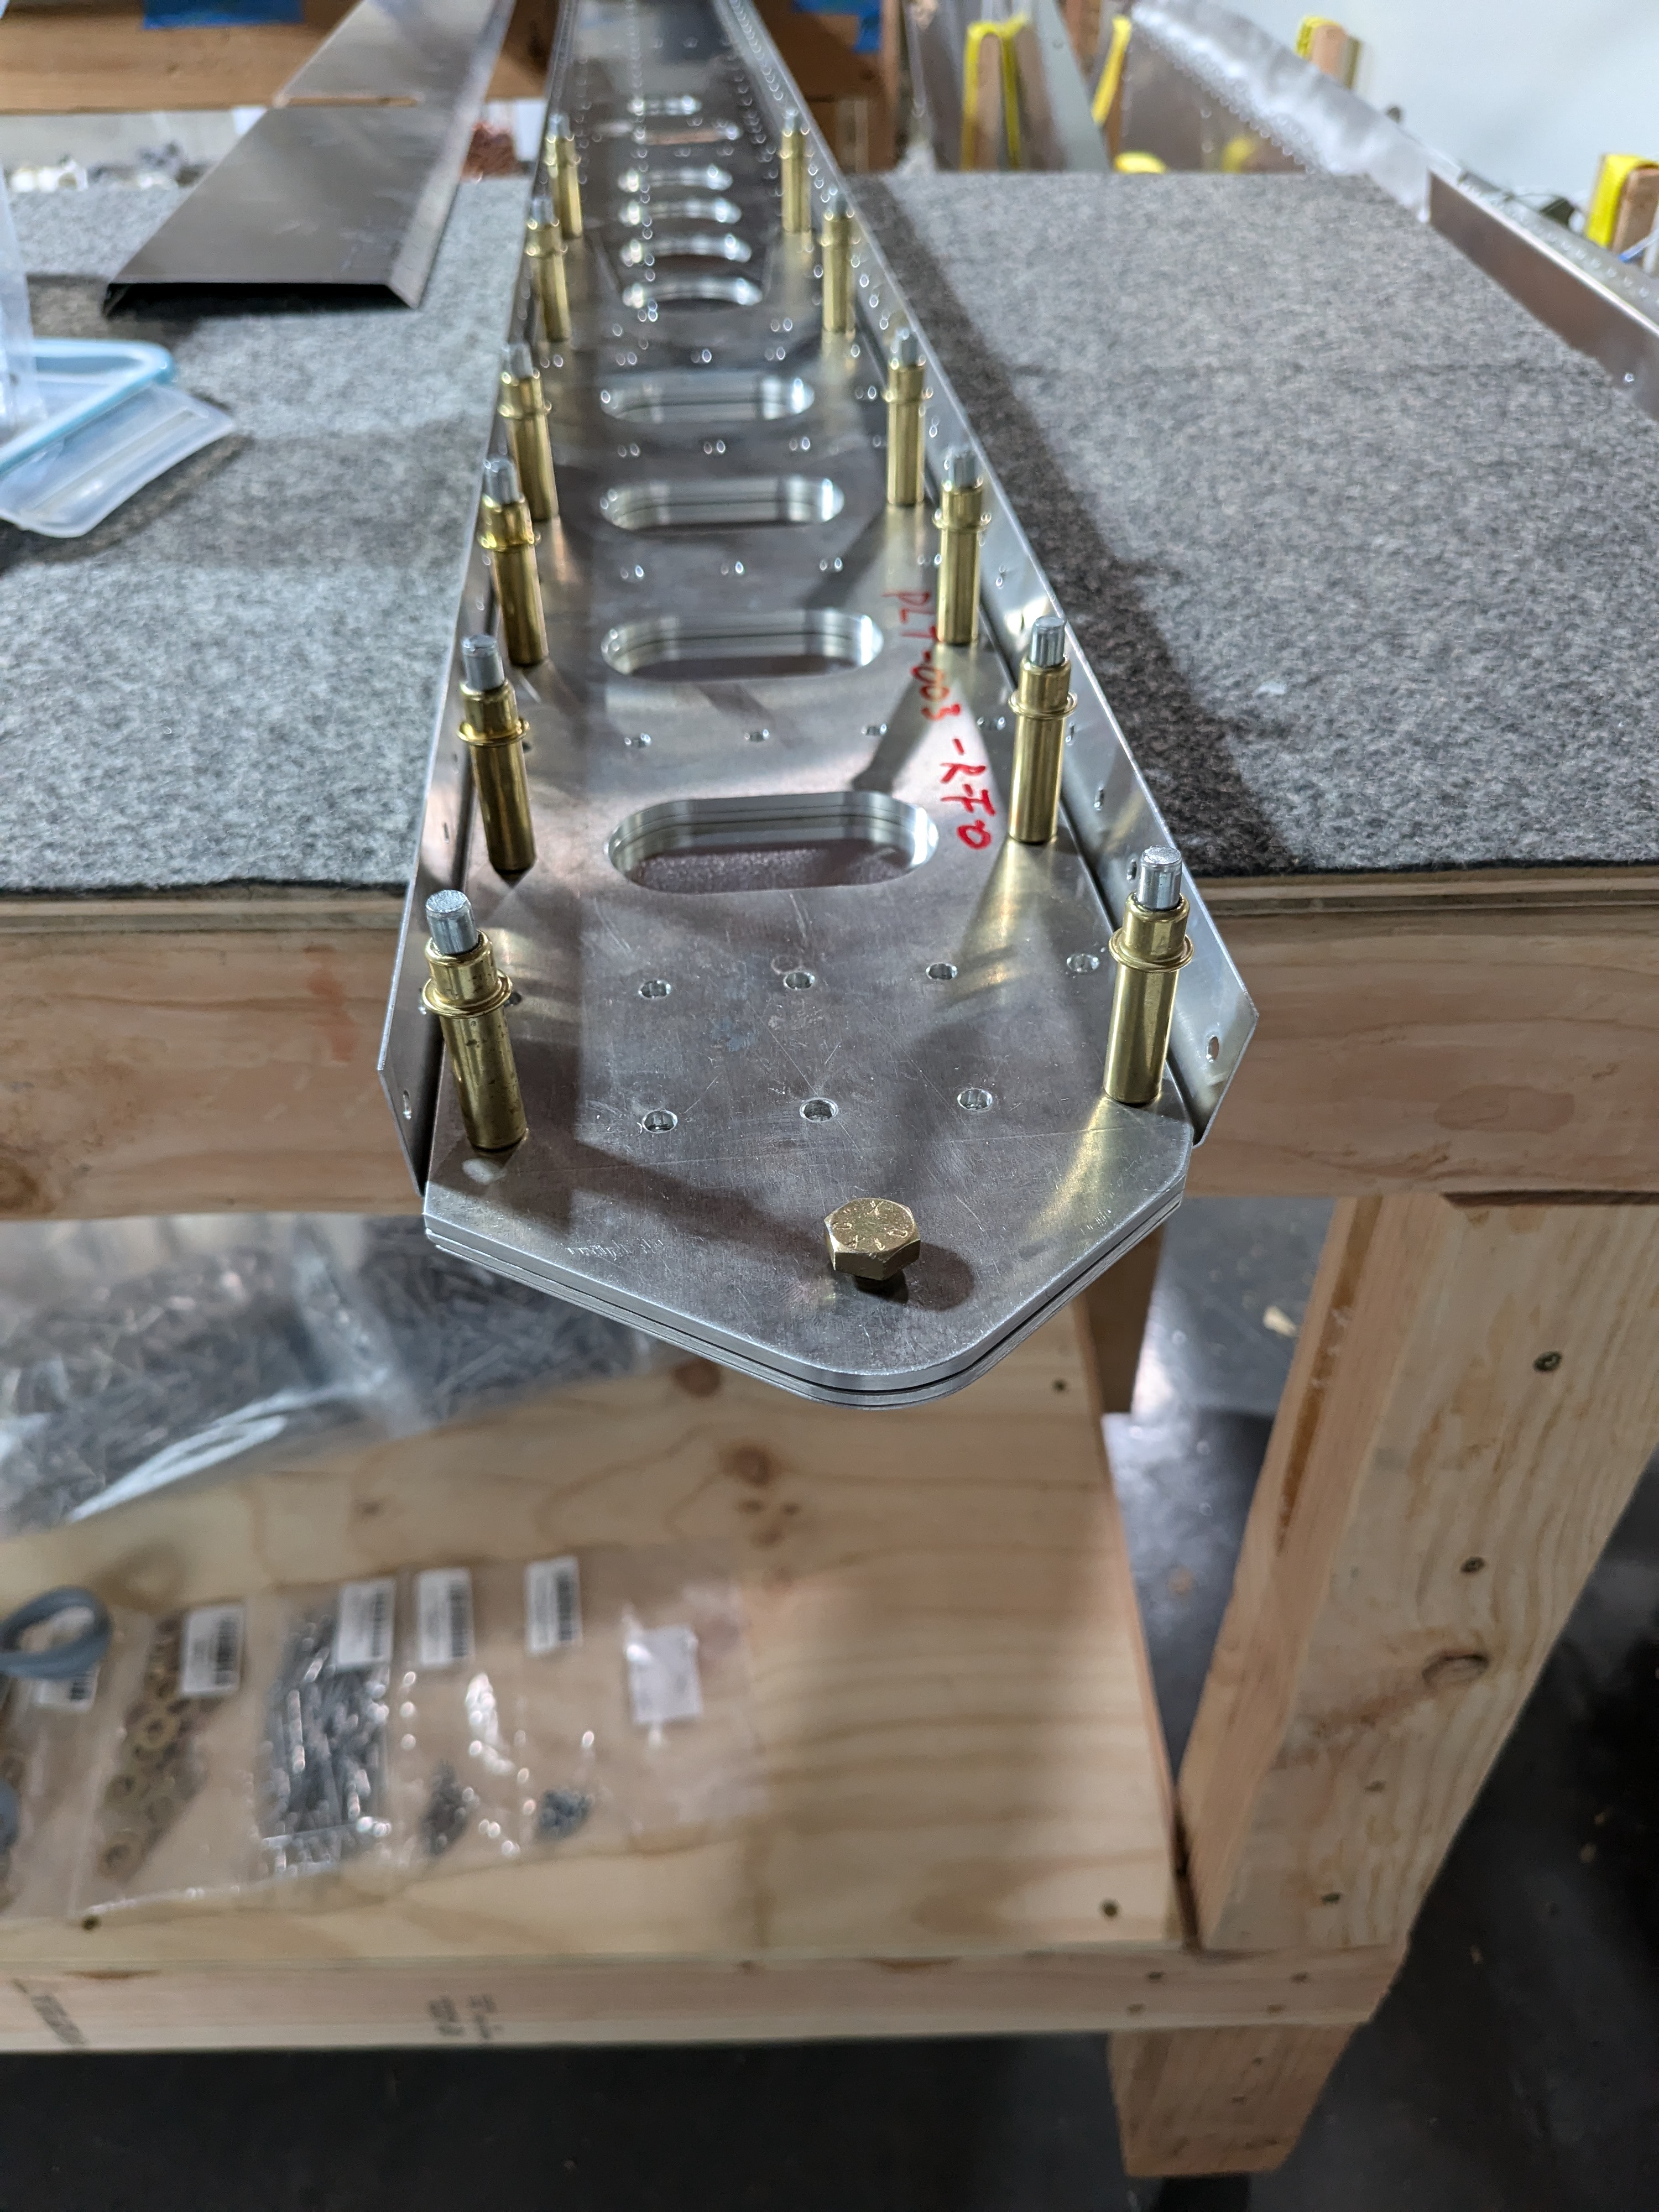
Nothing much to say on the jig. It’s very straightforward to build. The parts are well built, the holes line up perfectly. 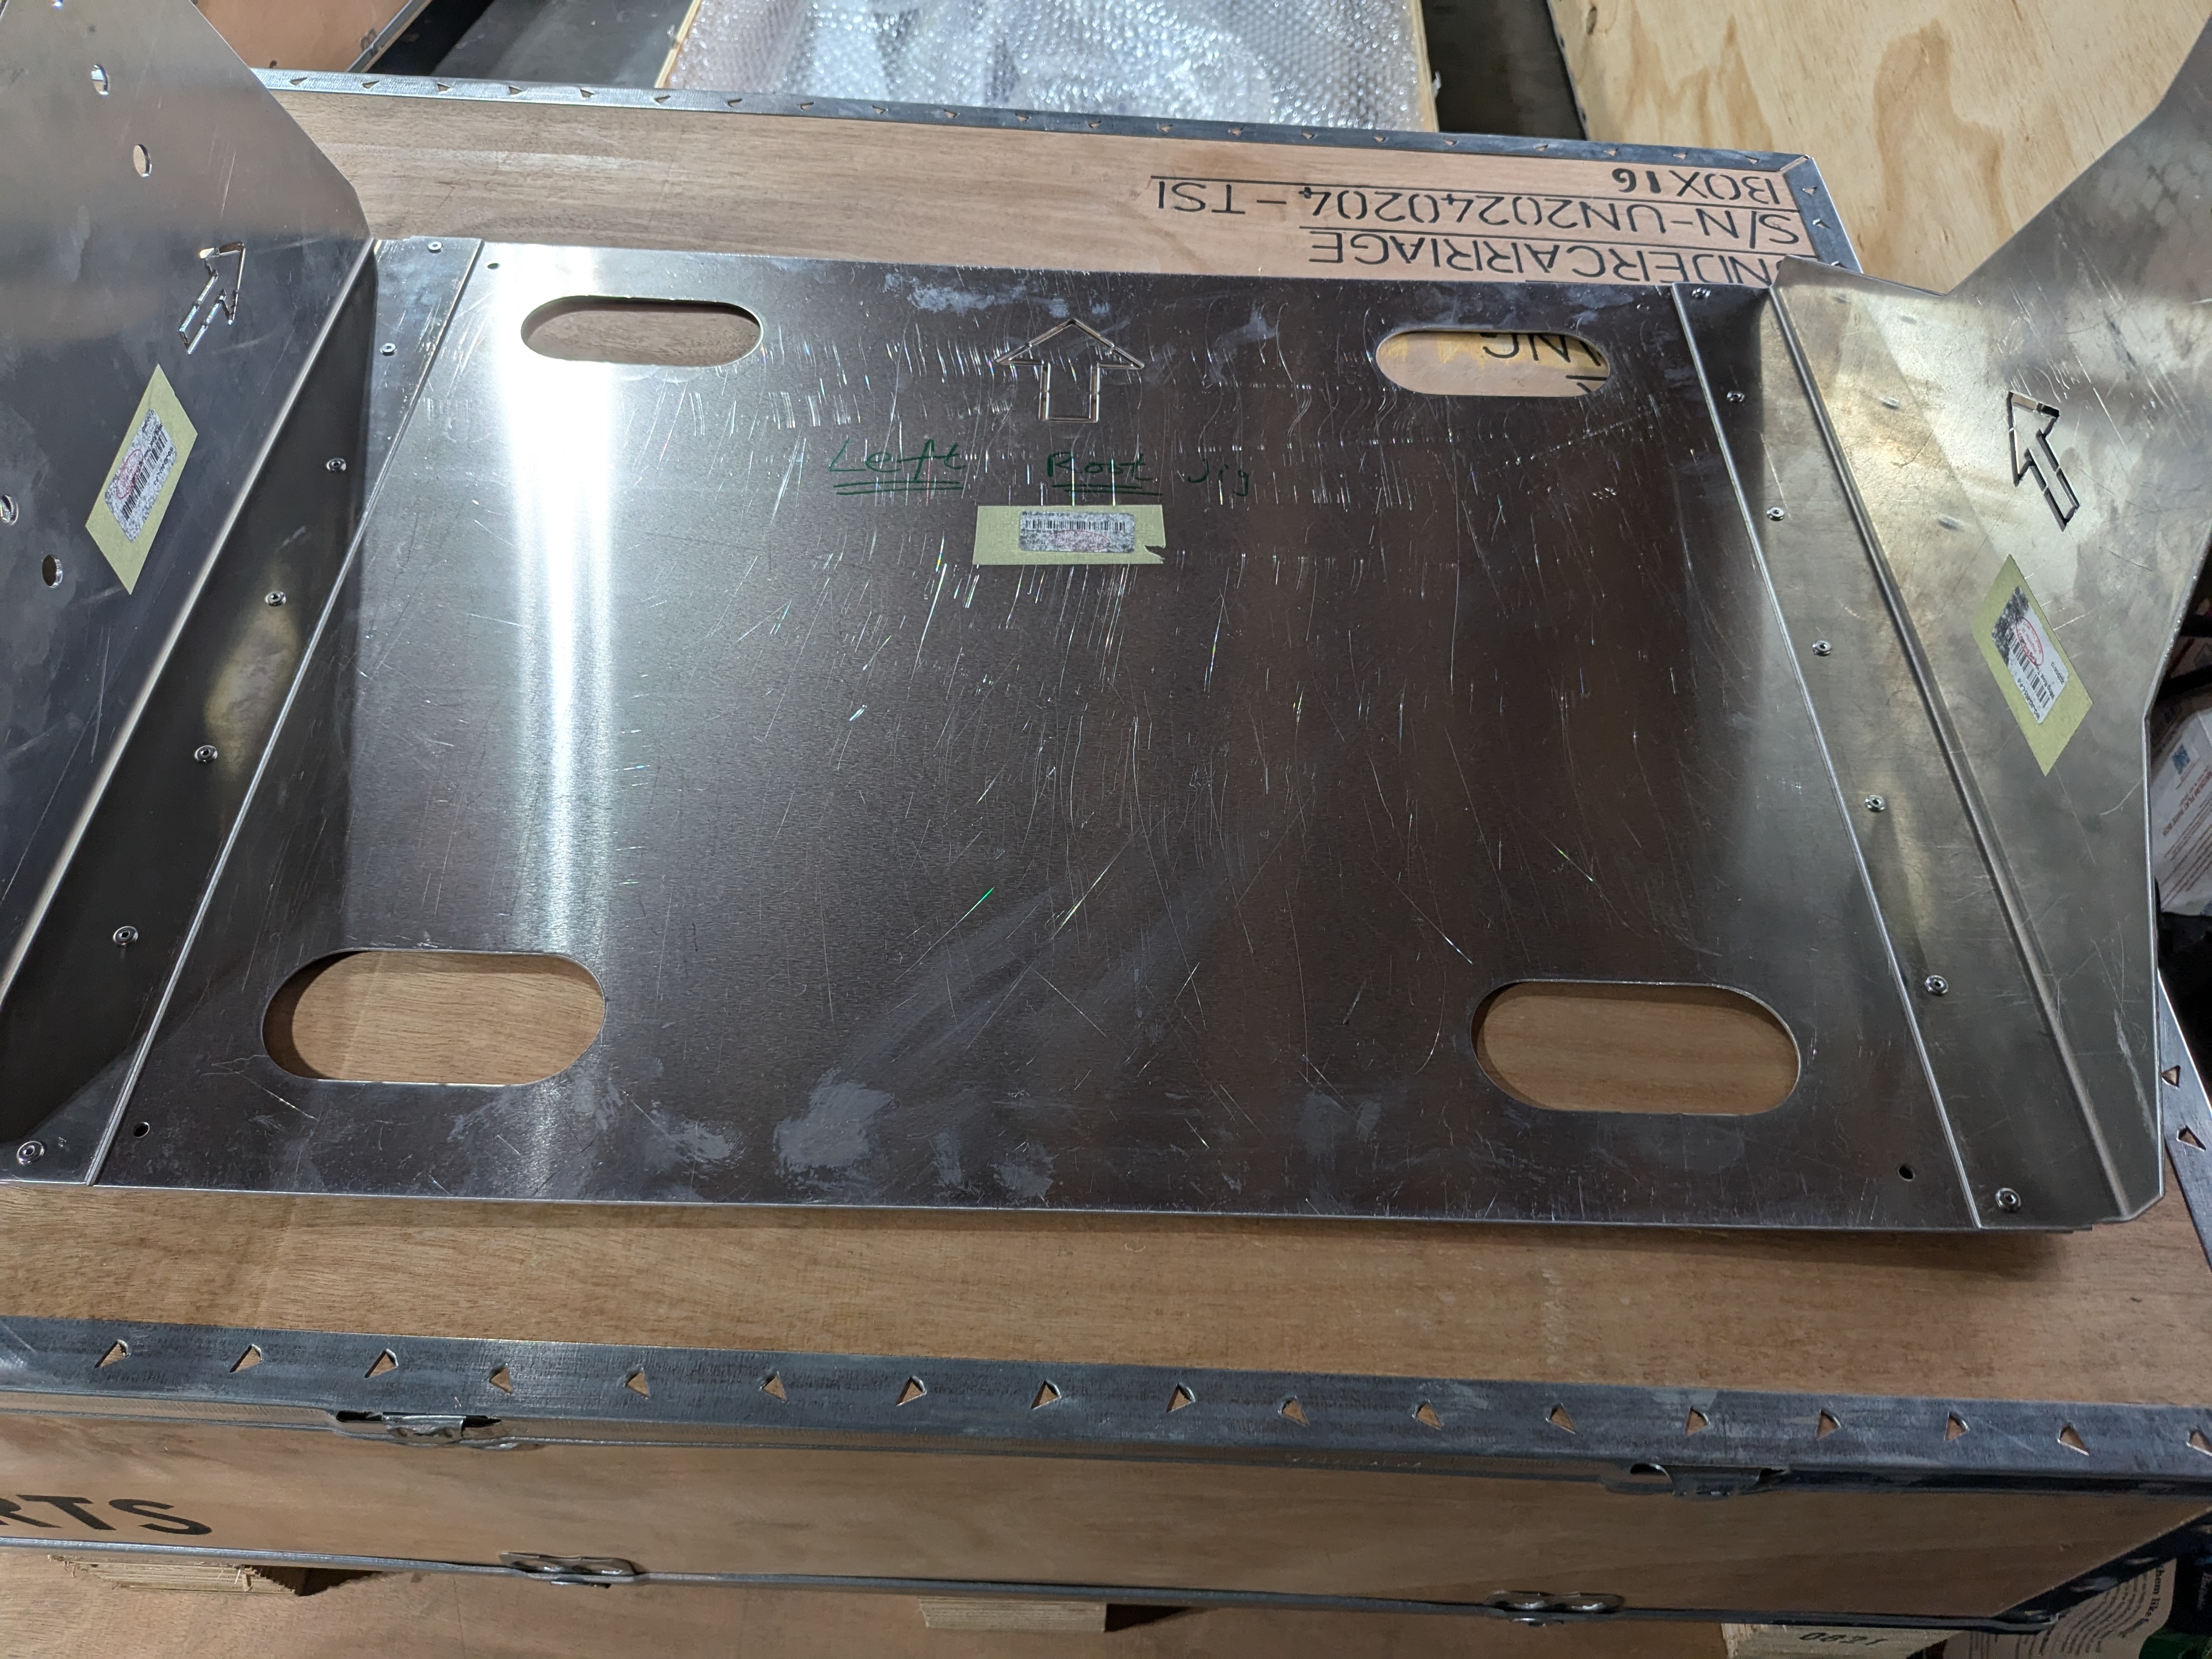
Right rear spar
I picked out the parts needed and cleaned, deburred all parts. Then I primed the rear spar channel and let it dry overnight.
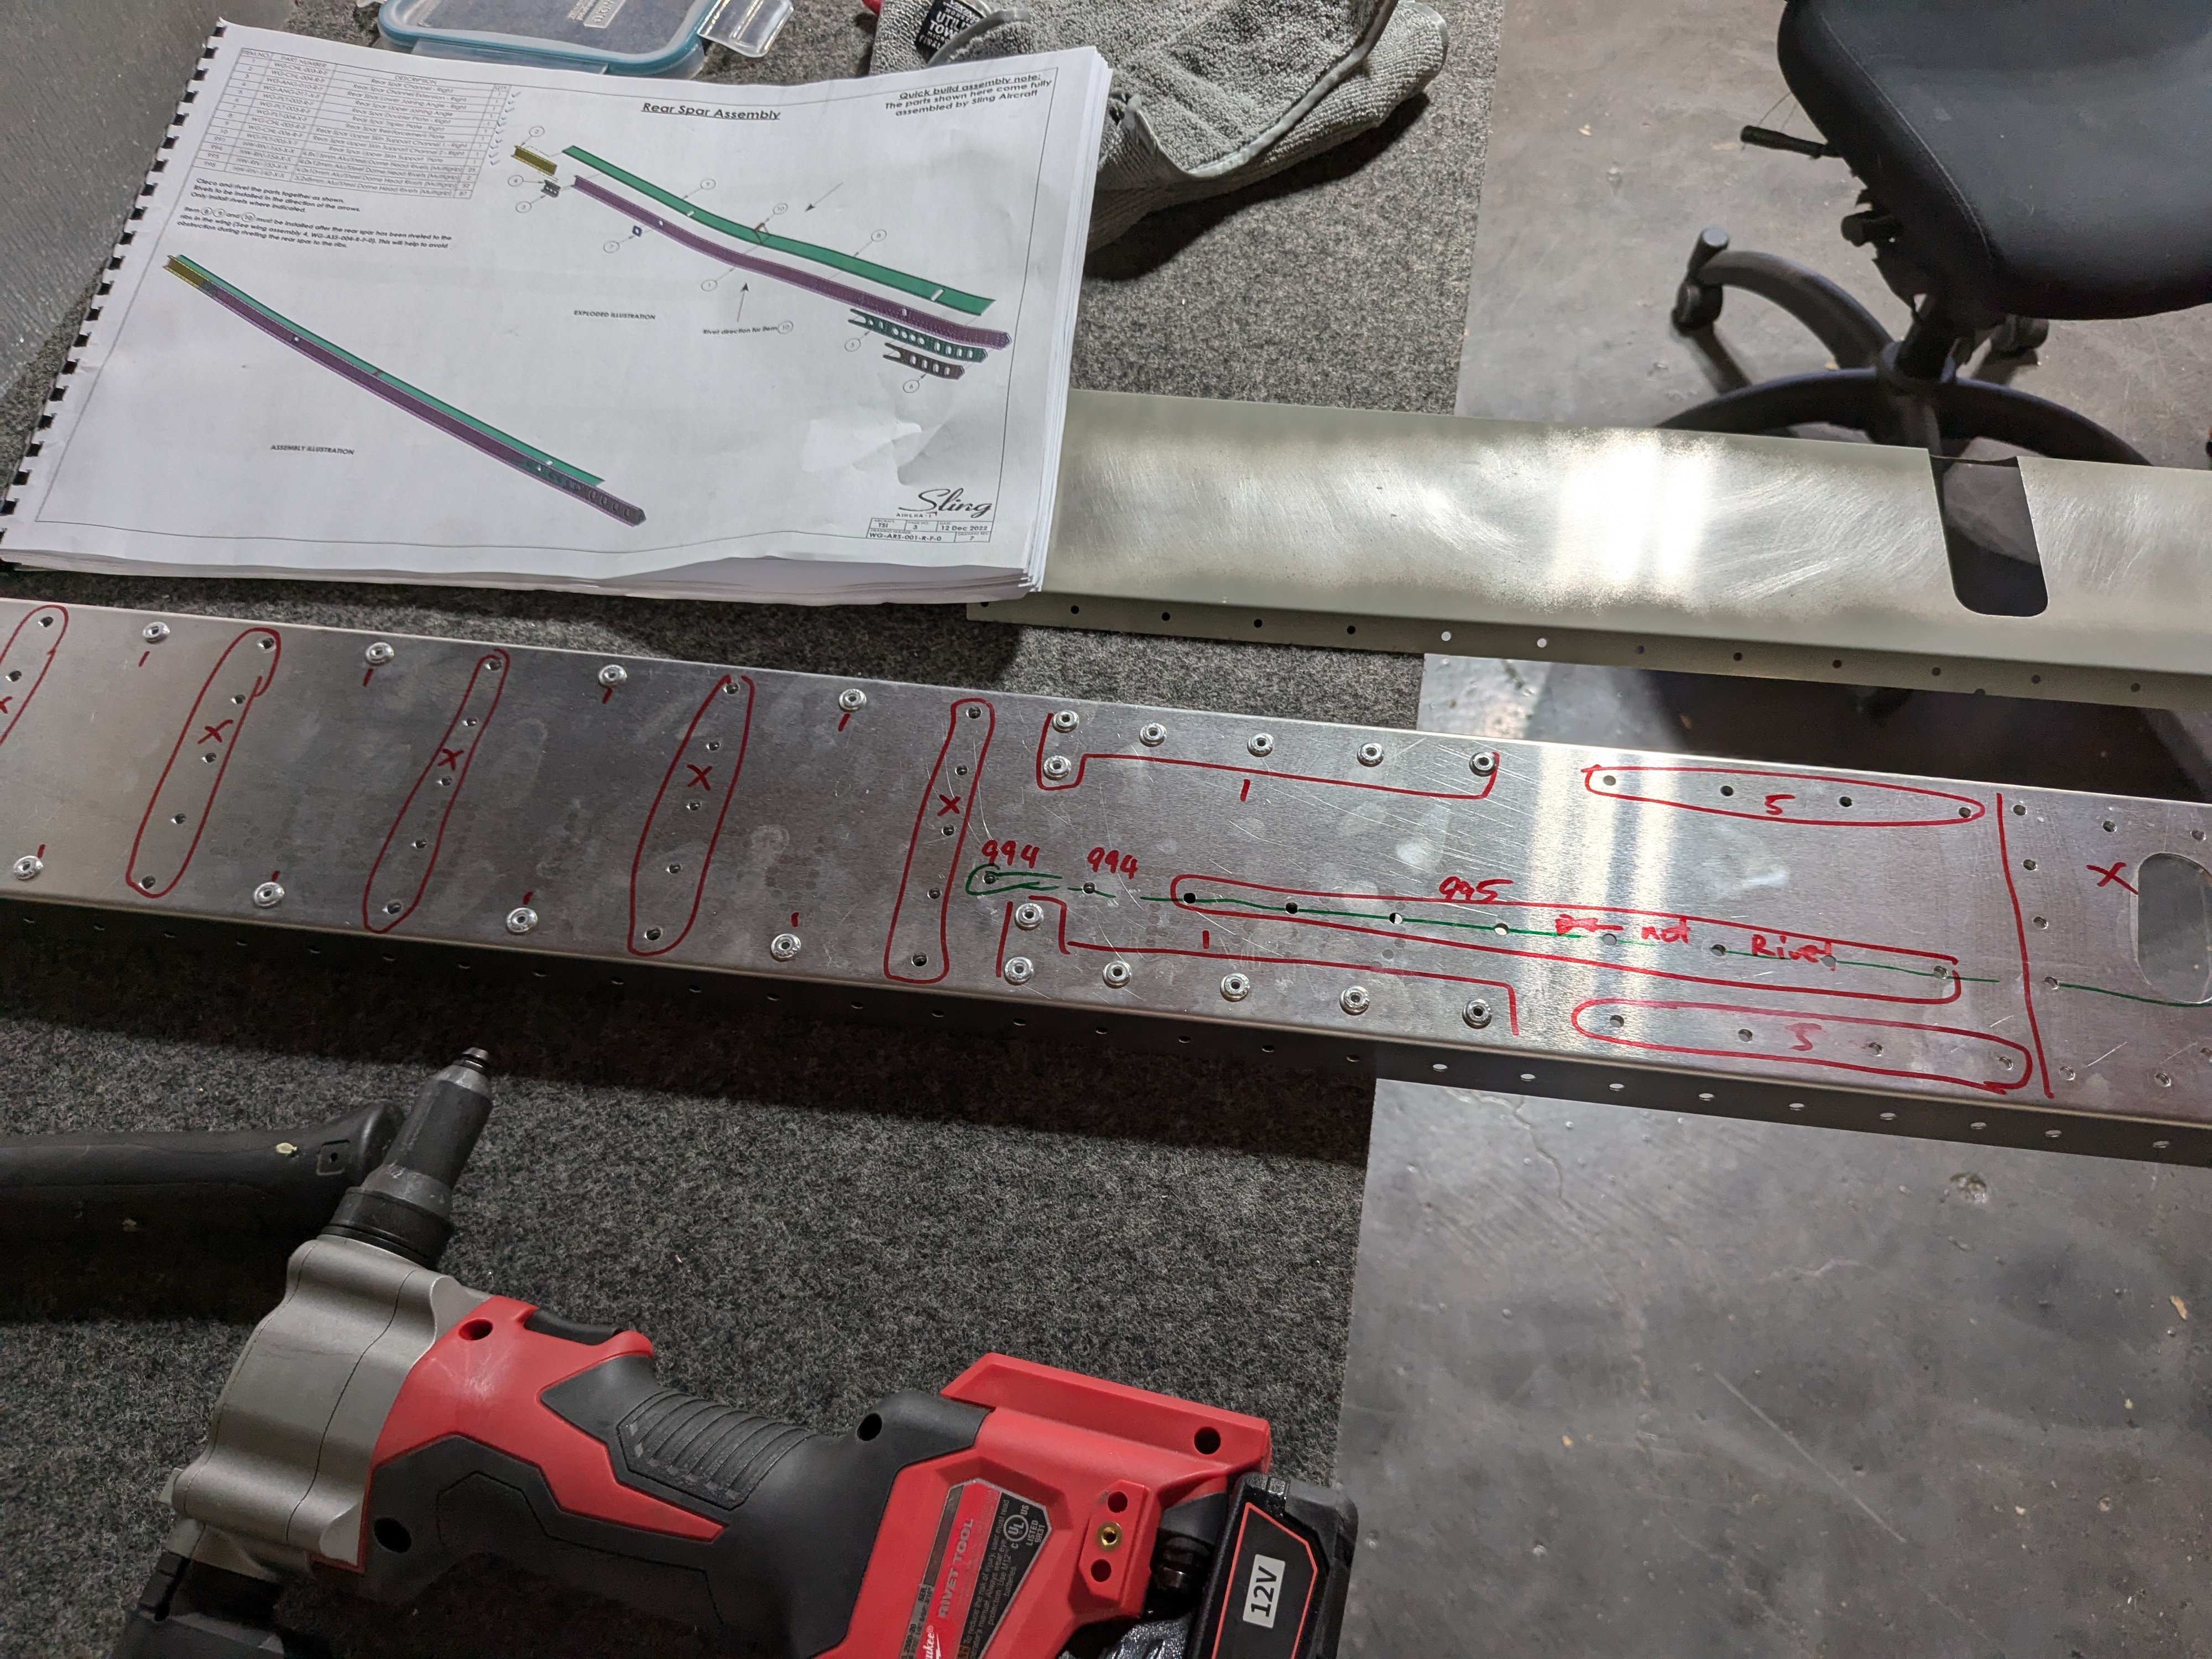
Then I tried to dry fit all parts together. Most of the holes align perfectly and I only needed to match drill two 3.2mm holes. Not a big deal. I actually think the holes would not have needed match drilling if I didn’t added the extra layer from primer.
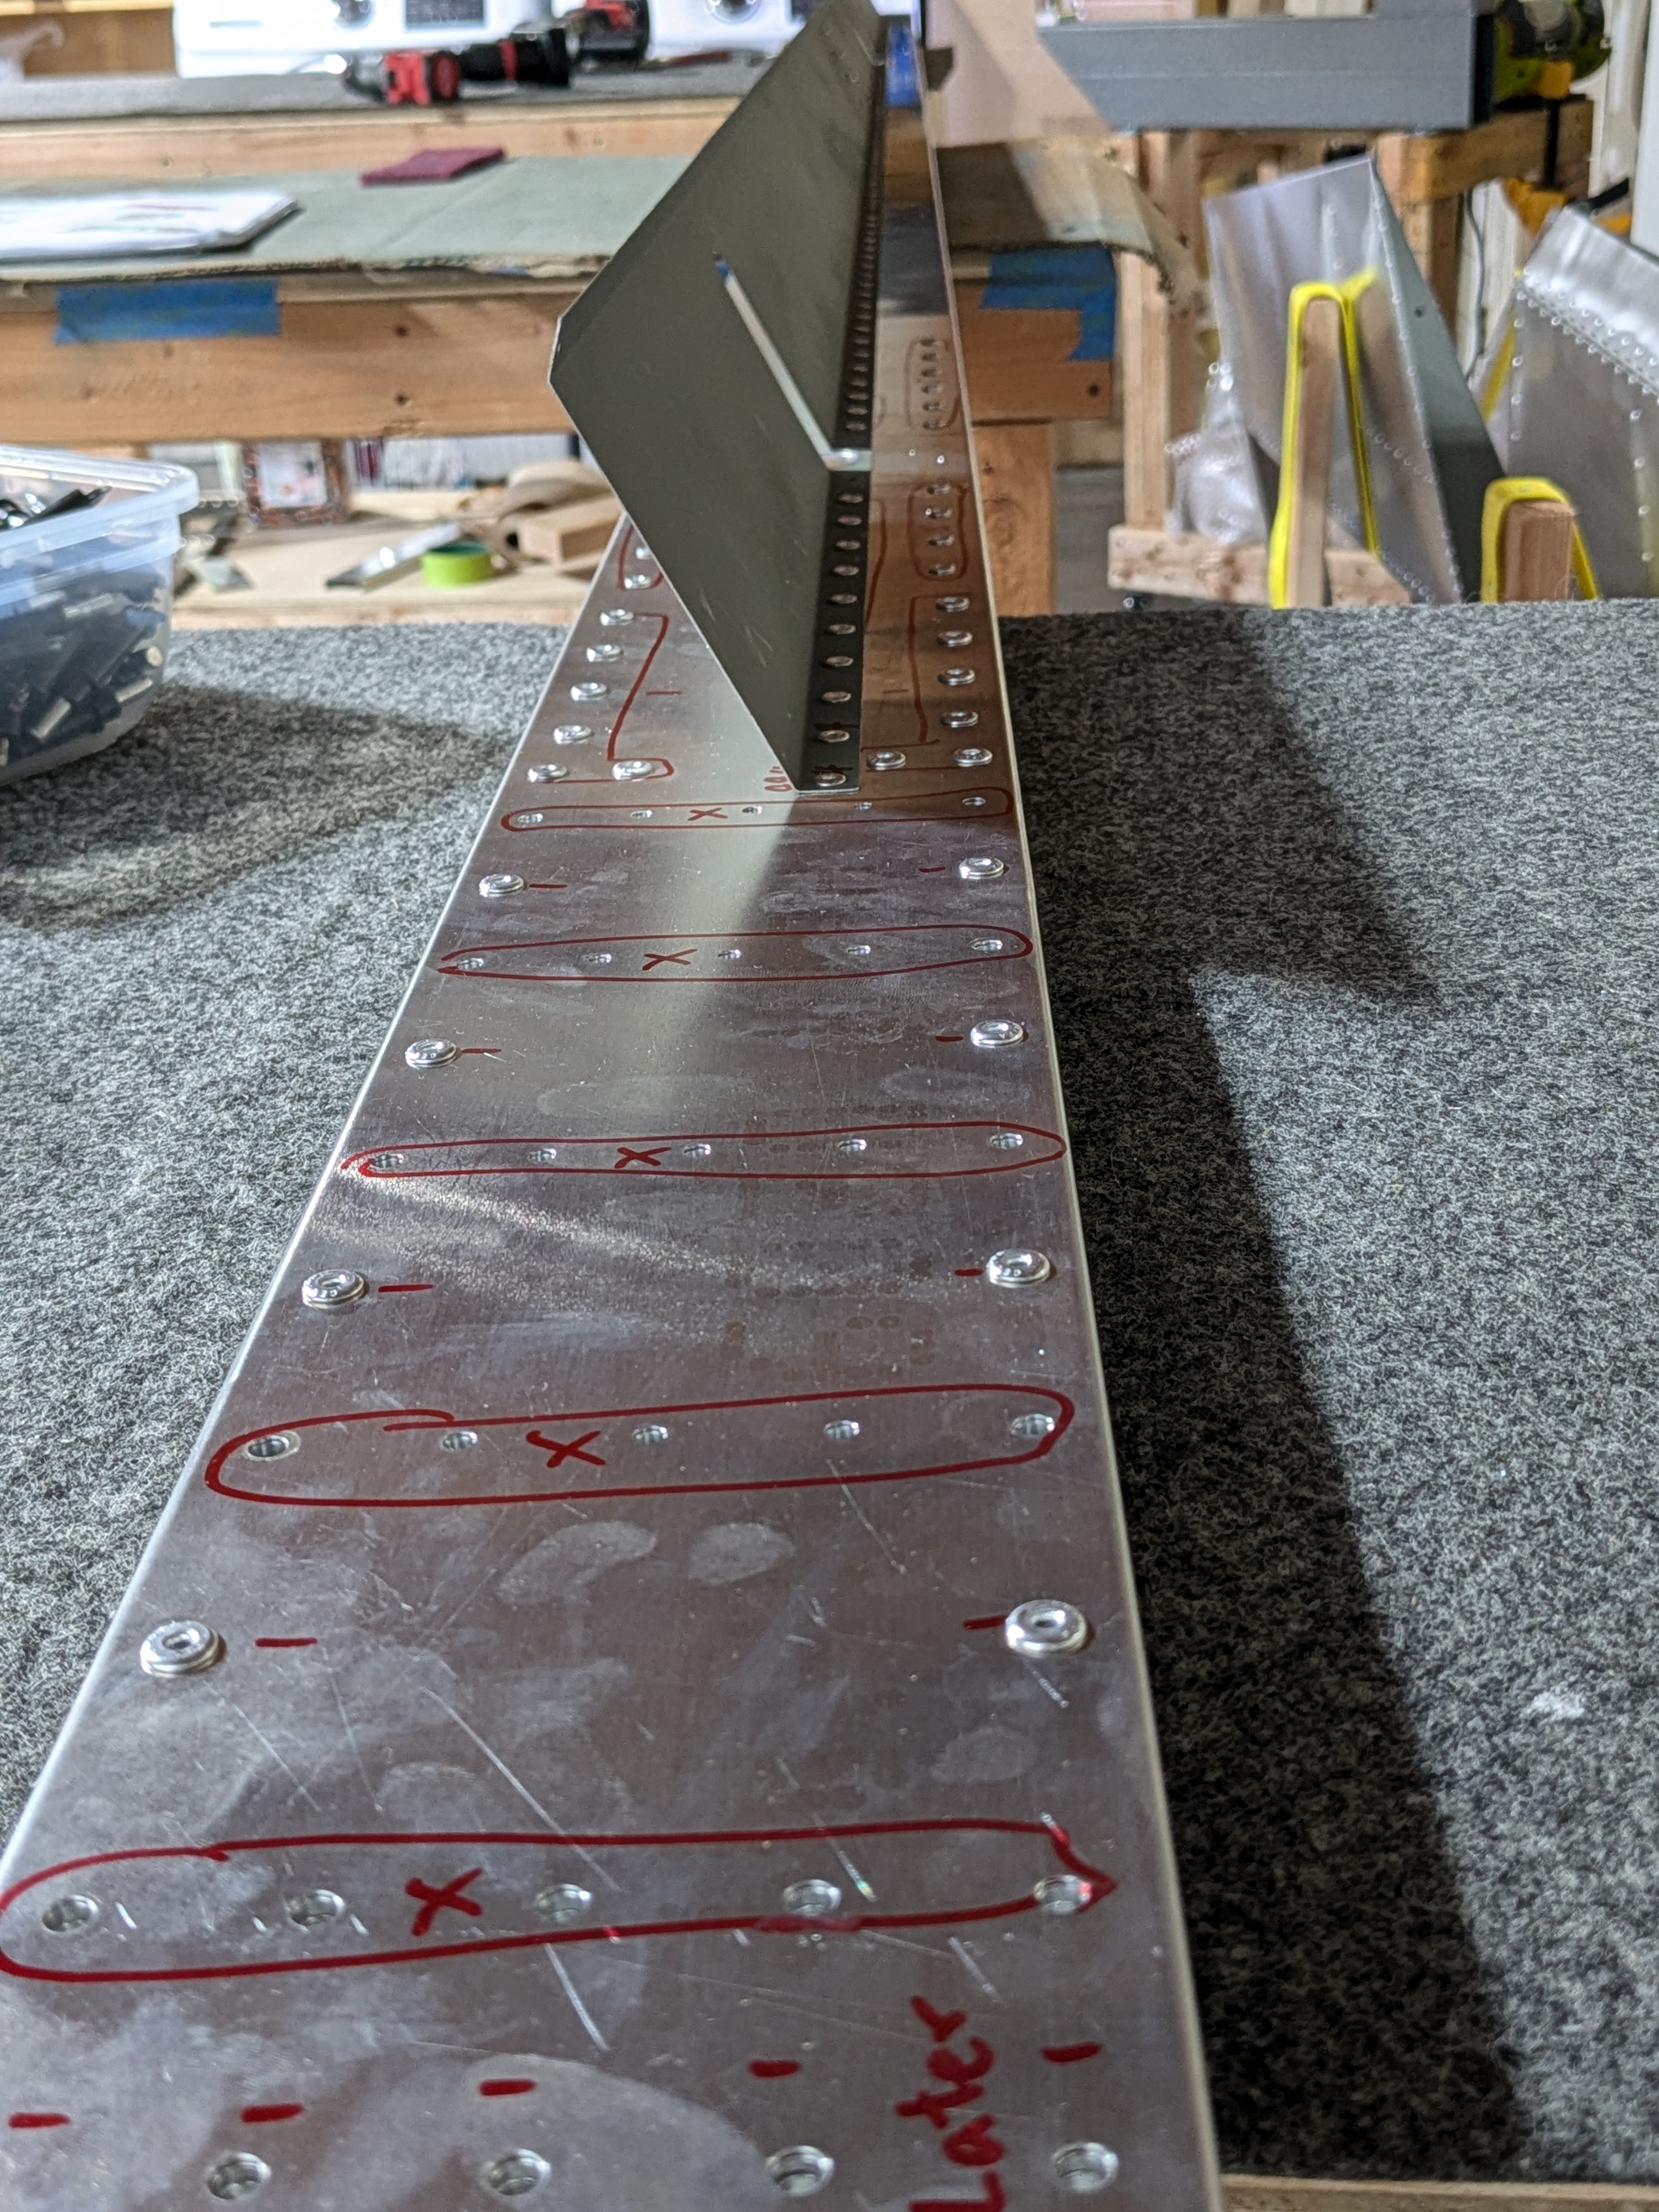
I then spent quite some time to circle out the holes that should not be riveted, and also marked a few odd holes that needs 4.0mm x 12mm rivets. There were certainly many holes that I needed to pay attention to not rivet.
After that, I started to rivet everything together. It came together relatively quickly.
One note is that in the official Sling build video Evan recommended to not rivet the rear channel onto the spar so they don’t get bent when moving things around. I tried that. But when I left the channel it was extremely flimsy. I actually felt better to just rivet it onto the spar so the channel and spar provide some extra support to each other.
Rib 1
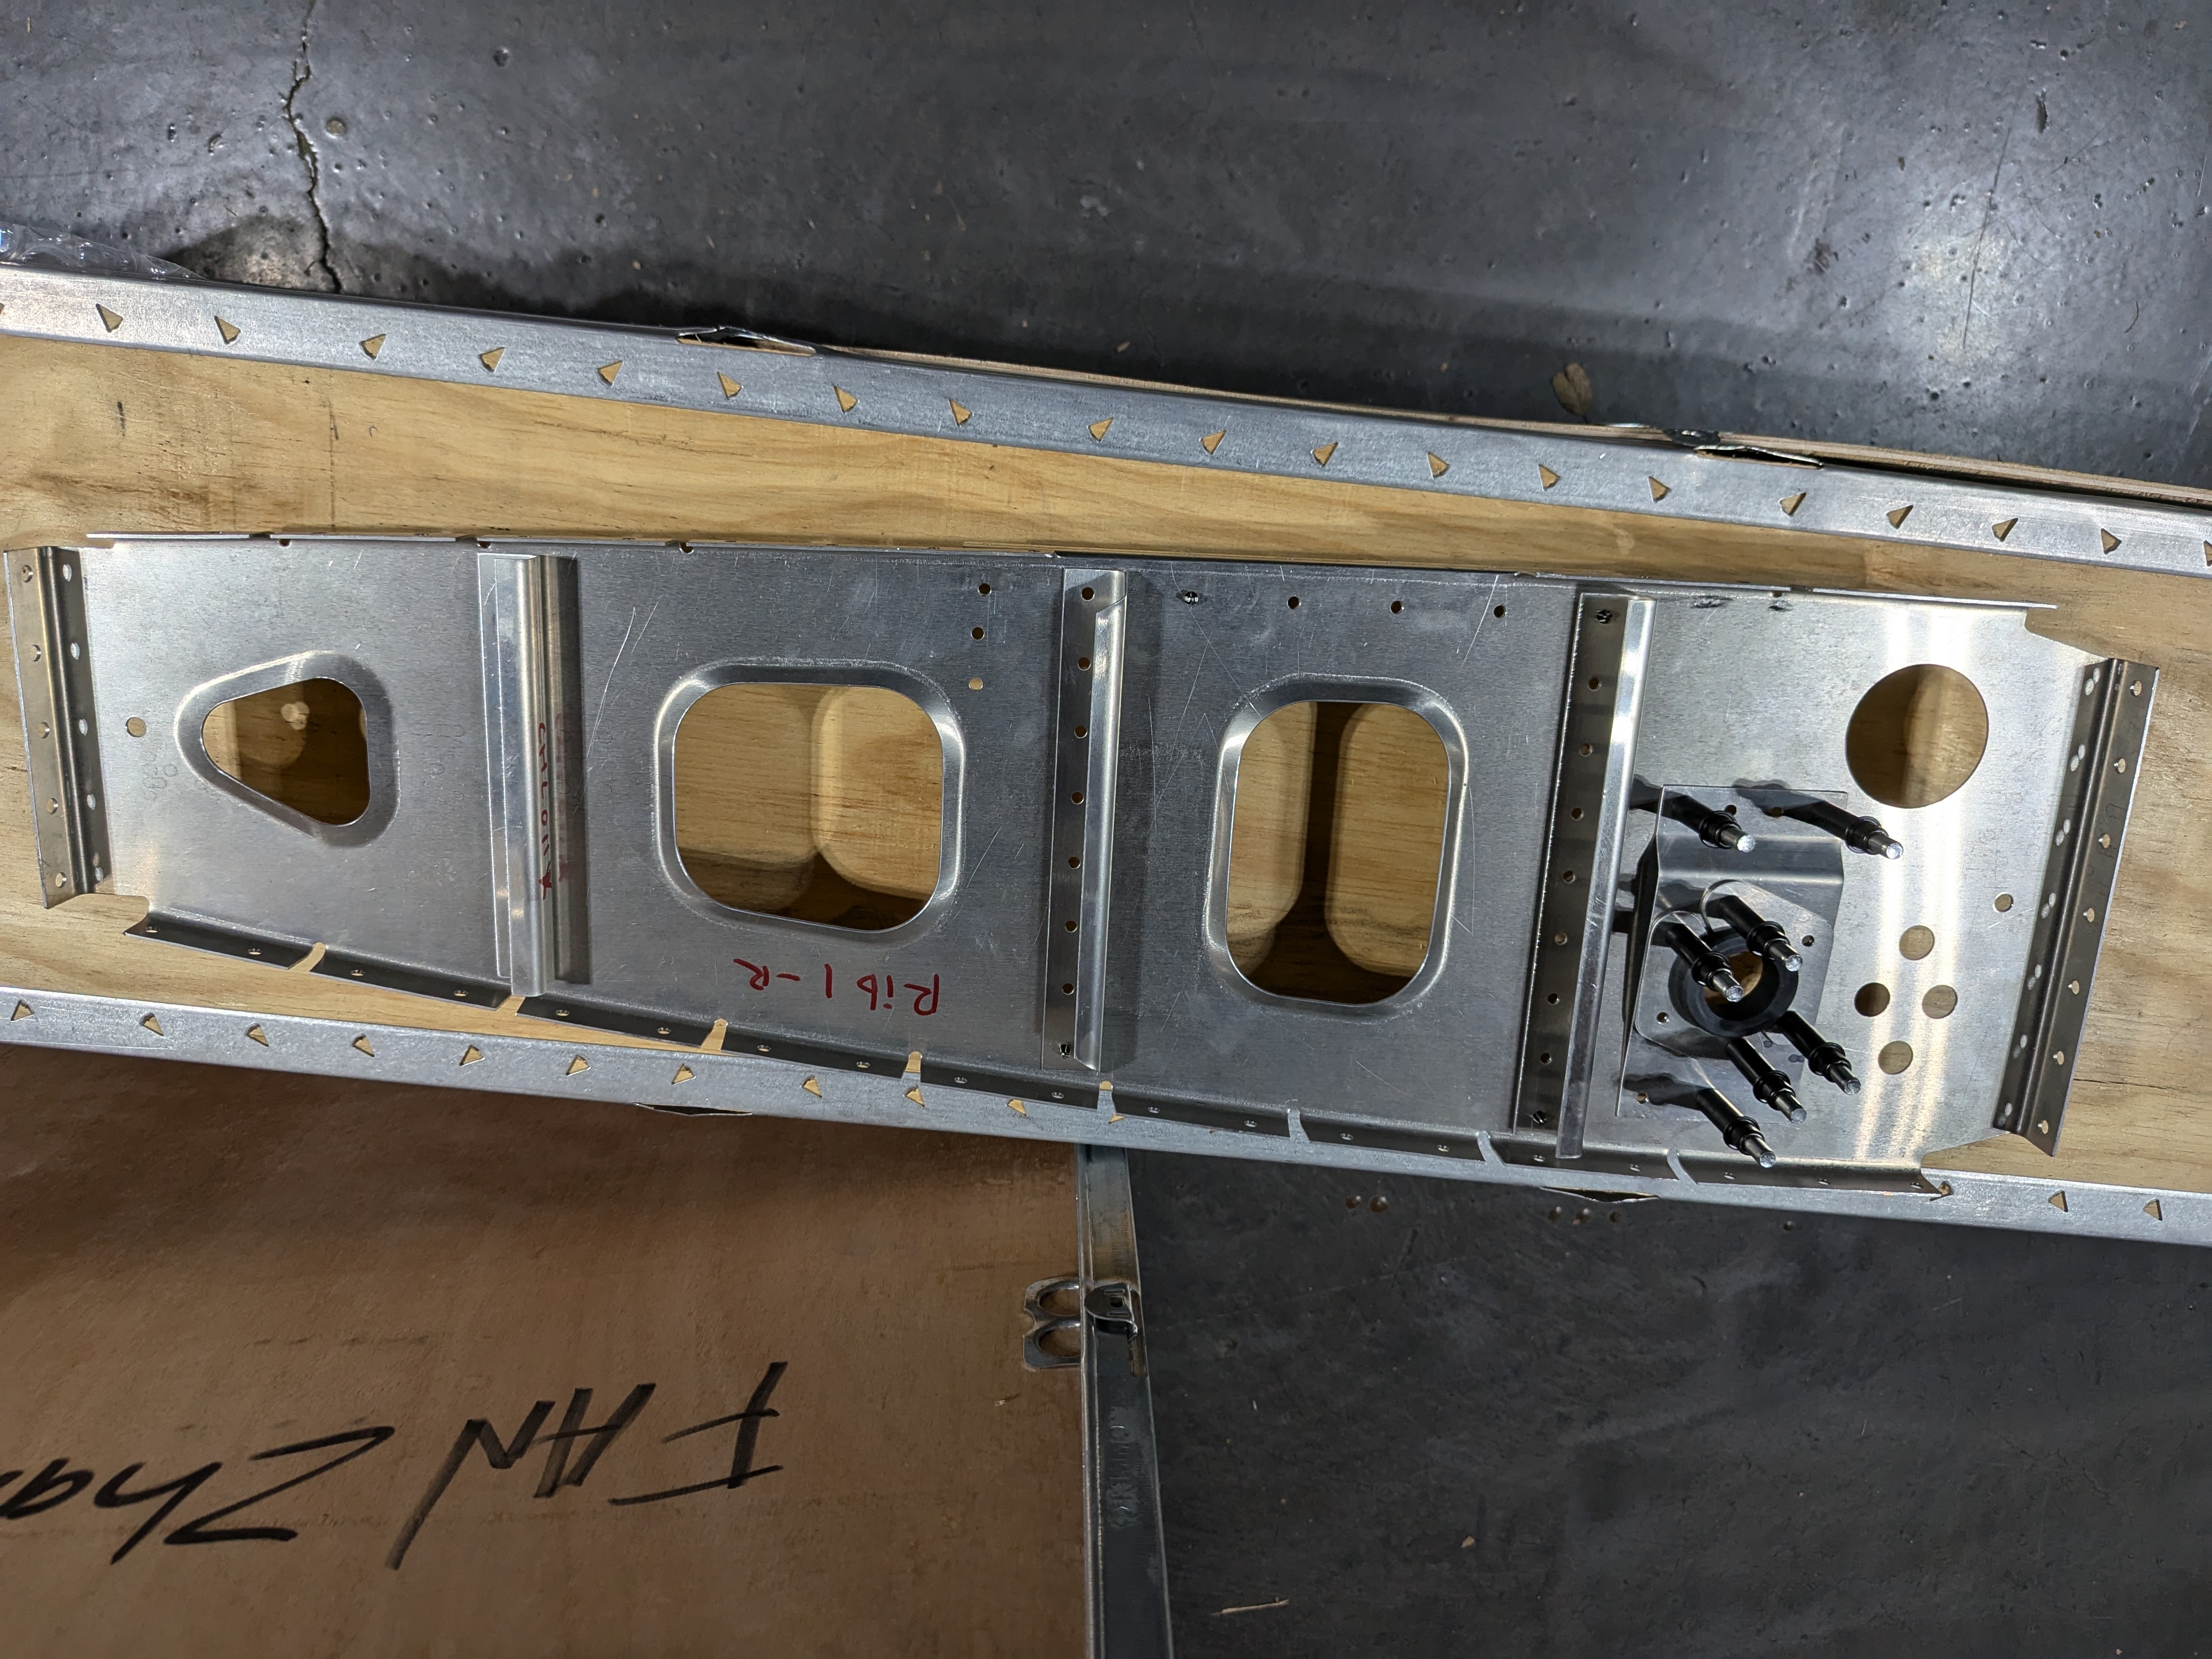
Standard build process. Deburred, cleaned and parts, and riveted them together. No surprises here.
Rib 6
This step was interesting. The control bushing I built from last step (rib 1) rotates freely even after riveting. But on this rib it barely rotates. I put the flap tube through the role as a test, it rotates with a little bit of friction. I think I am going to experiment a little. I might take it apart and remove a little material from the bracket to give the bushing more space. Not sure yet..
Also, the angle at the end of the rib has a tight space and my rivet gun couldn’t reach. So I needed to use hand riveter. Normally this is not a problem, but the rivet I face this time is the big guy - 4.8mm. My hands were just too exhausted to squeeze after popping 2 rivets. The trick I figured out is to use a clamp. I put a clamp around the riveter’s handles, and squeezed the clamp instead. Much easier! I finished riveting the remaining rivets using this method.
Rib 7
This step is supposed to straightforward, but I ran into the same issue as rib 6 – the control bushing does not move at all. I’ve done enough work for a day so I stopped here and did not rivet. I might use this piece as an experiment to figure out how to make the bushing more smoother. Hmm..
